Integrate your WooCommerce store with GuidelyPro.AI — connect your catalog, publish a guided experience, and activate it on your storefront with a lightweight WordPress plugin.
Before you start — you need a GuidelyPro.AI account, admin access to your WordPress store, and your WordPress/WooCommerce store URL. That’s it.
Part 1 — Connect your WooCommerce store
Add an integration
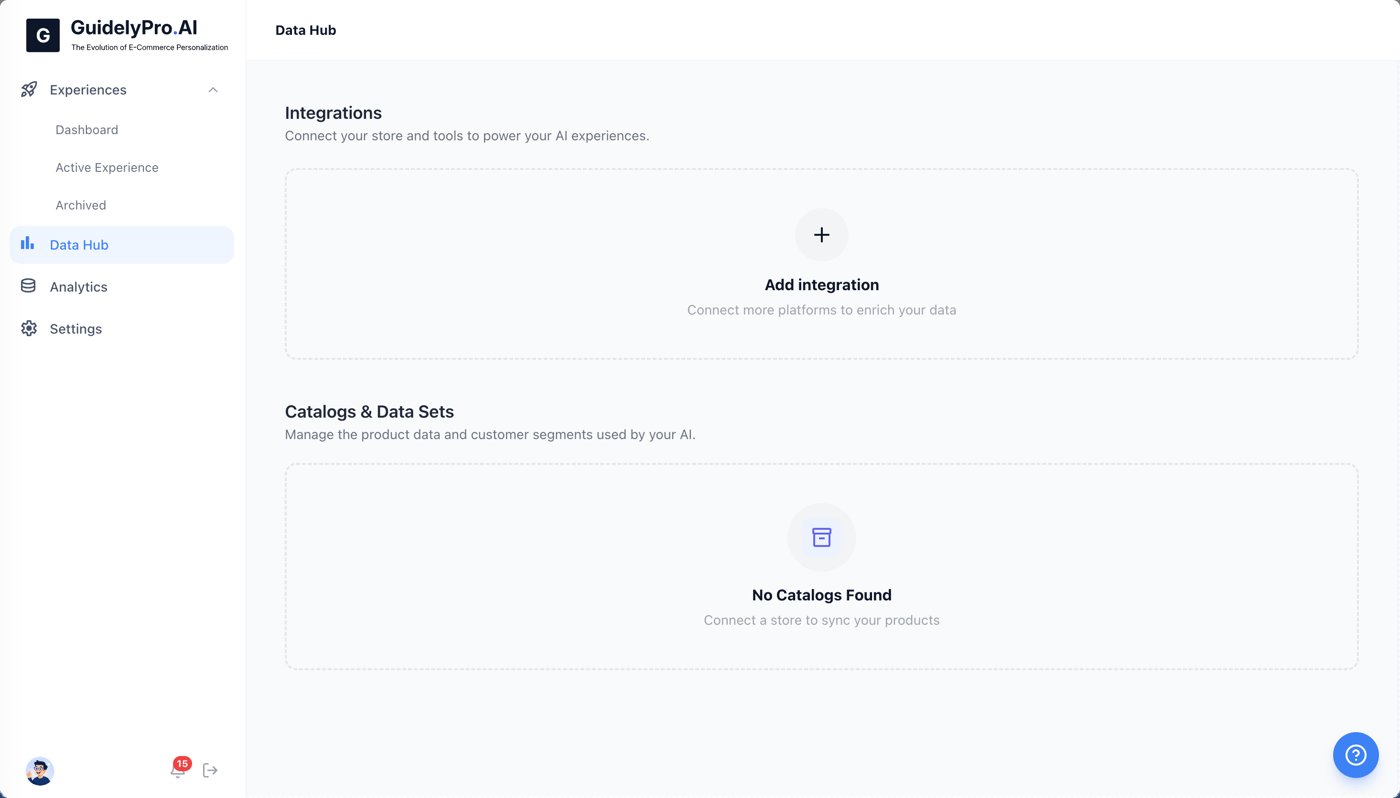
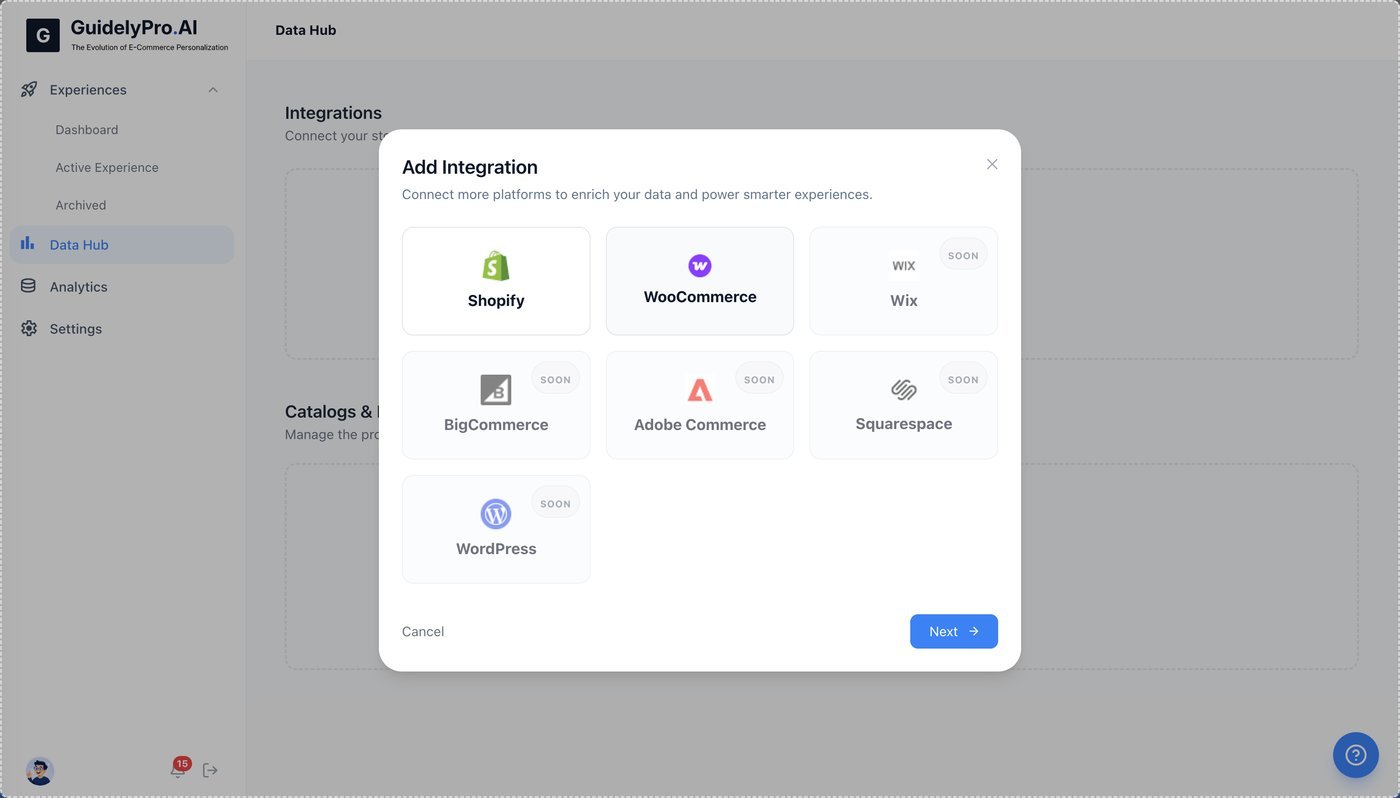
In the Data Hub, select Add integration to start linking your WooCommerce store. Choose WooCommerce
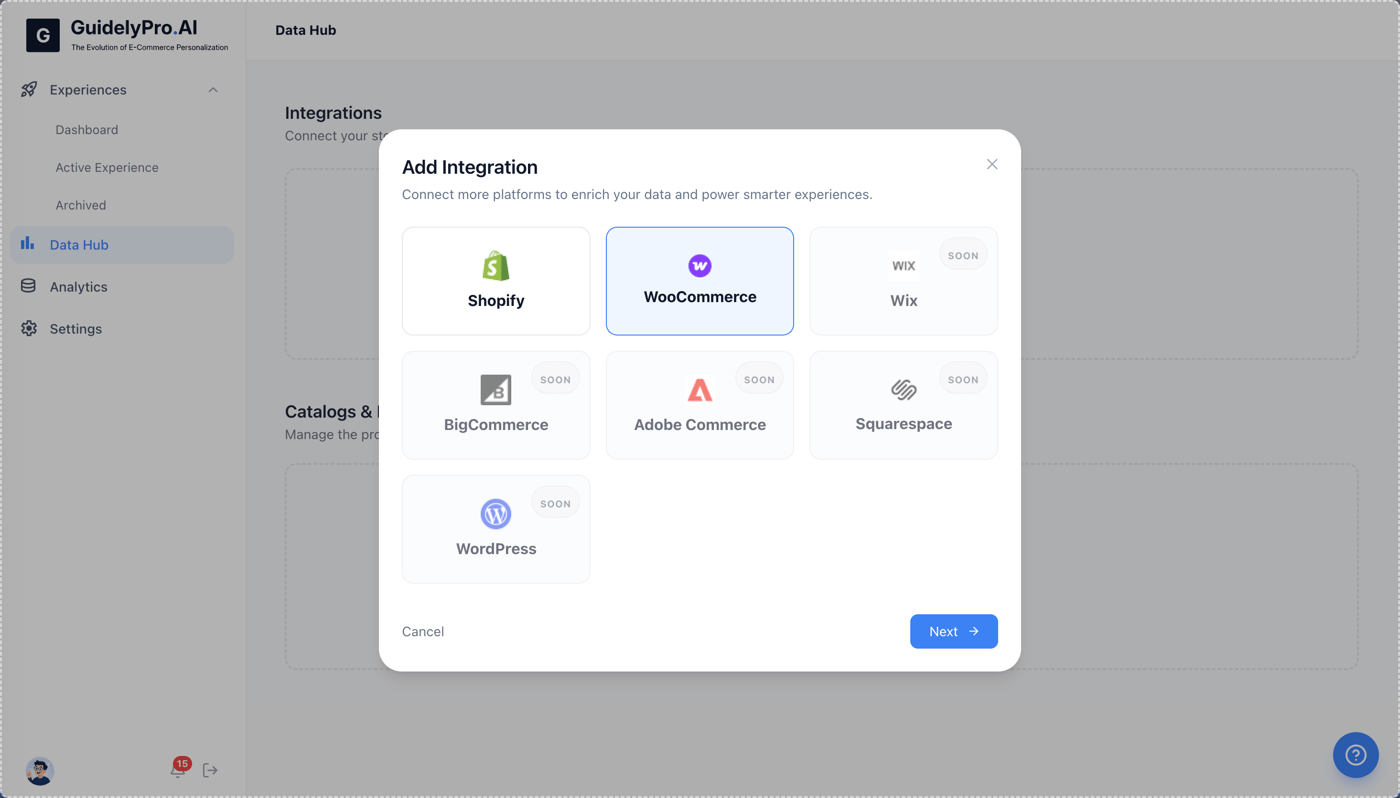
Choose WooCommerce from the list of available integrations. Enter your store URL
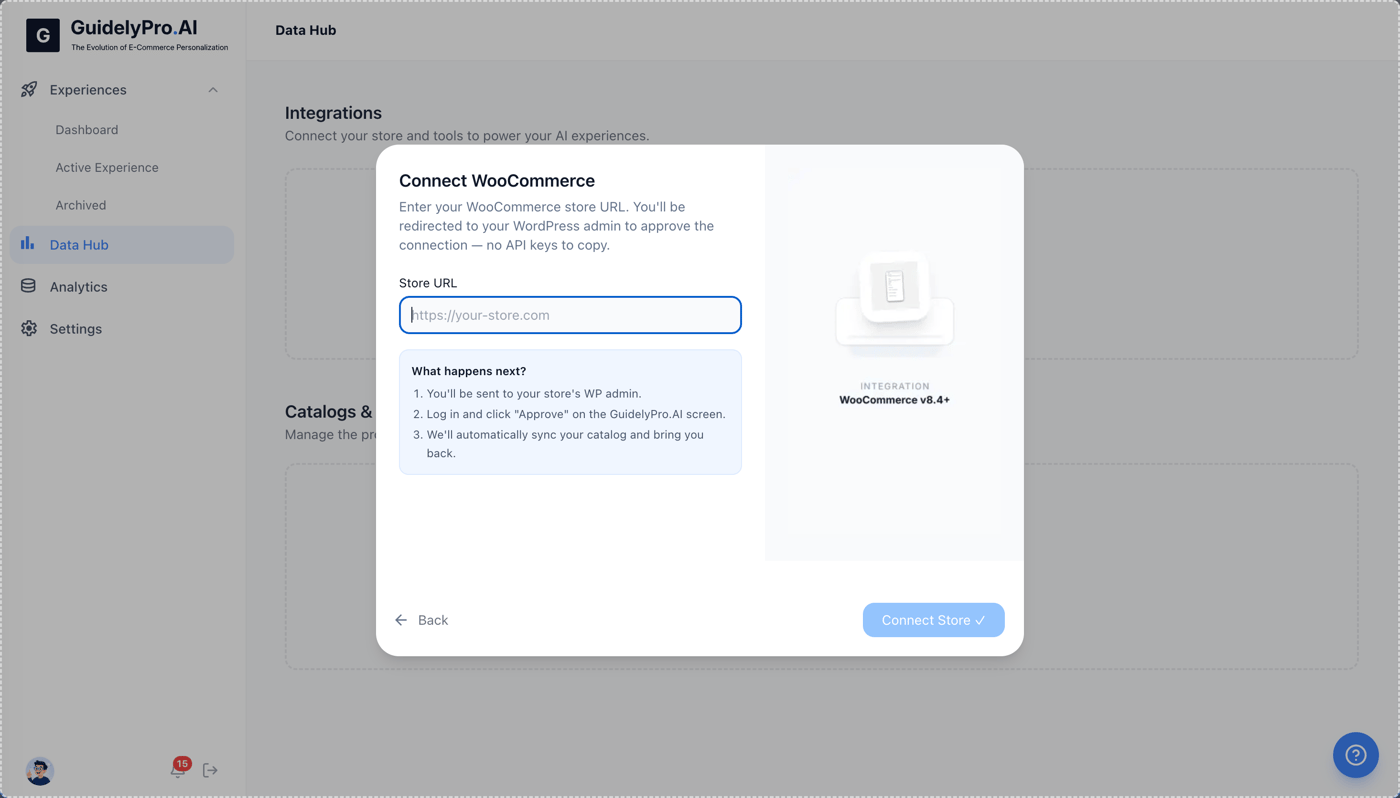
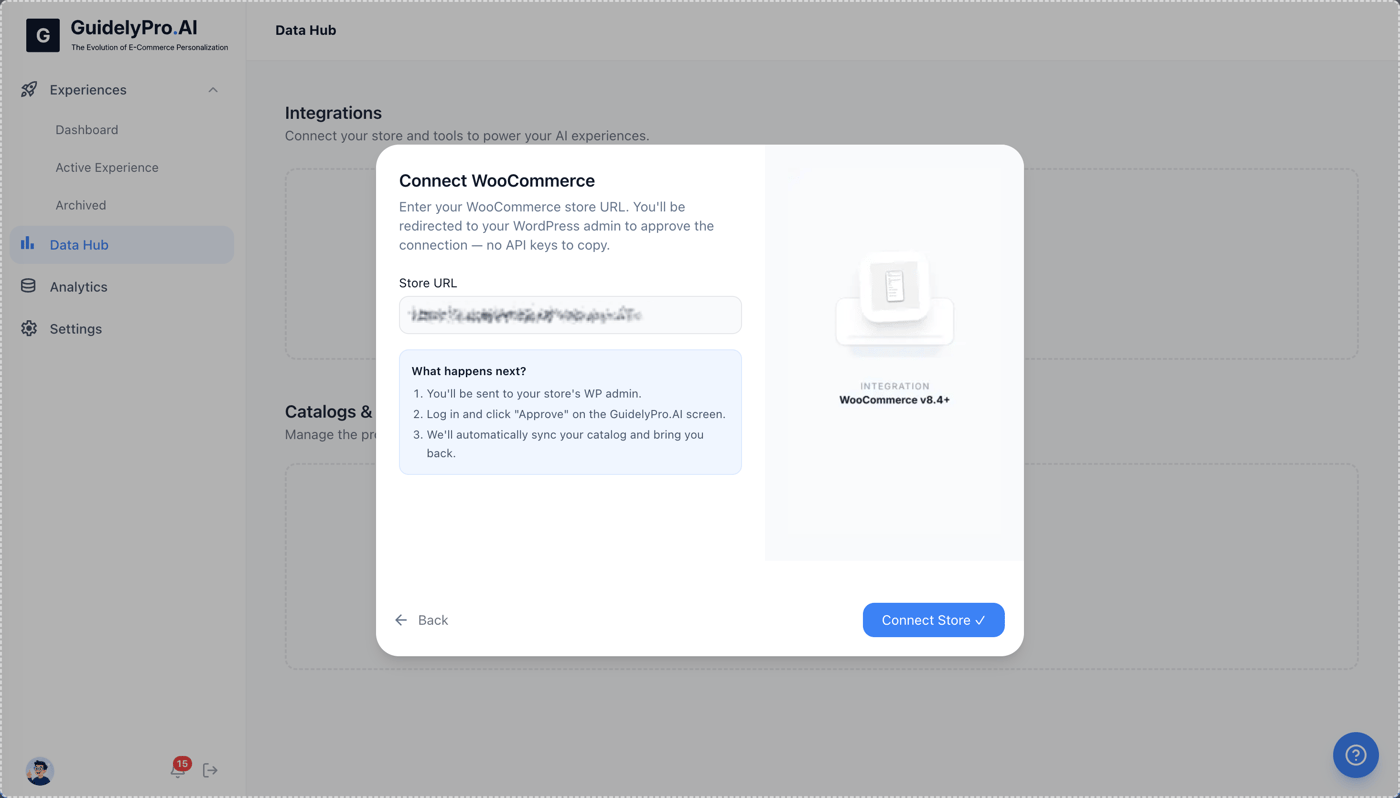
Enter your WooCommerce store URL to begin the connection process. Connect the store
Click Connect Store to initiate linking your WooCommerce shop. Approve permissions
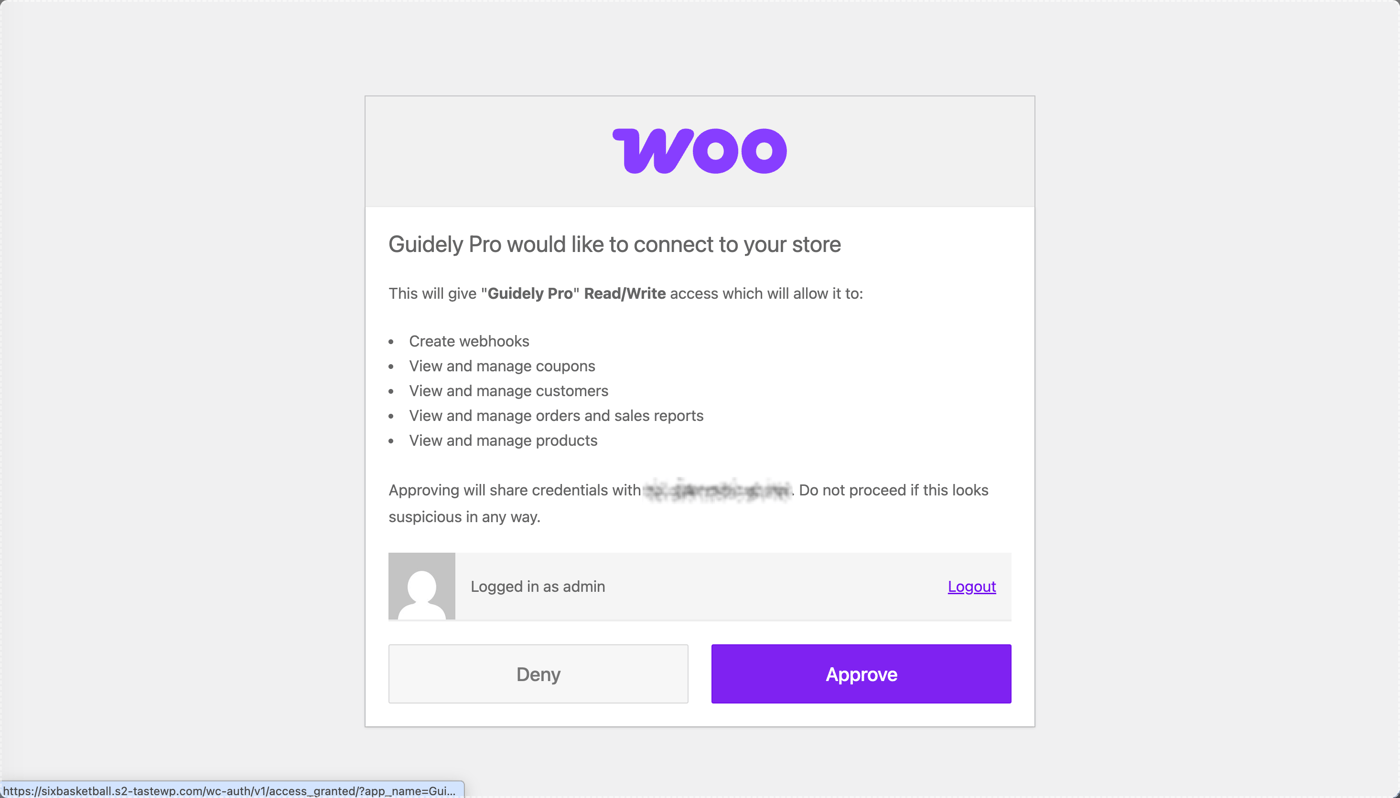
Approve the permissions request to allow GuidelyPro.AI access to your WooCommerce store data. Part 2 — Create and publish an experience
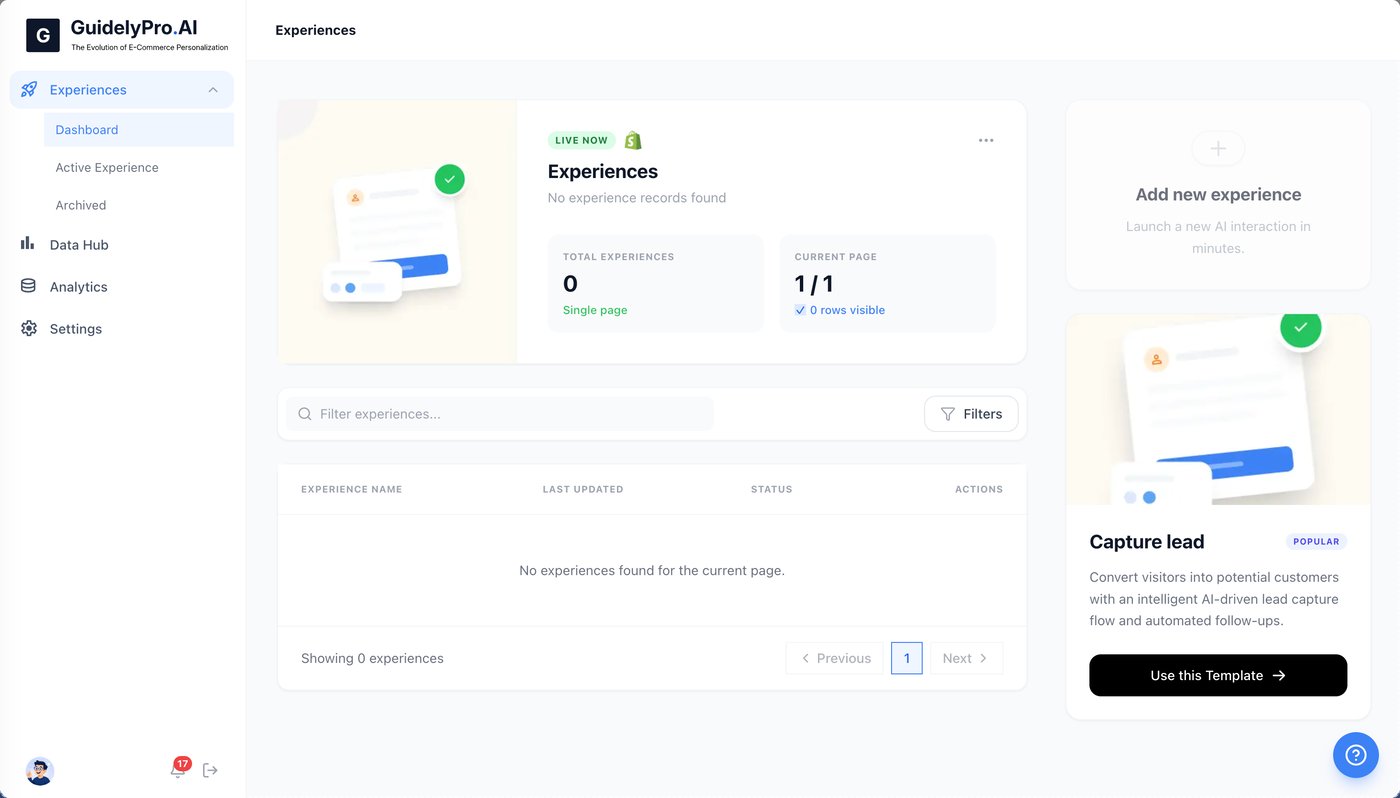
Choose an experience
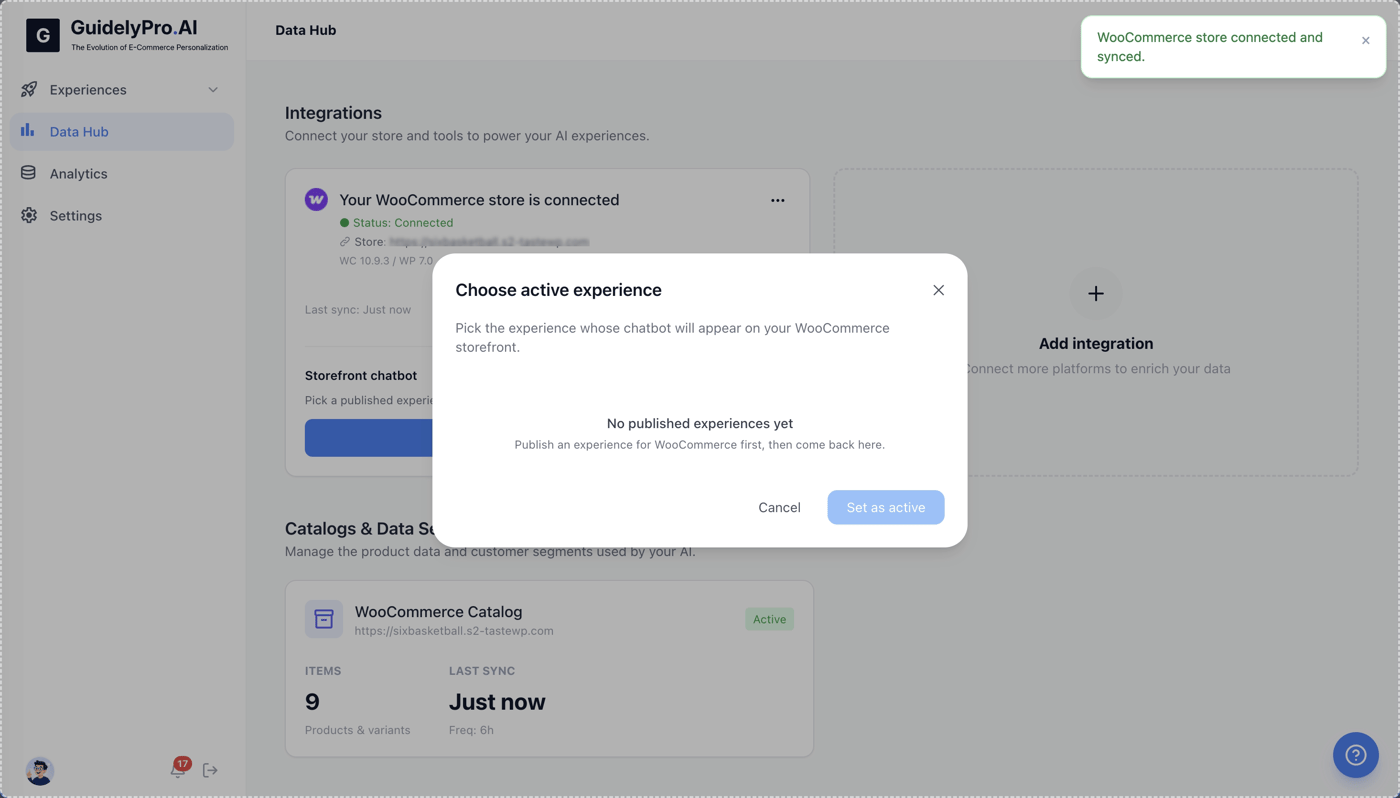
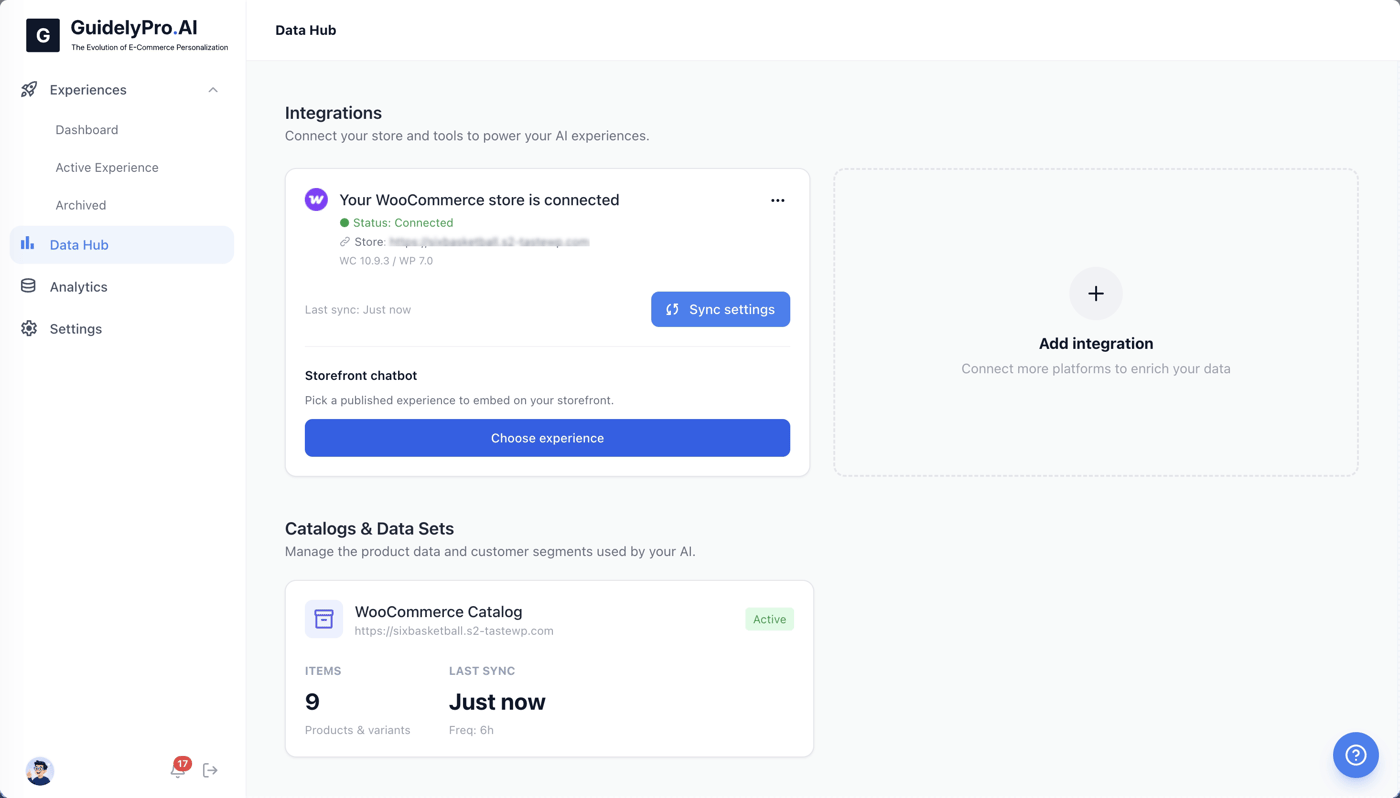
To enable an experience, click Choose experience. No experience yet? Close the popup
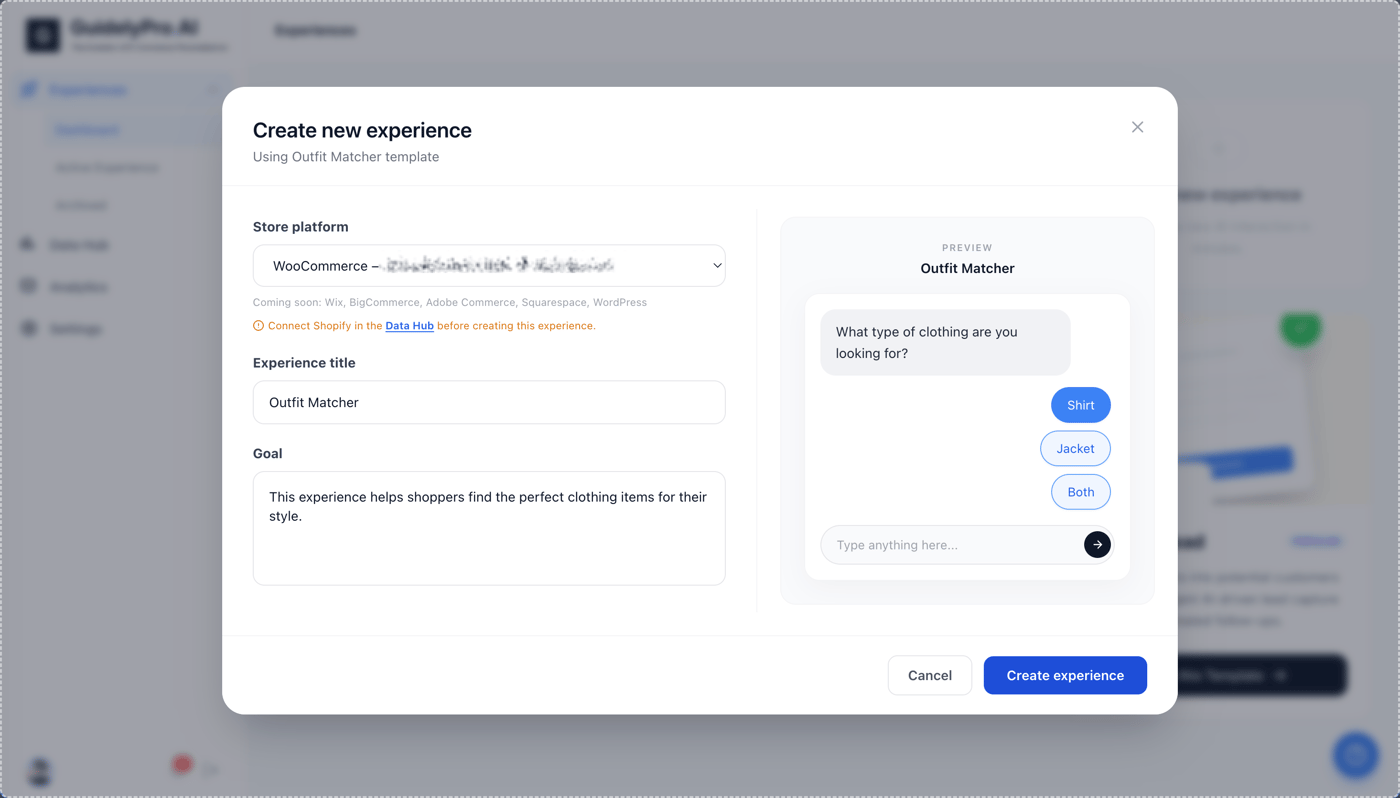
Close this popup if you don’t have an active experience to assign yet — you’ll create one now. Start from a template
Use a pre-built template like Capture lead to quickly set up a new experience. Create the experience
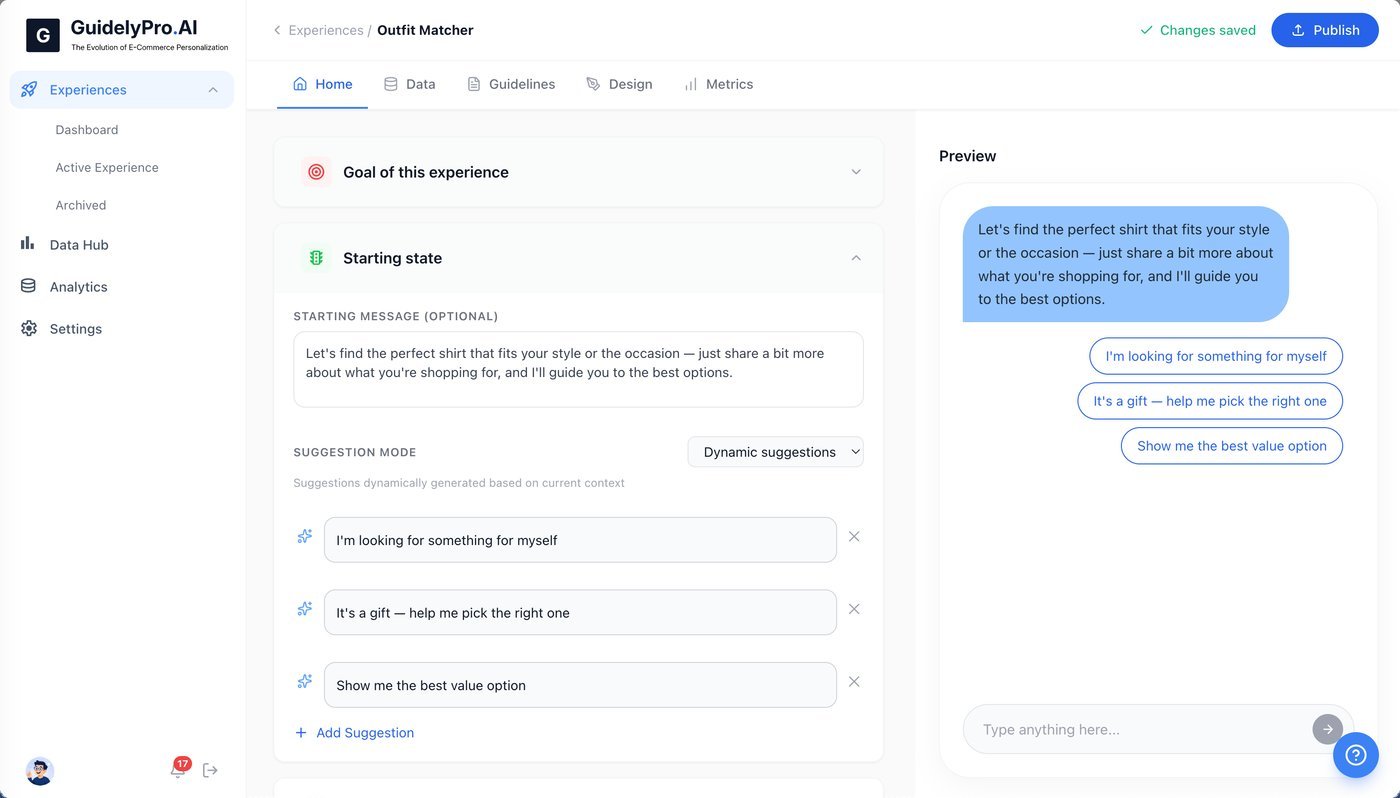
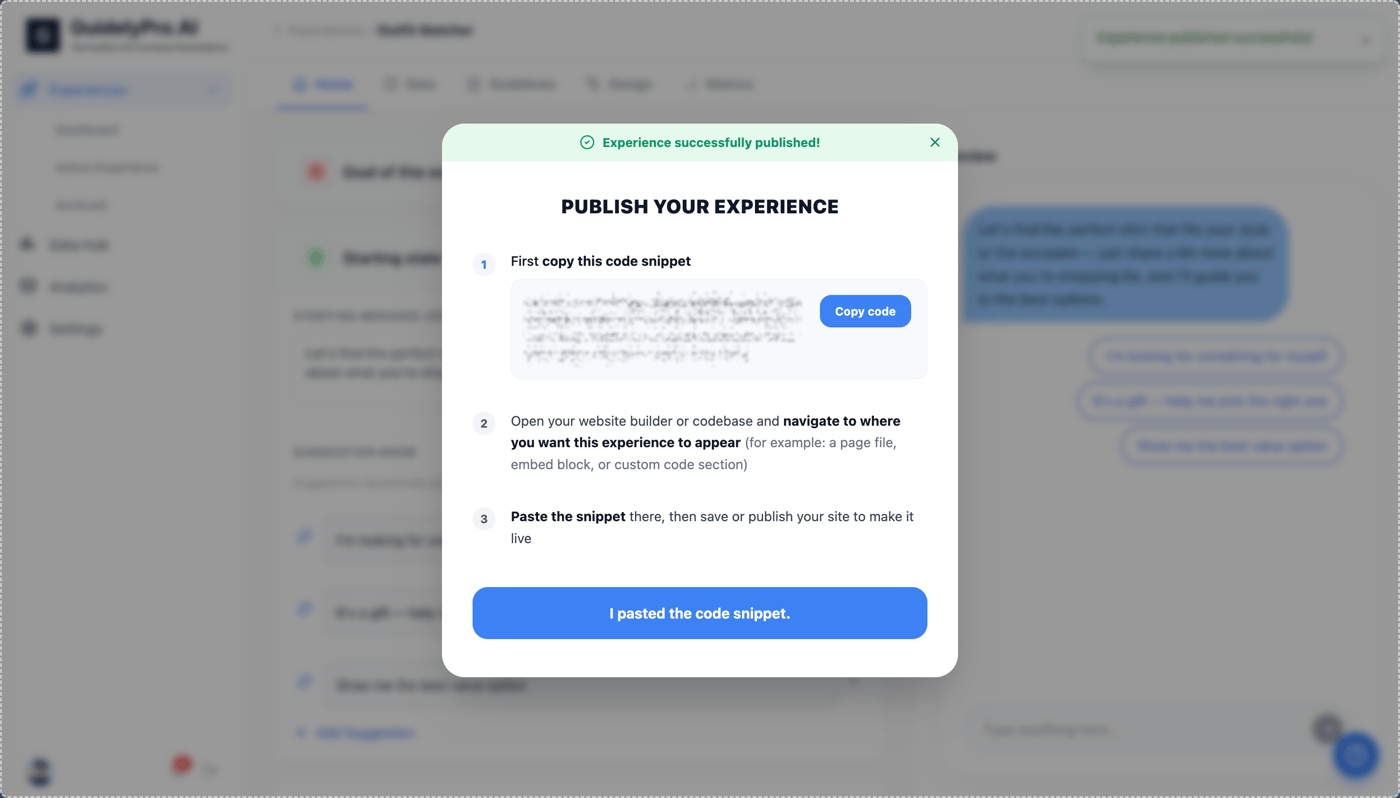
Click Create experience to save and finalize your new experience. Publish
Publish the experience to make it live on your storefront. Dismiss the modal
Dismiss the modal once you’ve published. Part 3 — Assign the experience to your store
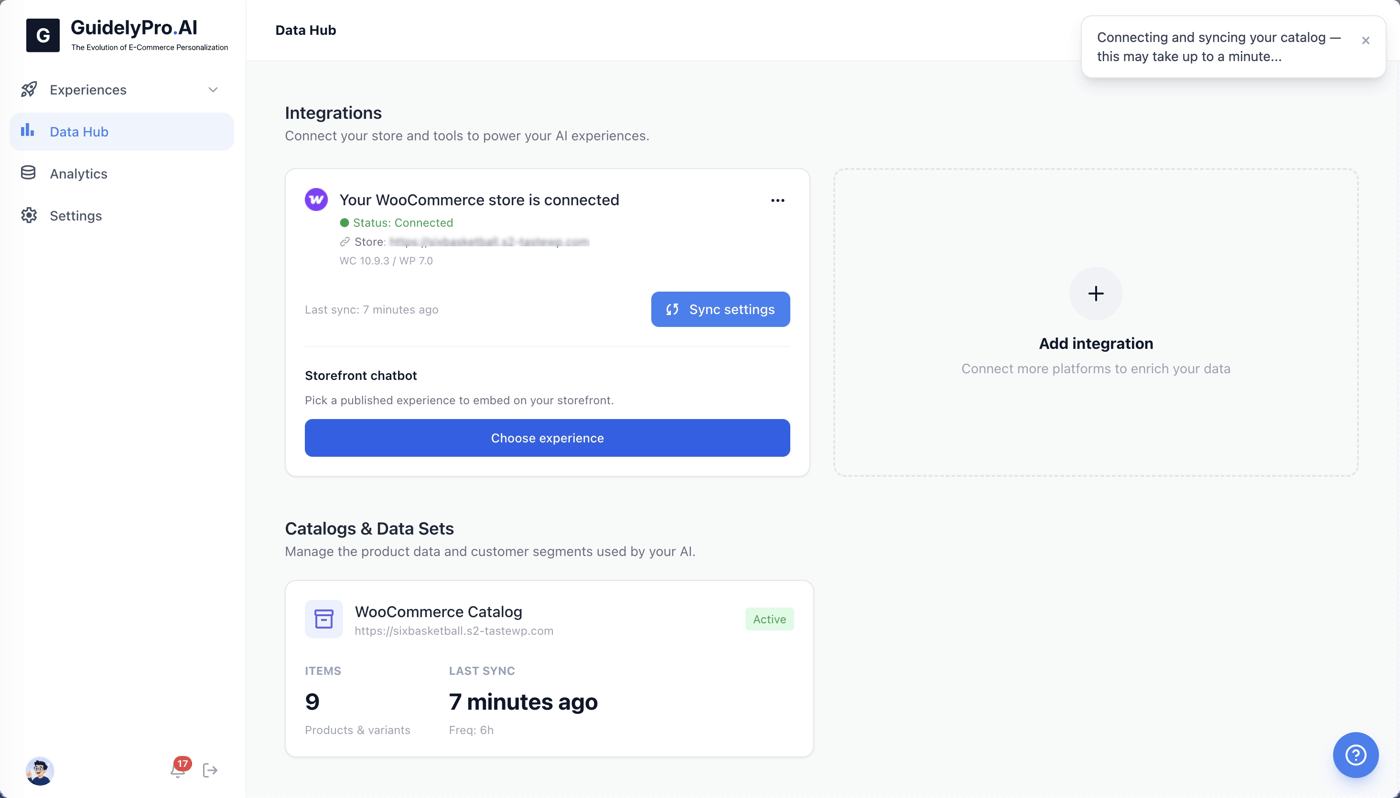
Return to the Data Hub
Return to the Data Hub to continue managing integrations. Choose the experience
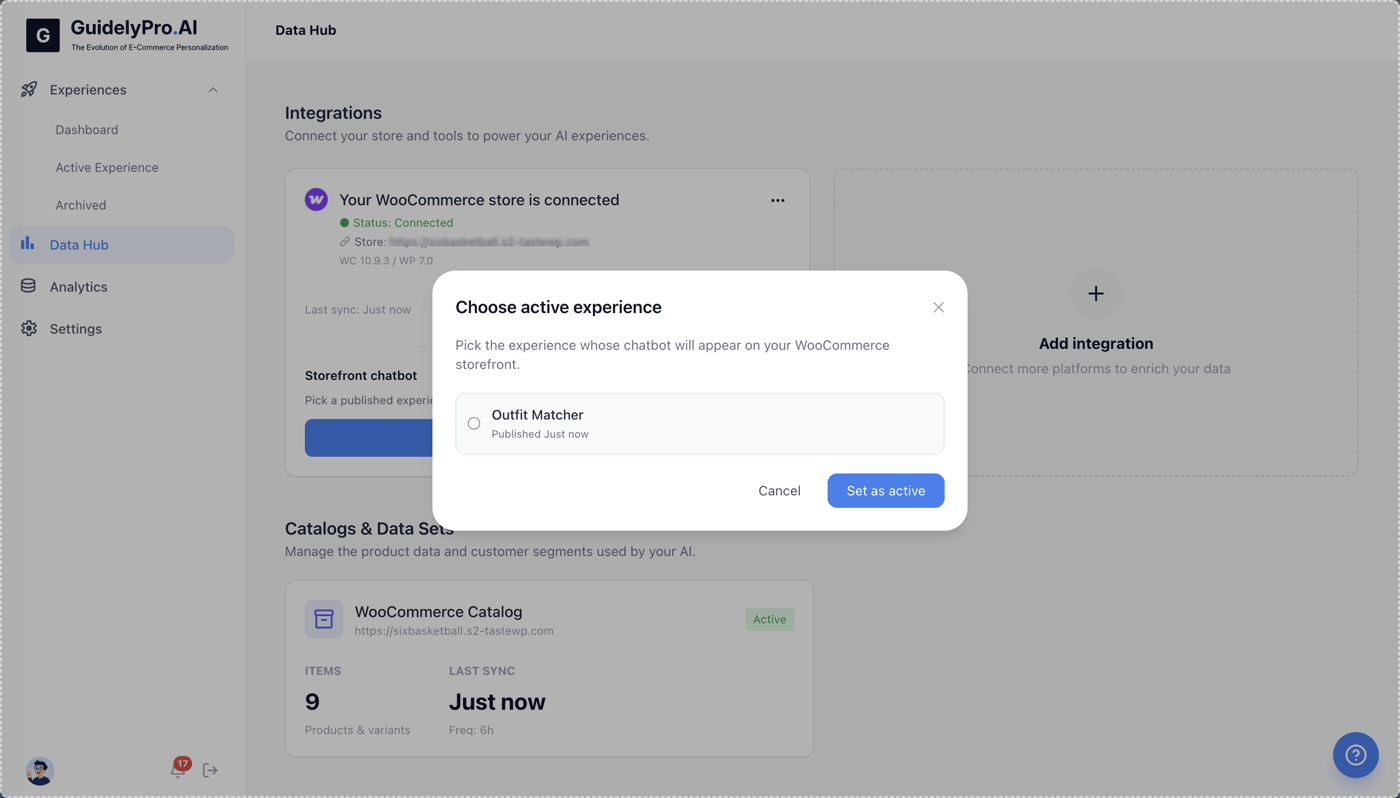
Click Choose experience below your connected WooCommerce store to assign a published experience. Select the experience
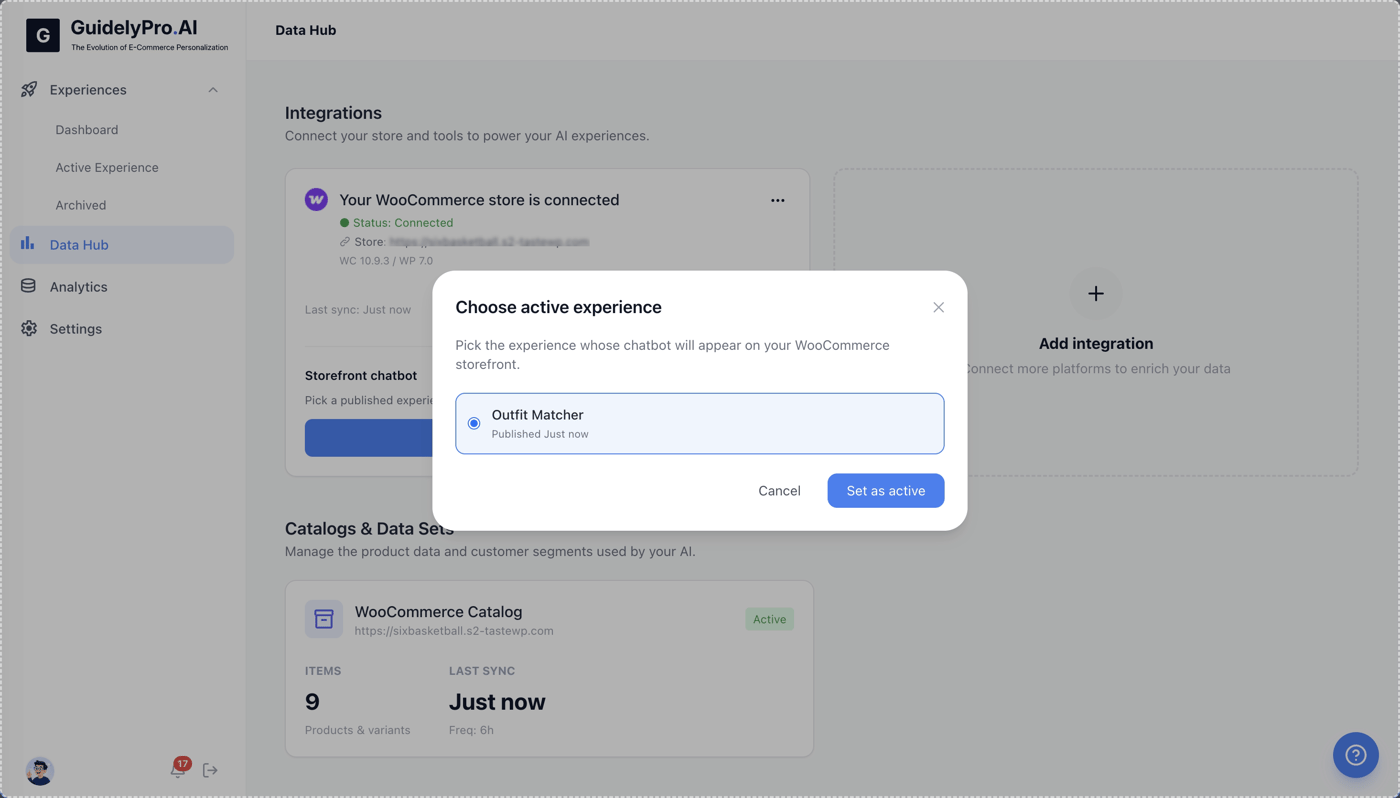
Select the experience you want to run on your storefront — here, the Outfit Matcher. Set as active
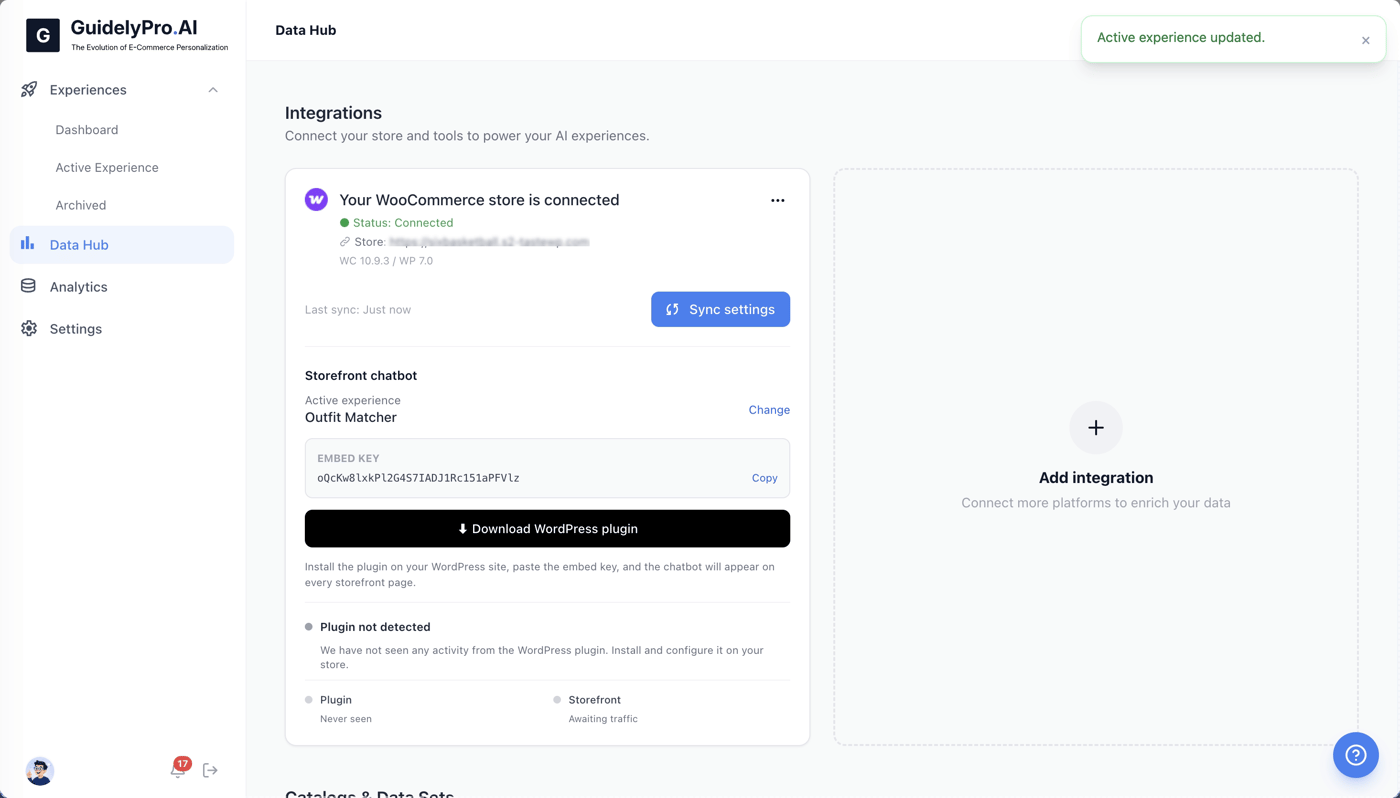
Click Set as active to confirm this experience for your WooCommerce store. Part 4 — Install the WordPress plugin
WooCommerce runs on WordPress, so unlike hosted platforms the storefront activation happens through a lightweight WordPress plugin plus an embed key. Download, upload, activate — three clicks.
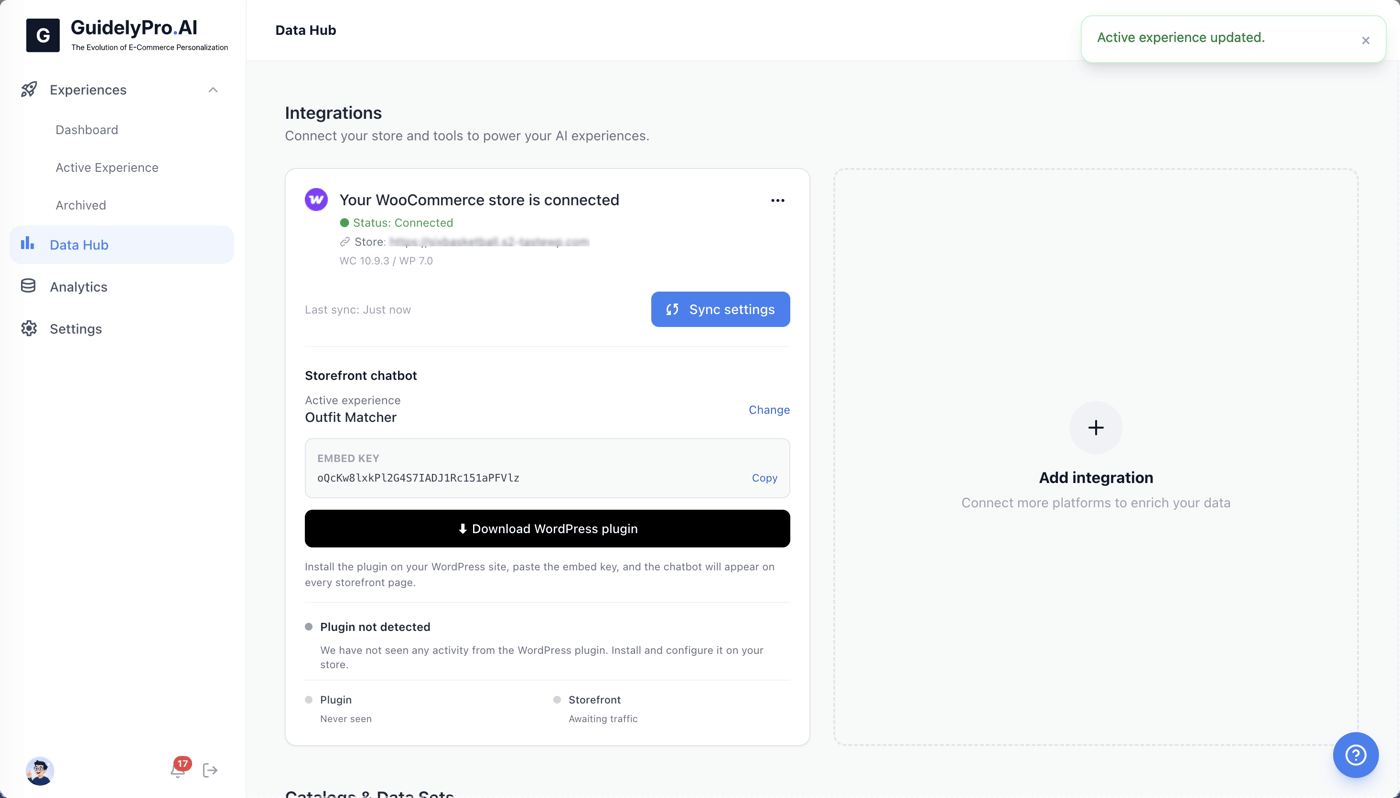
Download the plugin
Download the WordPress plugin to enable your conversion engine experience on your storefront. Open Plugins in WordPress
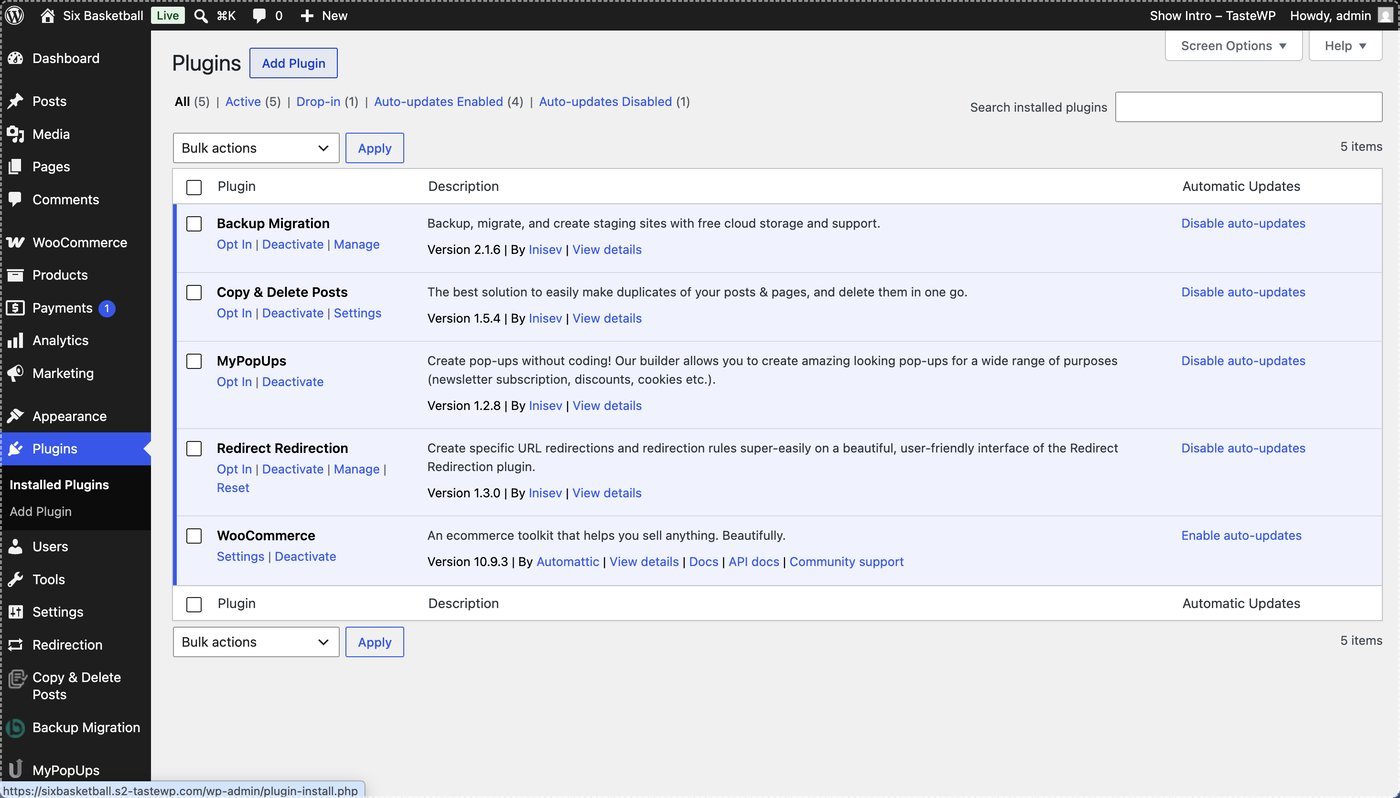
Open the Plugins section in WordPress to manage existing plugins. Add a plugin
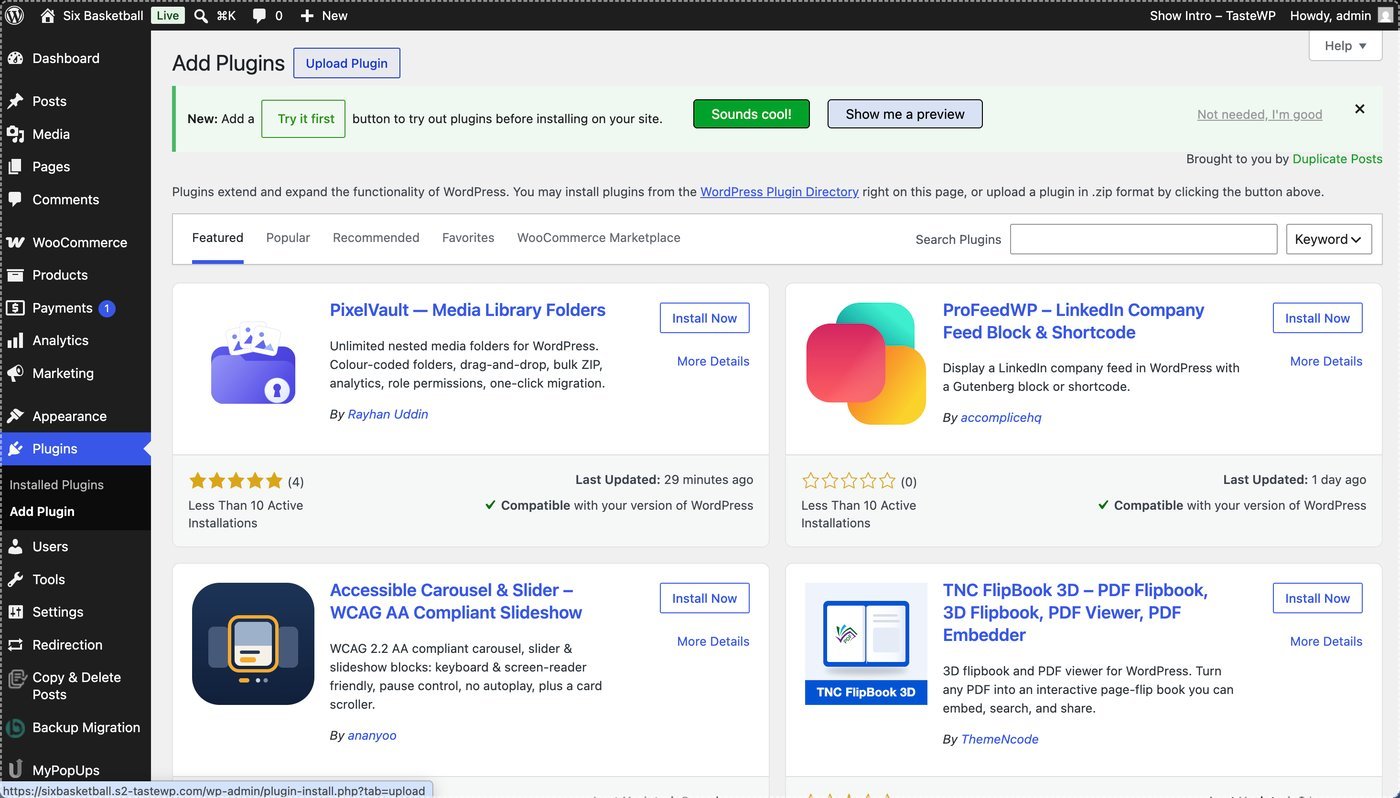
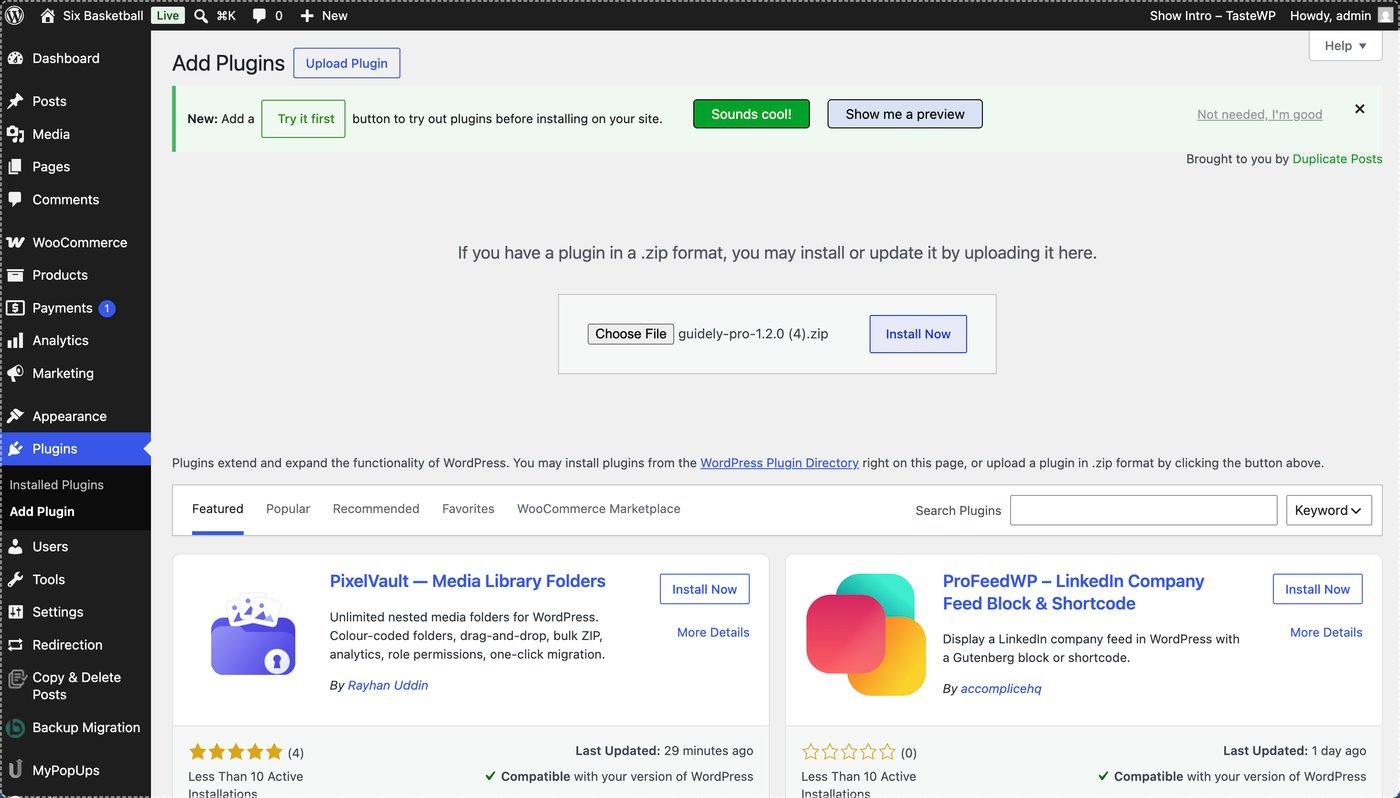
Click Add Plugin to upload a new plugin for your site. Upload the plugin
Select Upload Plugin to add the plugin you just downloaded from GuidelyPro.AI. Choose the ZIP file
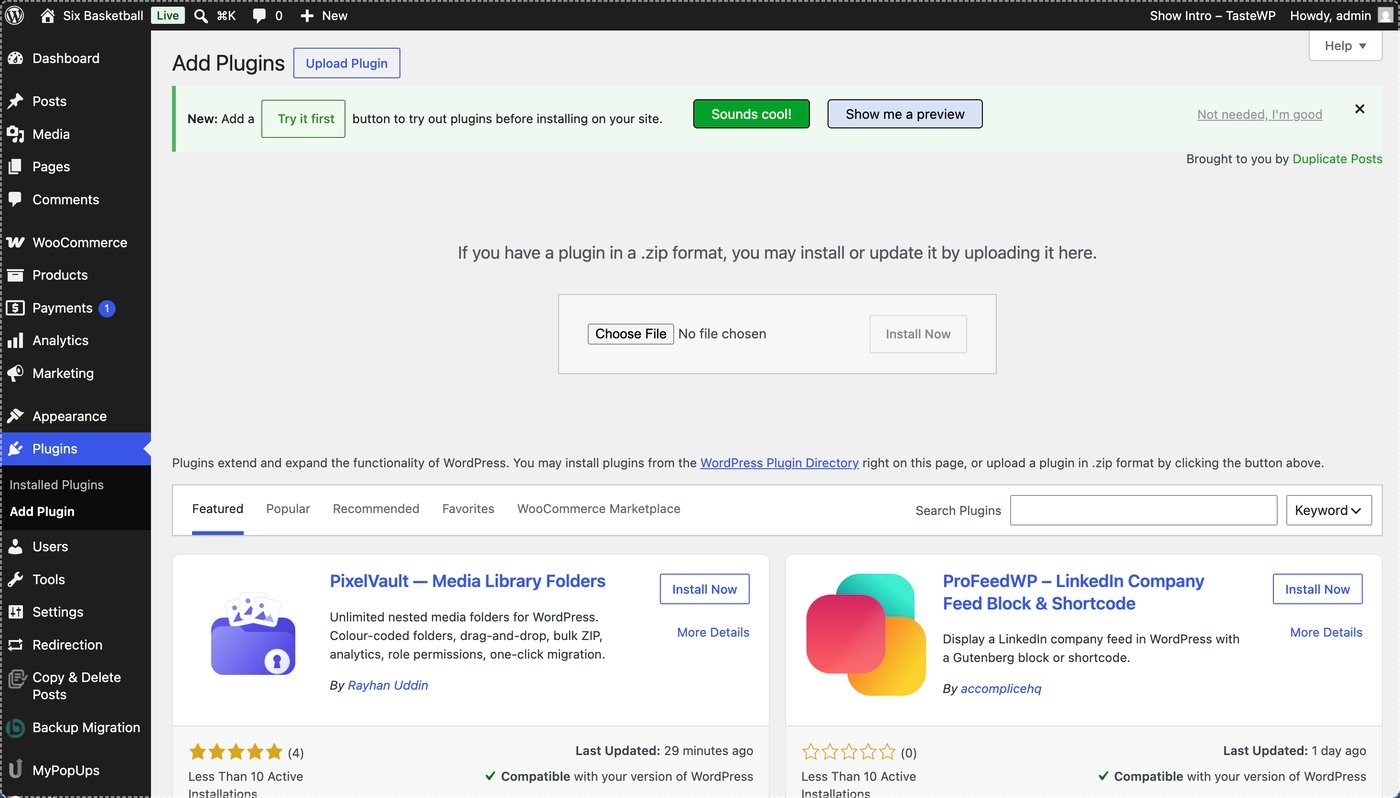
Click Choose File and select the plugin ZIP file from your computer. Install
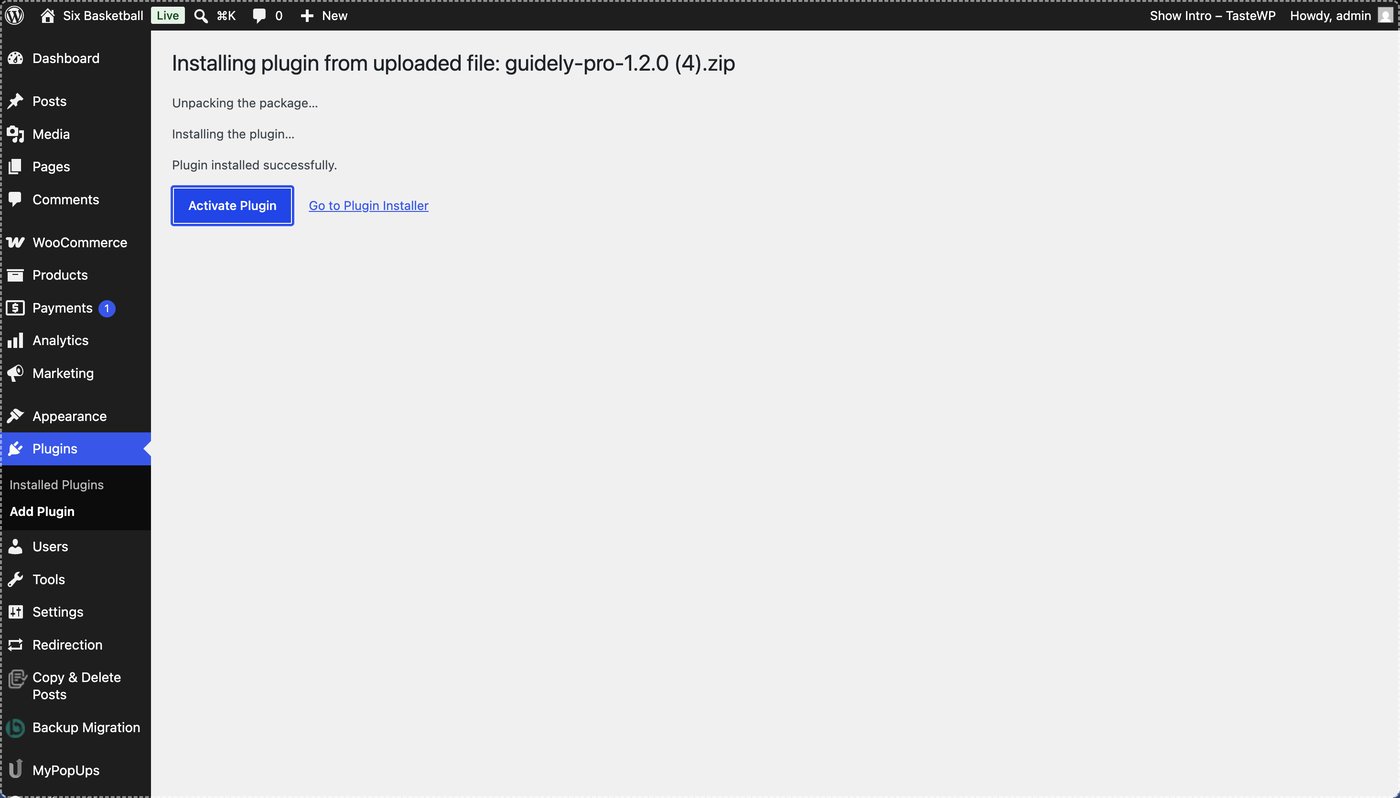
Click Install Now to upload and install the GuidelyPro.AI plugin to your WordPress setup. Activate
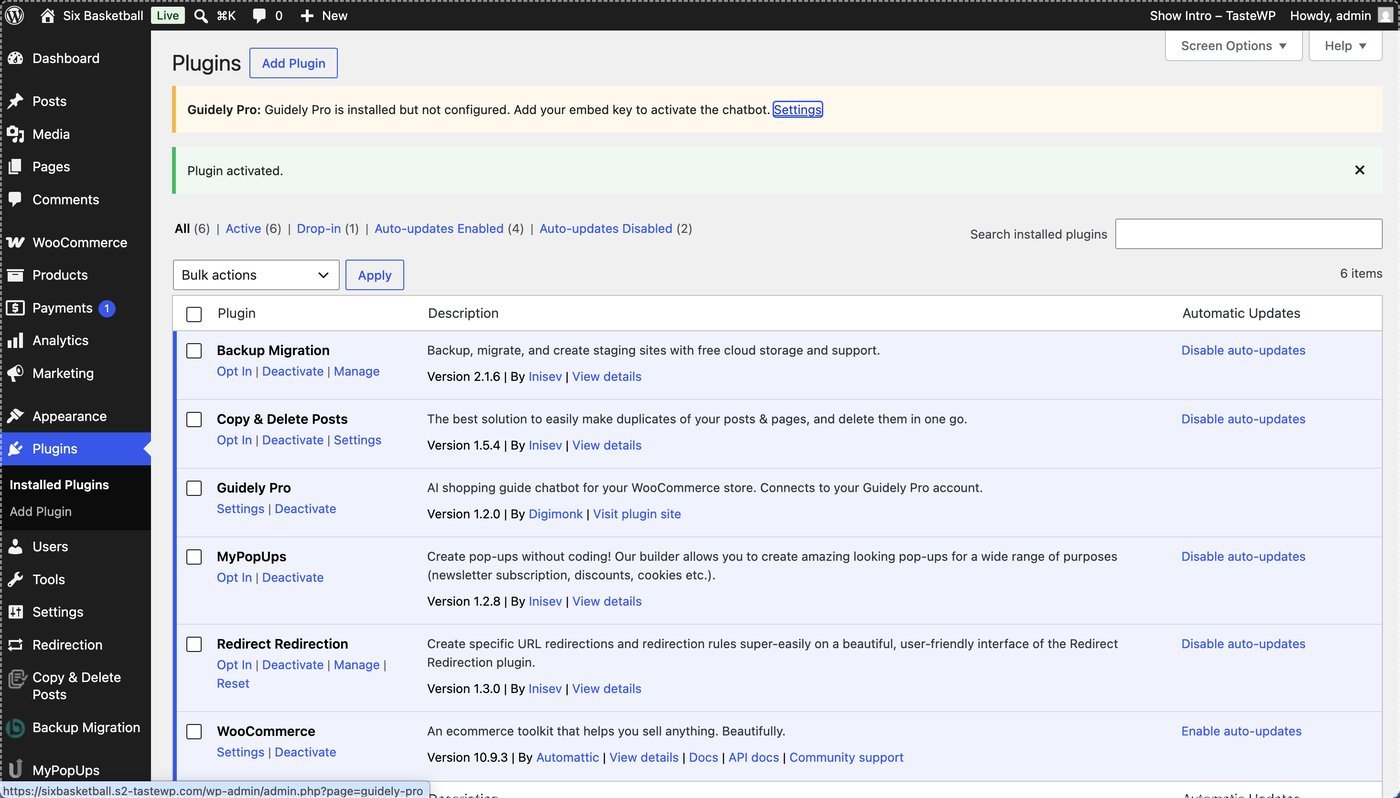
Activate the plugin to enable GuidelyPro.AI features on your WordPress site. Part 5 — Activate and verify the chatbot
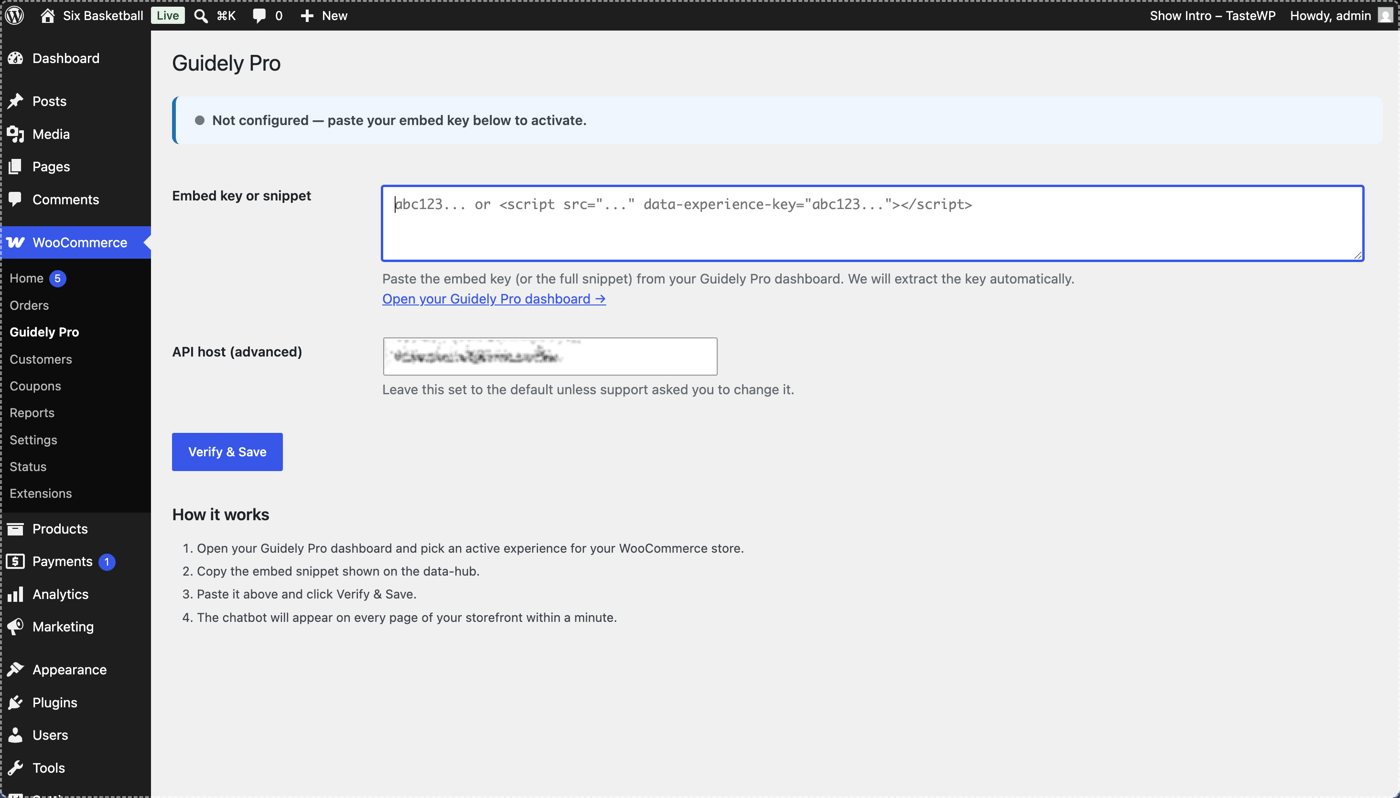
Open the plugin settings
Open the settings for the GuidelyPro.AI plugin to begin configuration and activation. Go to the integration settings
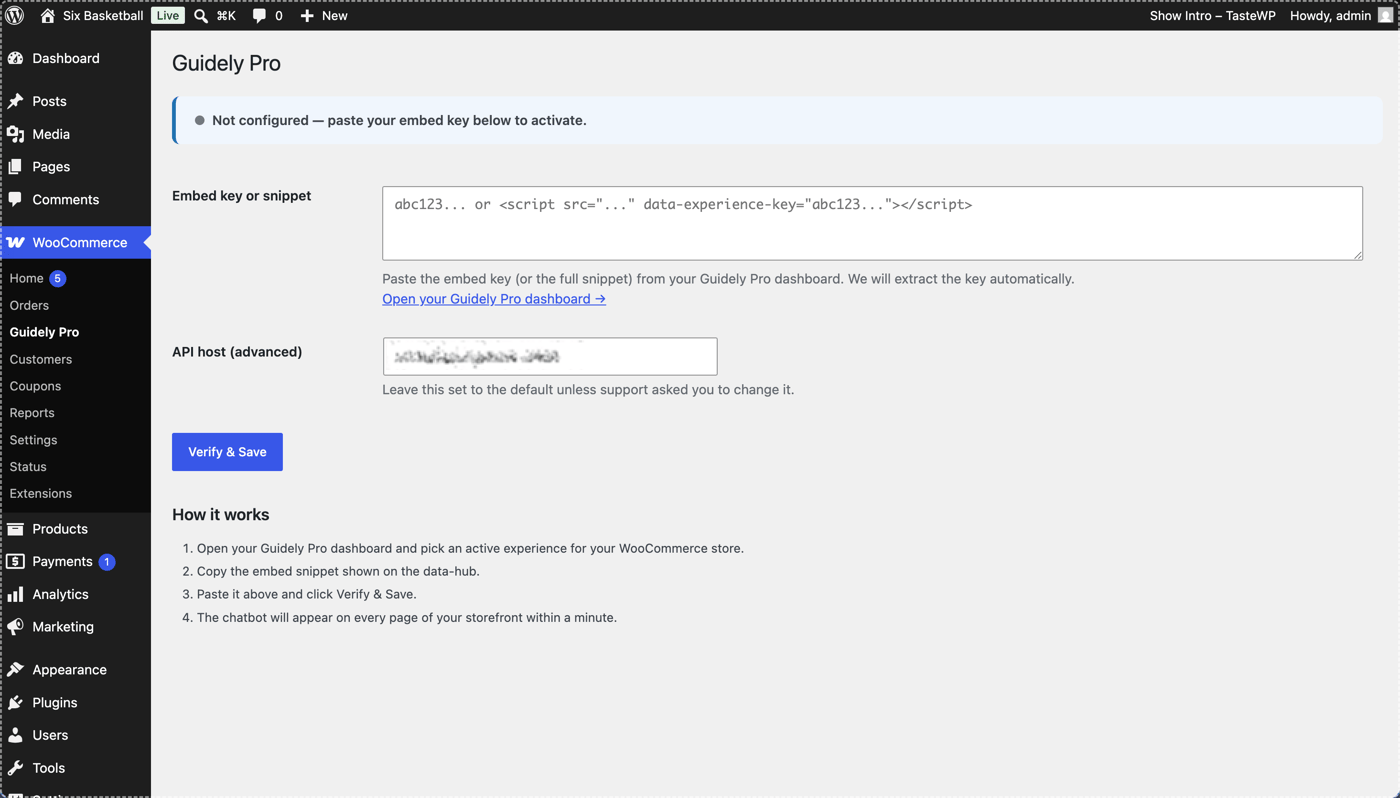
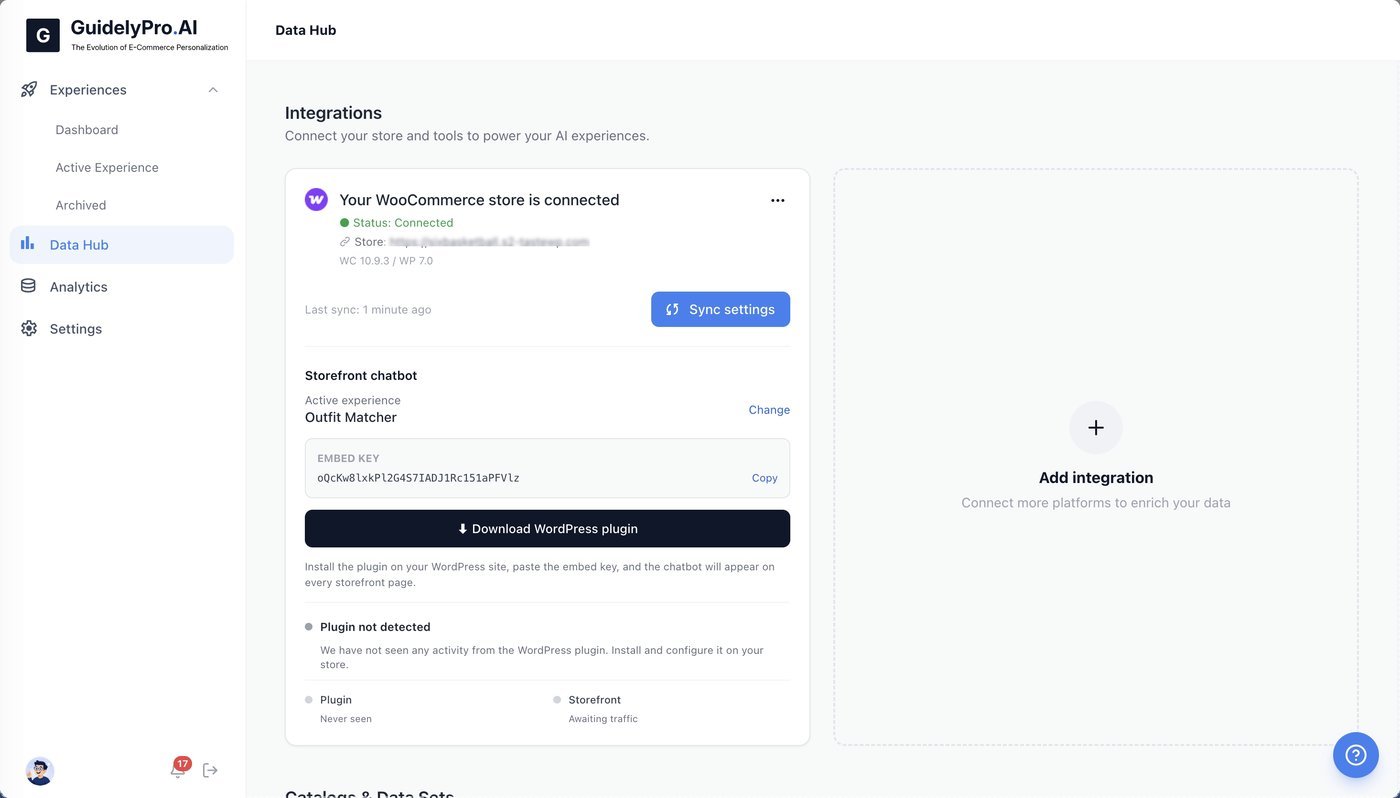
Go to WooCommerce in your WordPress menu to access the GuidelyPro.AI integration settings. Copy your embed key
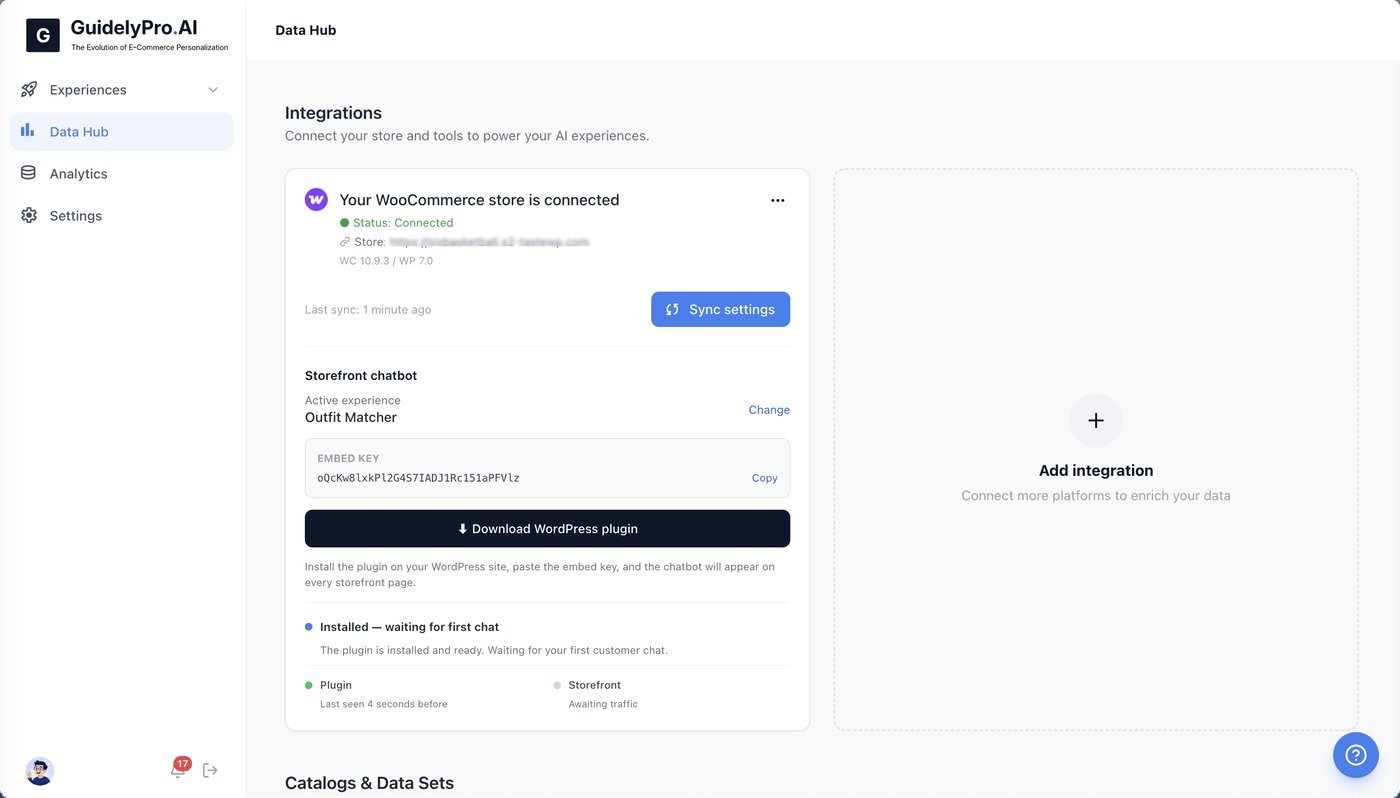
Copy your embed key — it activates the conversion engine plugin on your web store. Paste the embed key
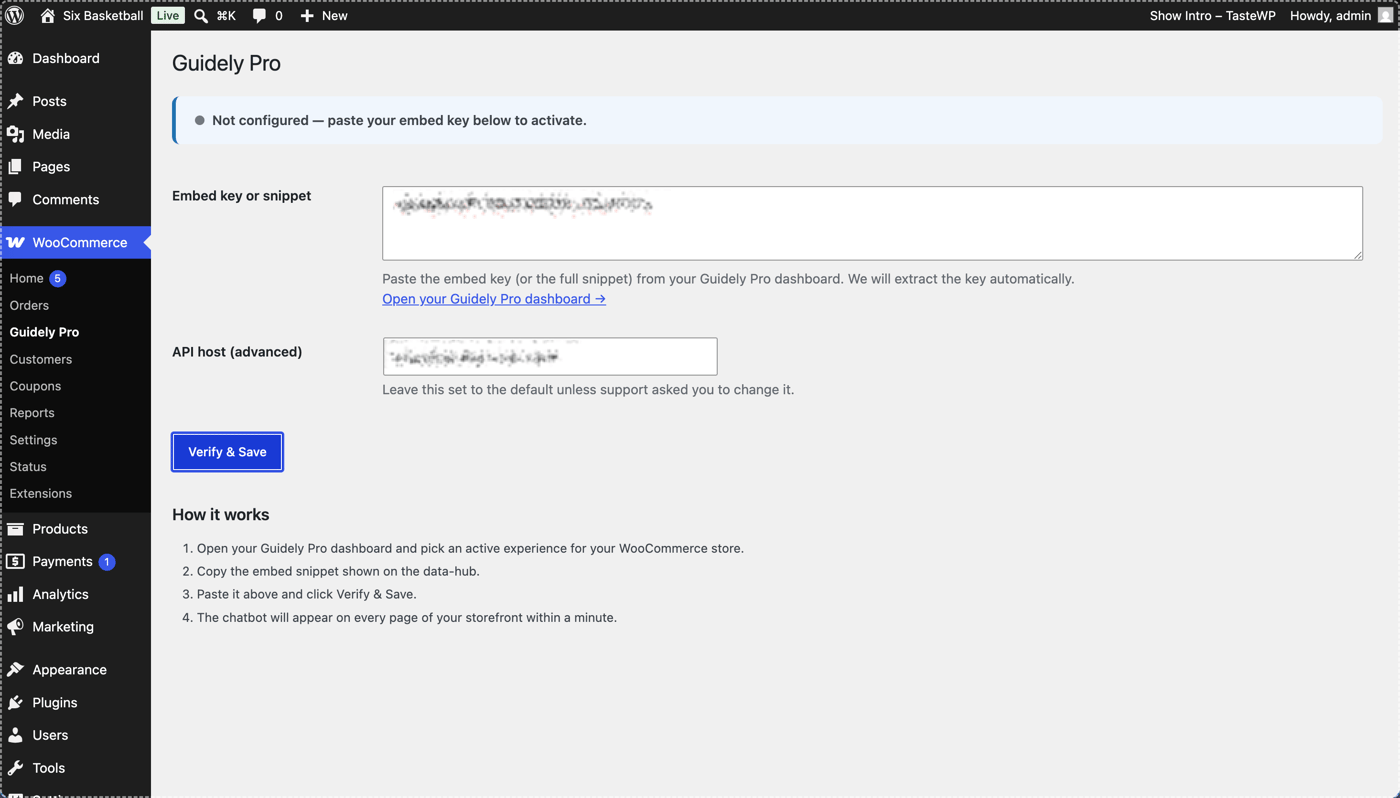
Paste the embed key into the designated field to connect GuidelyPro.AI. Verify and save
Click Verify & Save to activate the plugin integration with your WooCommerce site. Sync settings
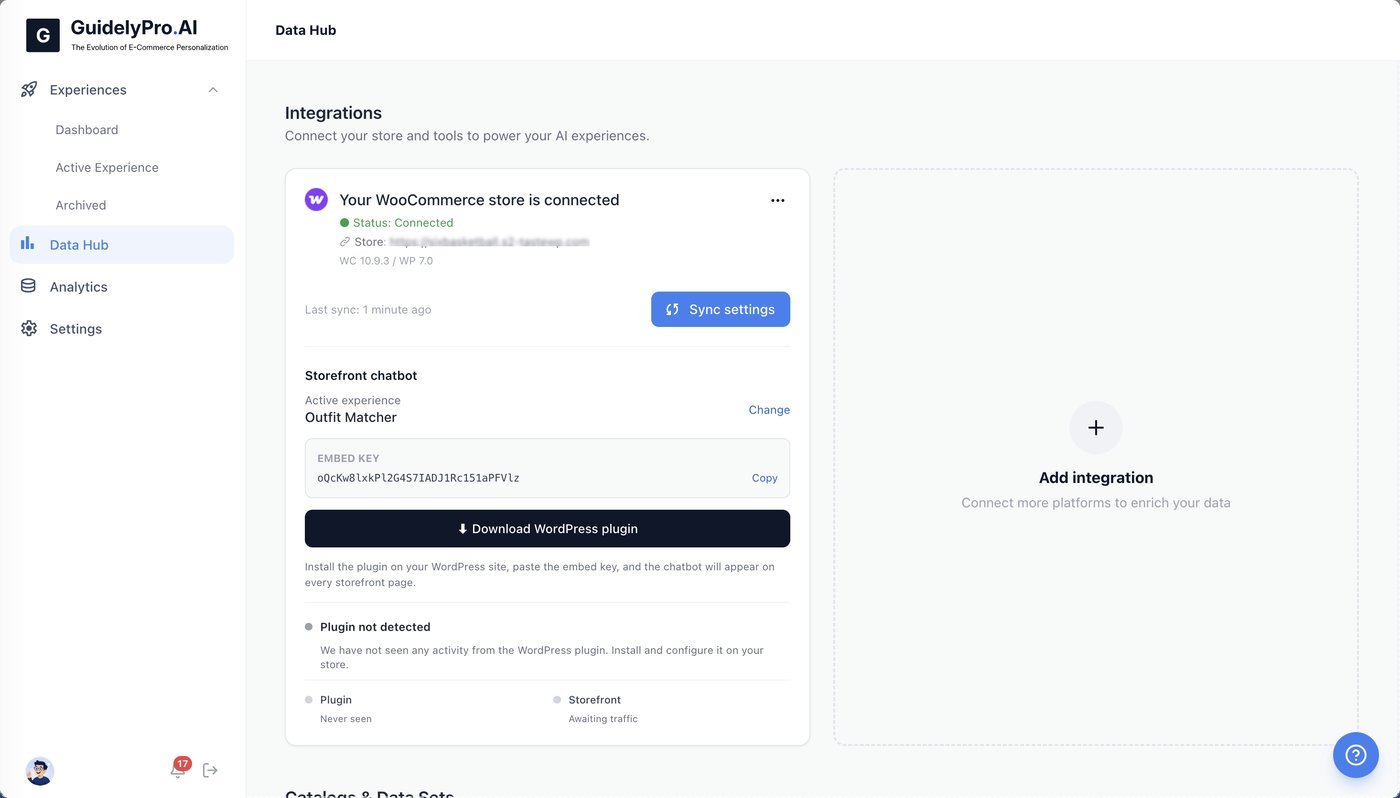
Use Sync settings to update or verify your store connection and make sure your chatbot is working. Check the Data Hub
Return to the Data Hub to view all active integrations and manage store connections. Test it on your storefront
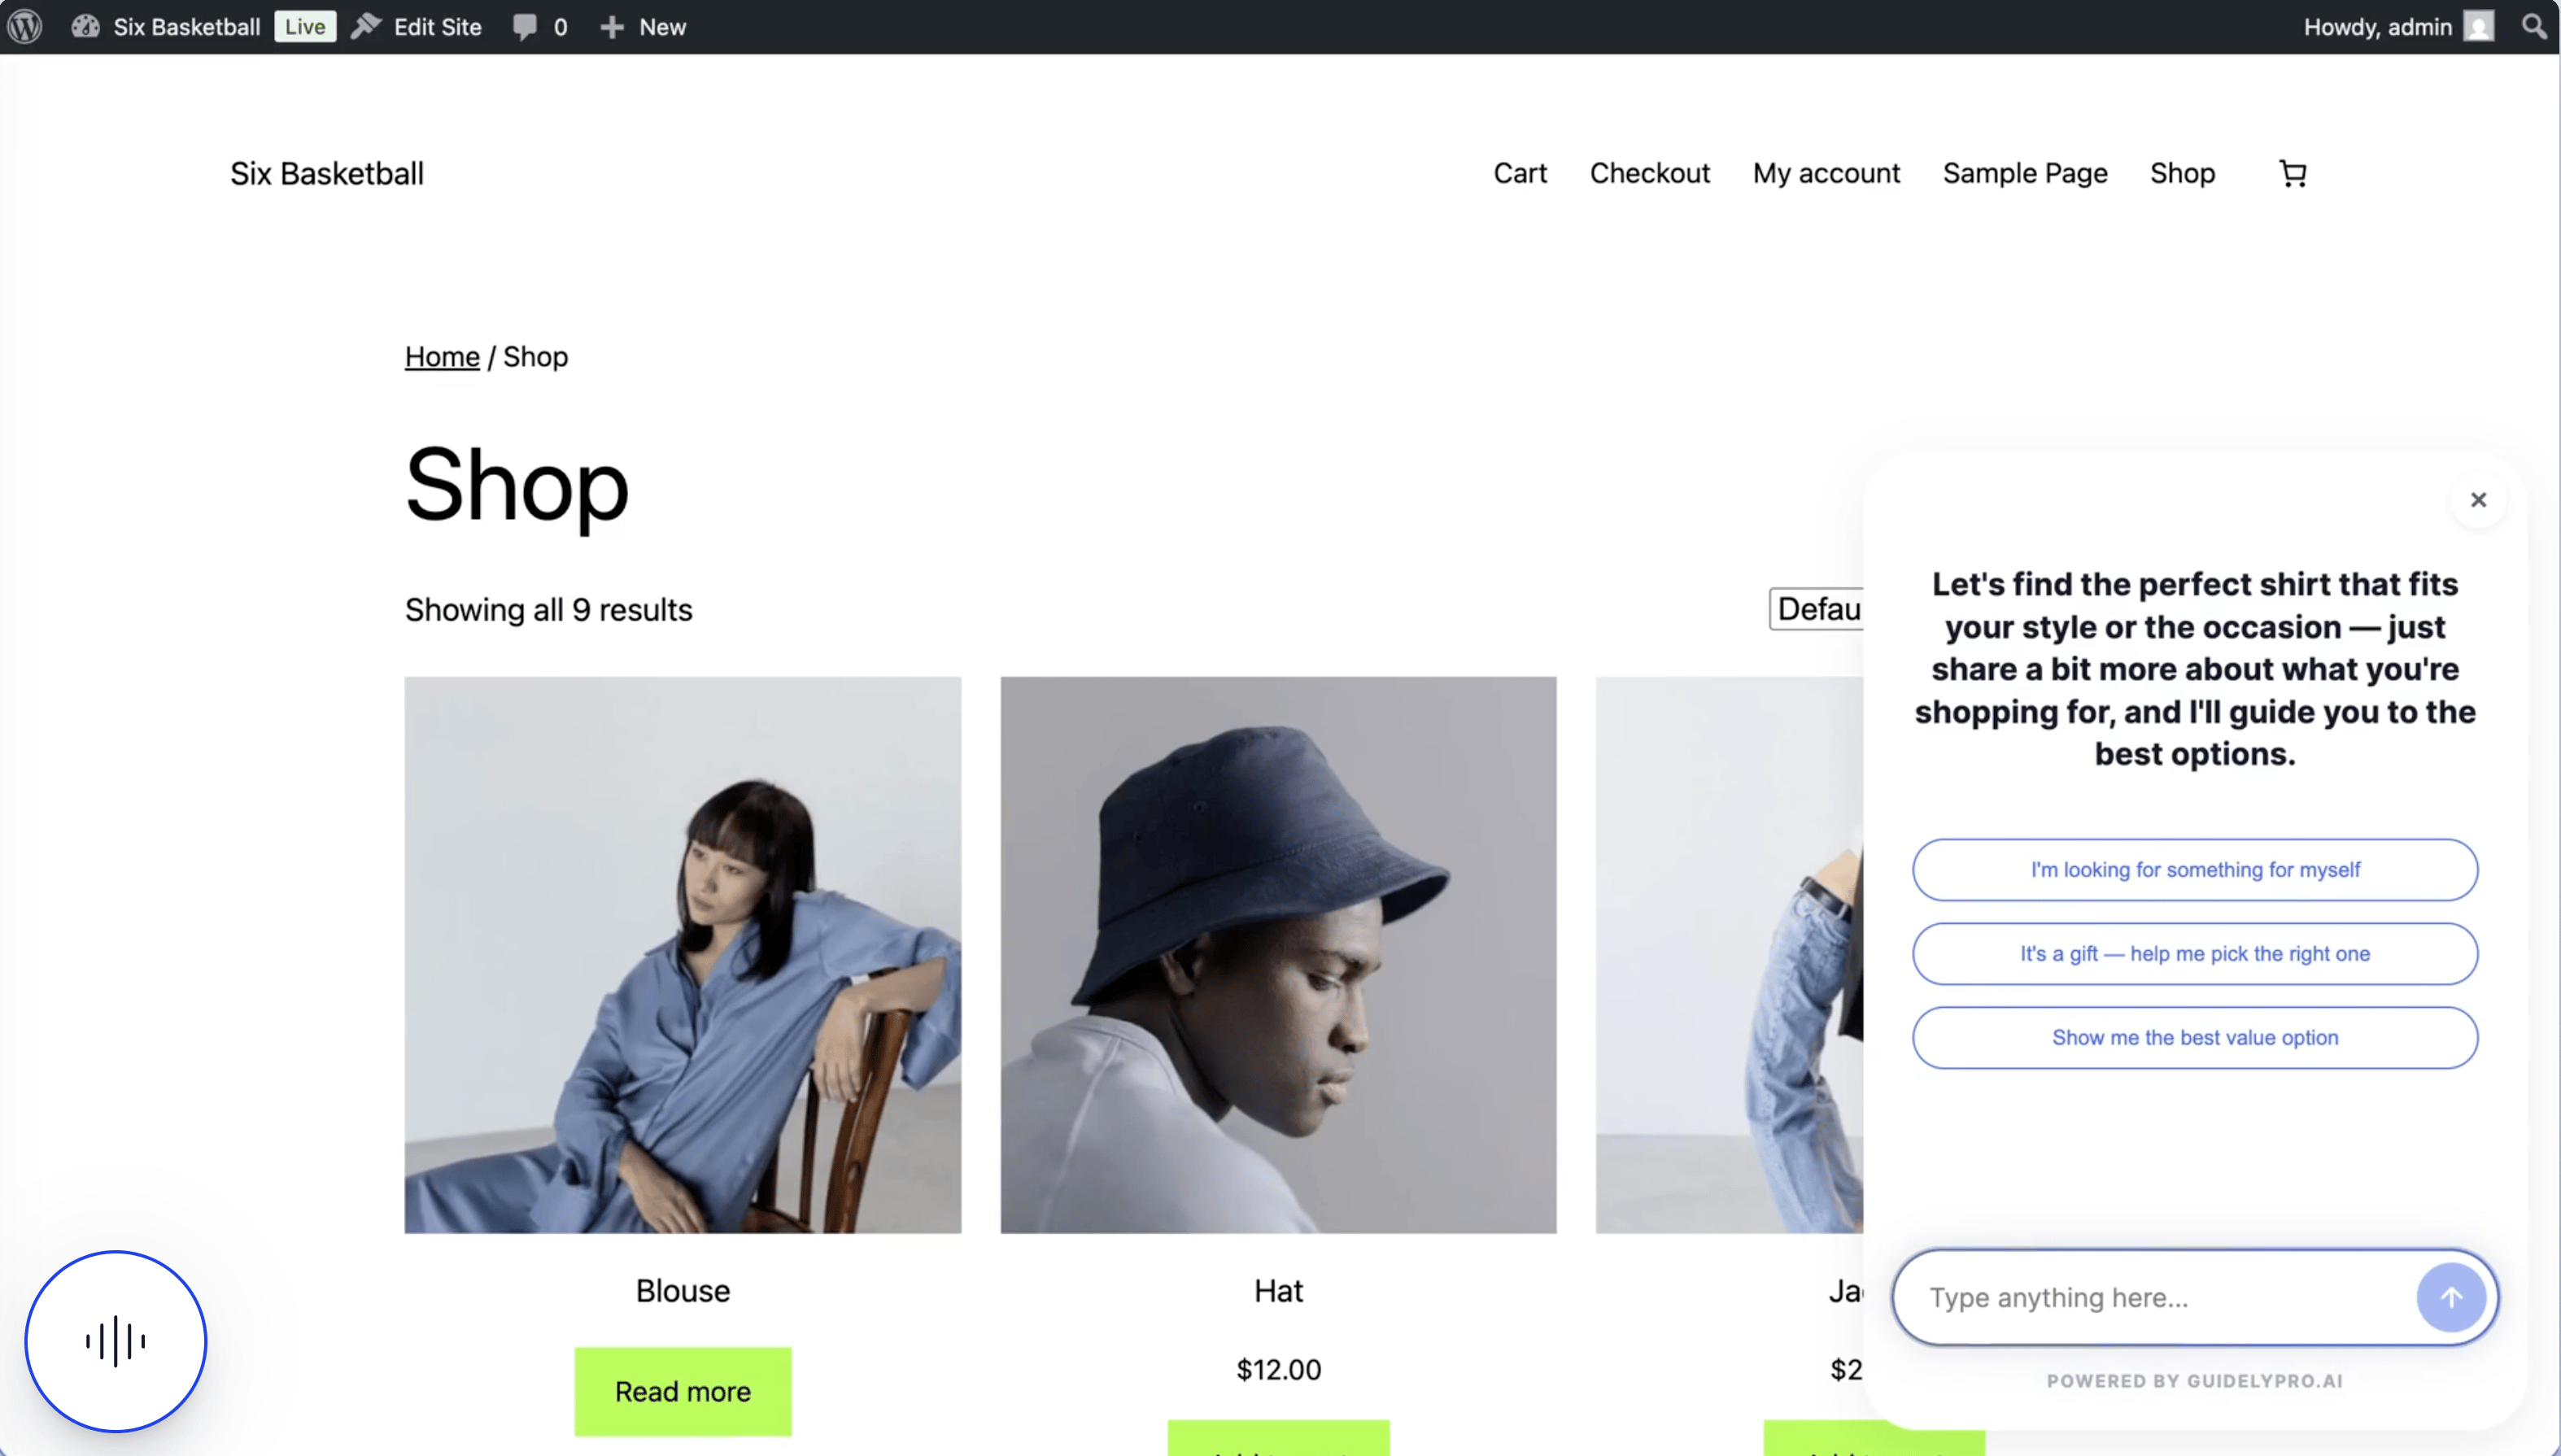
Test the experience on your storefront. That’s it
Your WooCommerce store now runs a guided experience built on your real product catalog — shoppers get guided to the right product instead of browsing past it.