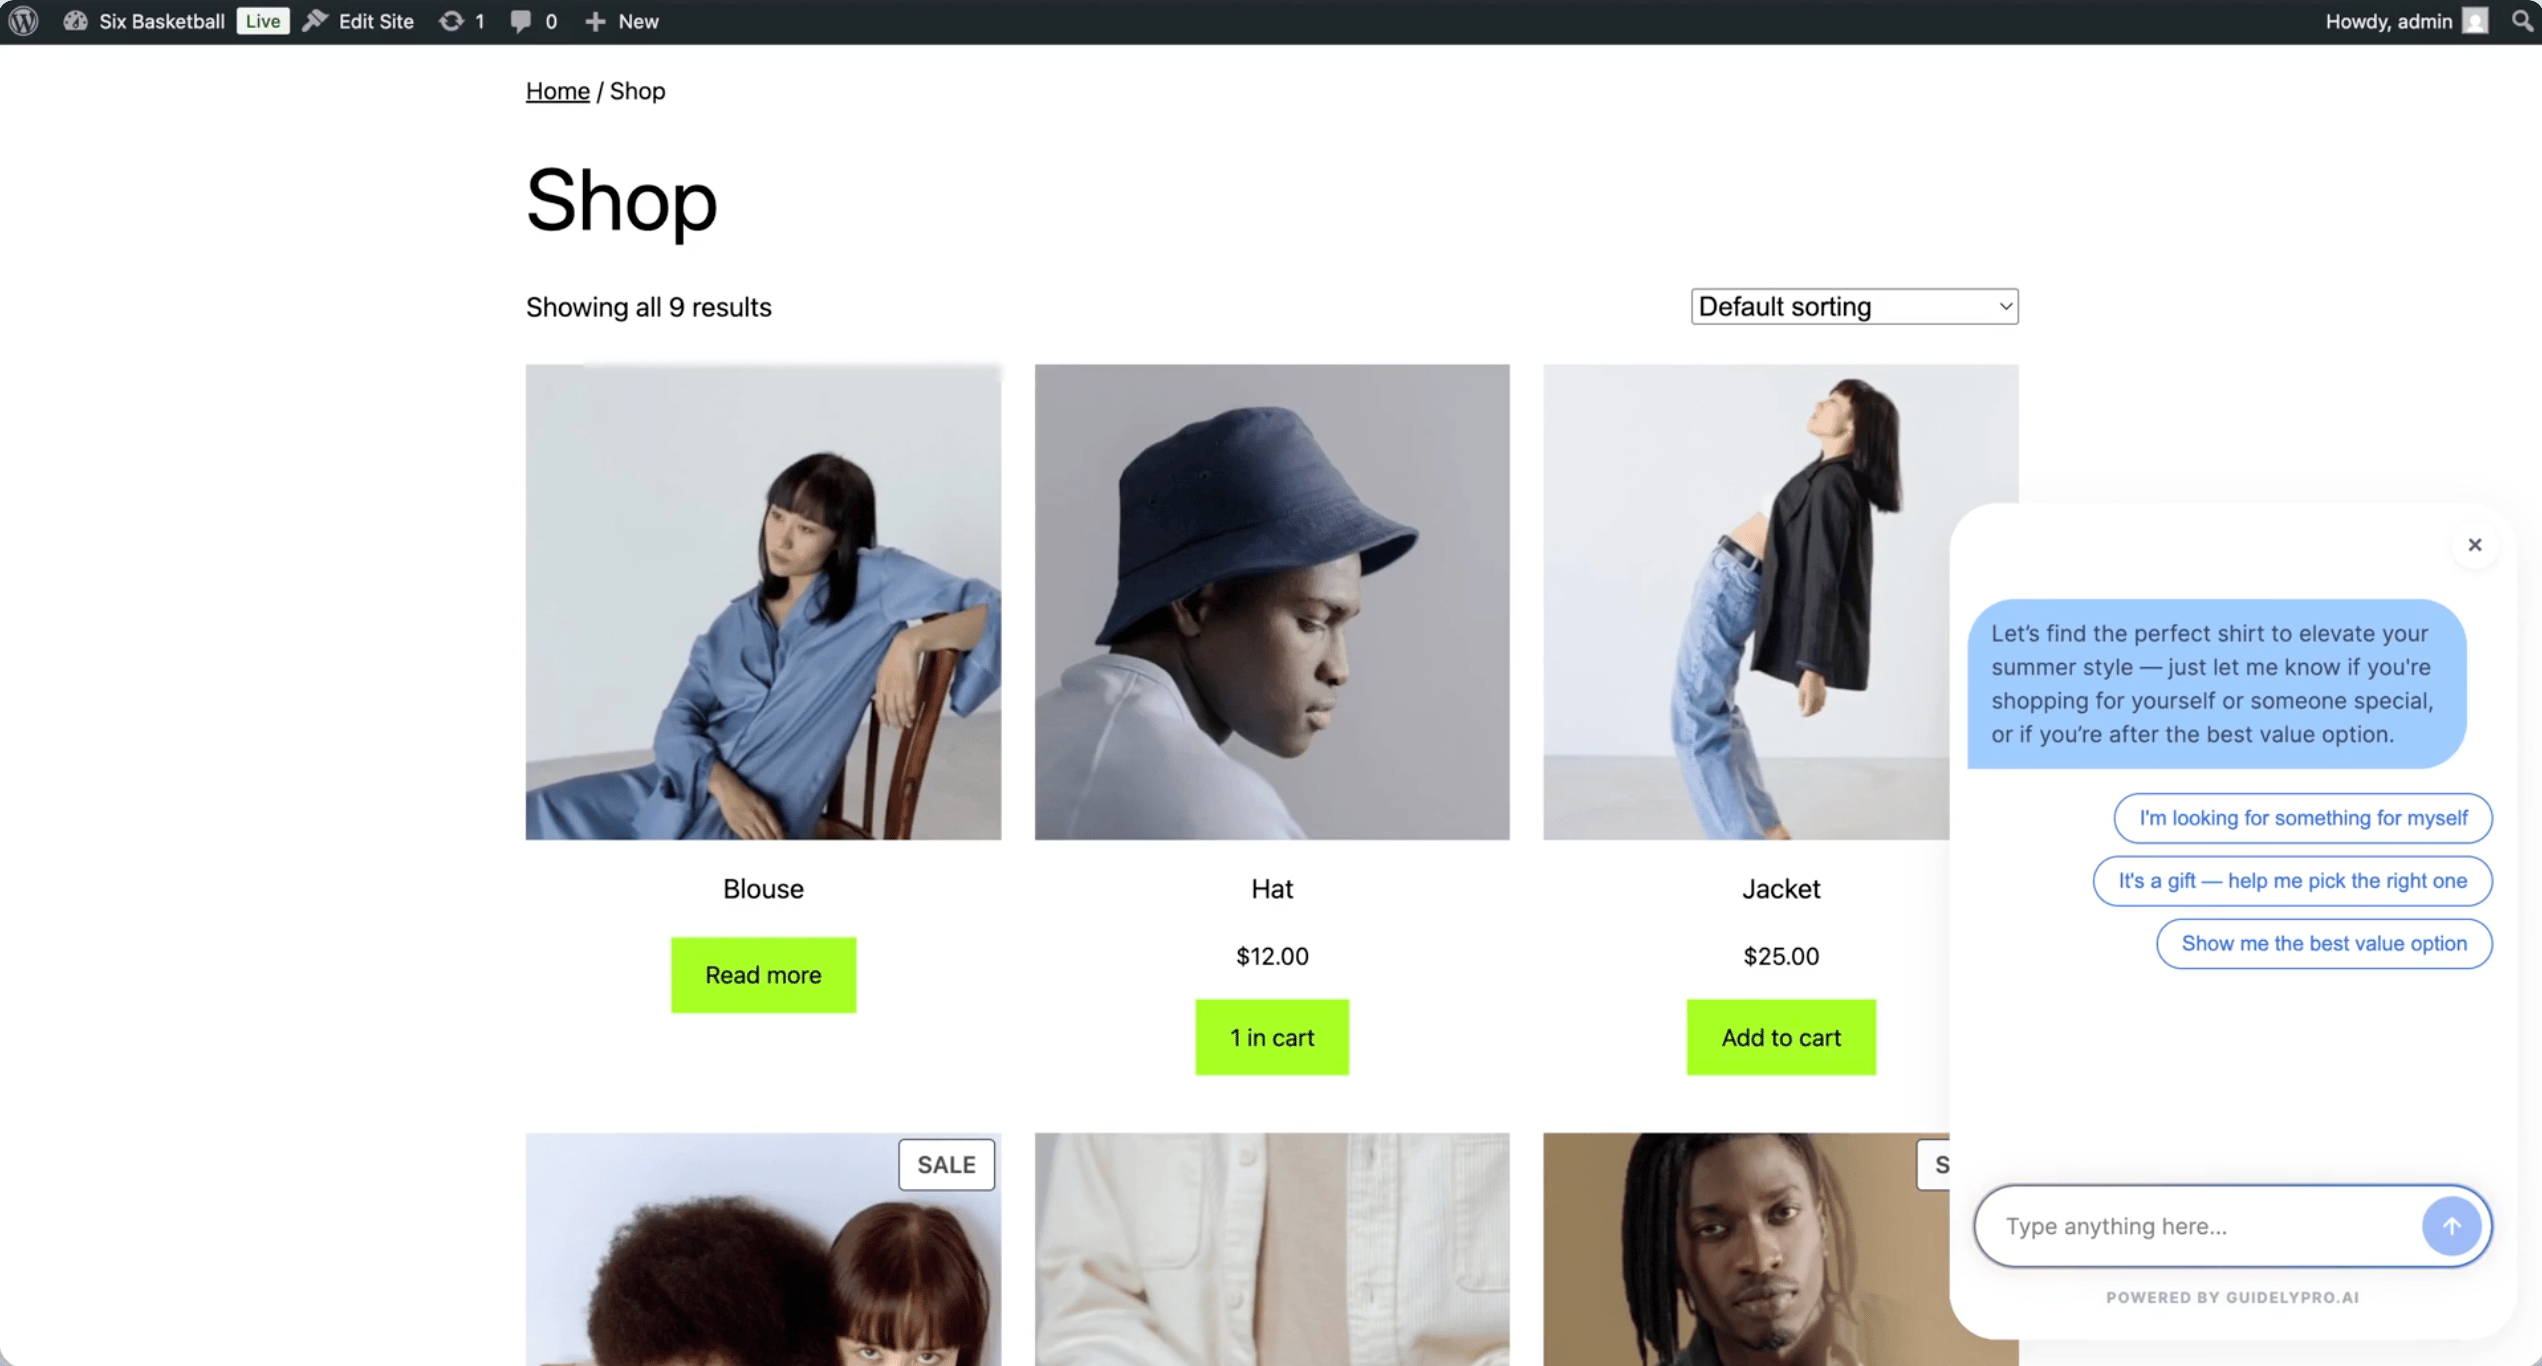
Before you start — you need a WooCommerce store already connected to GuidelyPro.AI with the WordPress plugin installed and a chatbot live (see the WooCommerce setup guide), plus access to your WordPress admin.
Part 1 — Create the new experience
1
Start from the Dashboard
Navigate to the Dashboard to see all your AI shopping experiences in one place, then click Use this Template on the one you want to build from.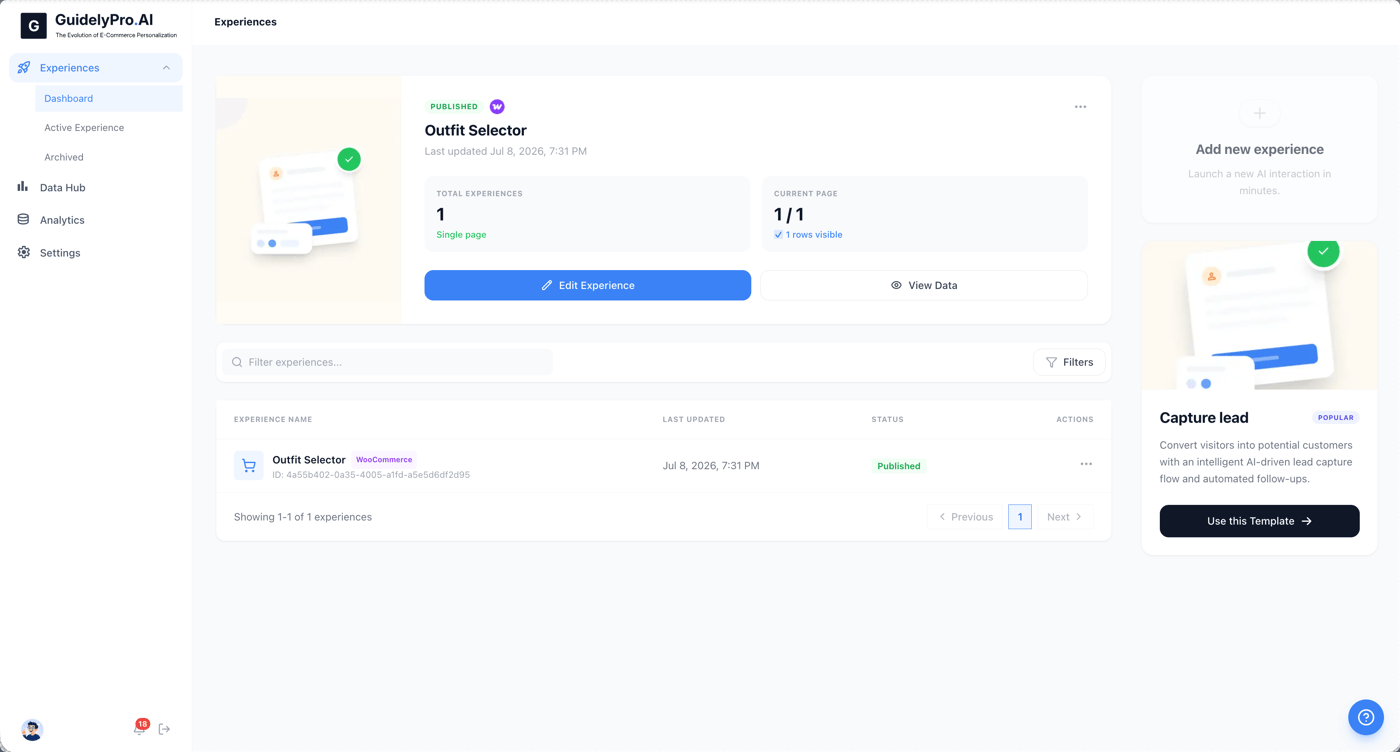
2
Name it
Give your new experience a matching title.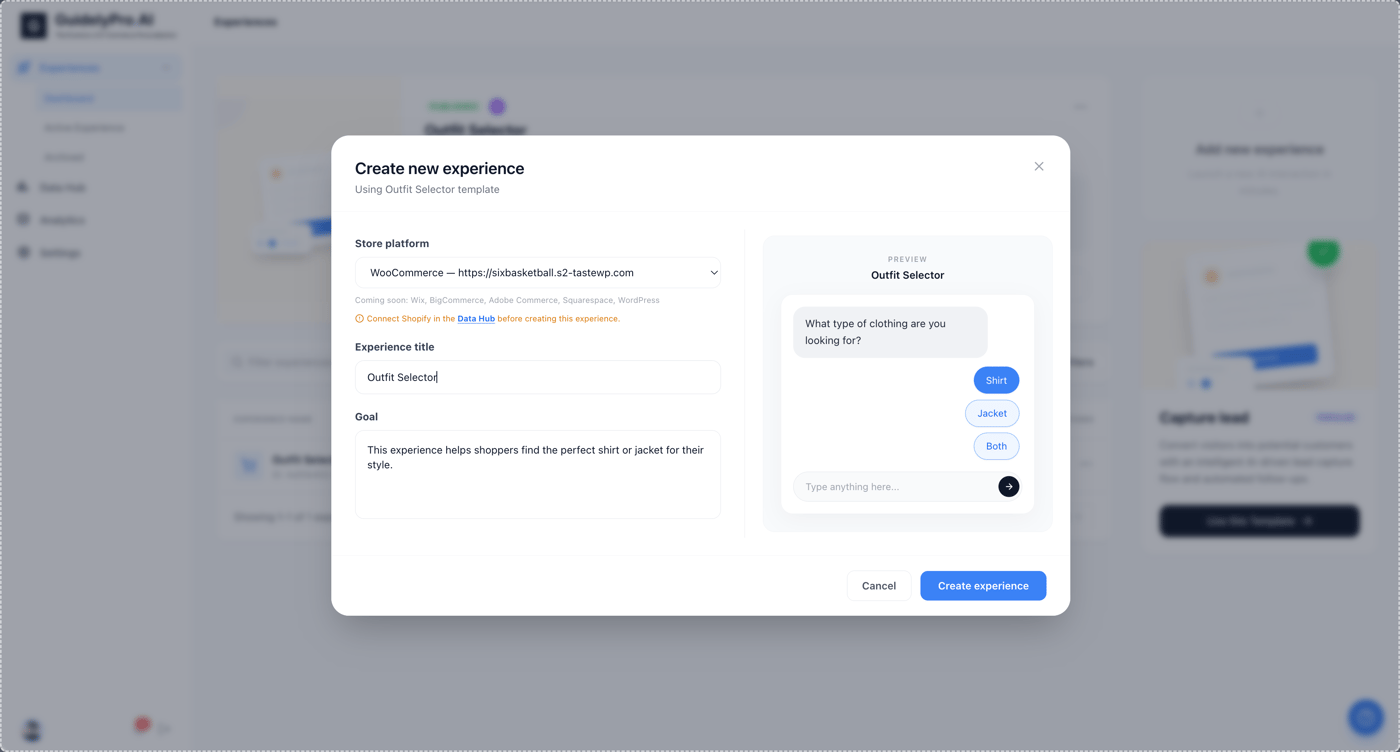
3
Create the experience
Finalize your configuration by clicking Create experience at the bottom.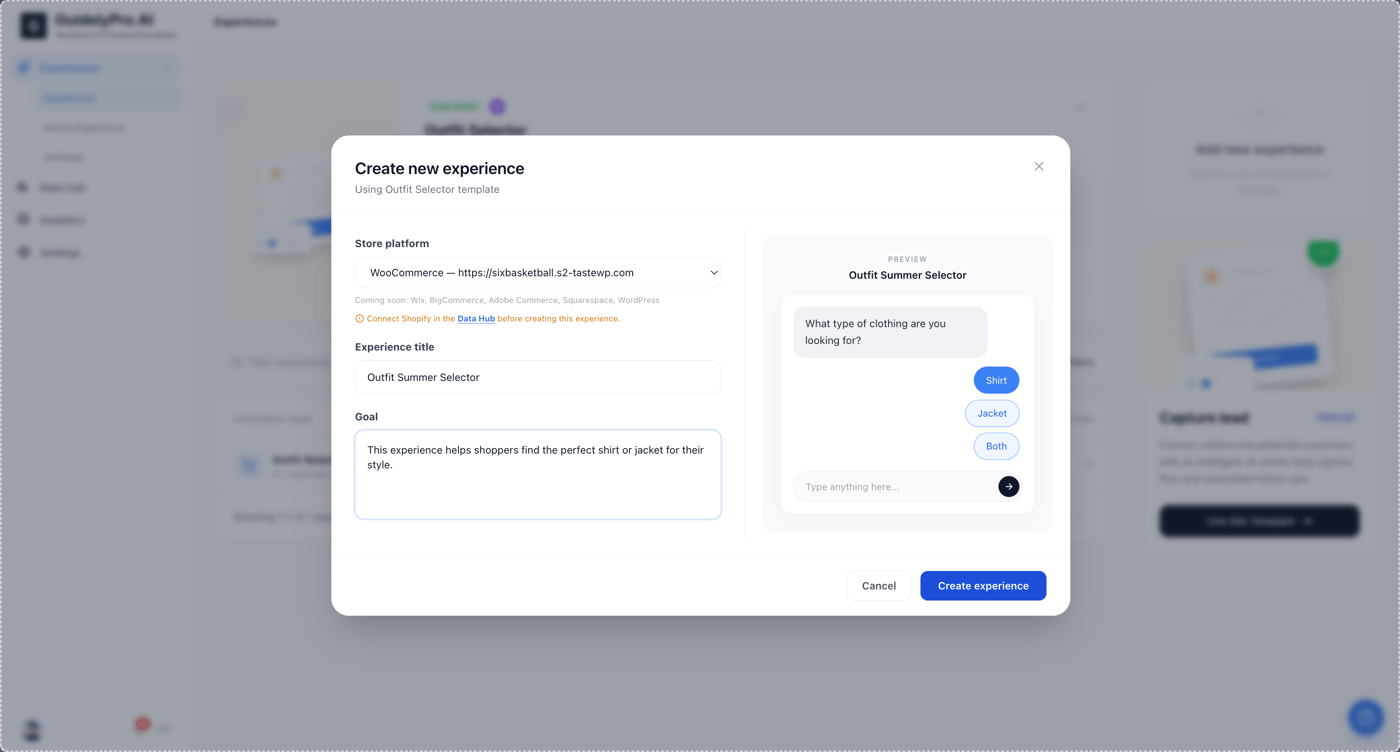
Part 2 — Publish it
1
Publish
In the top right corner, click Publish.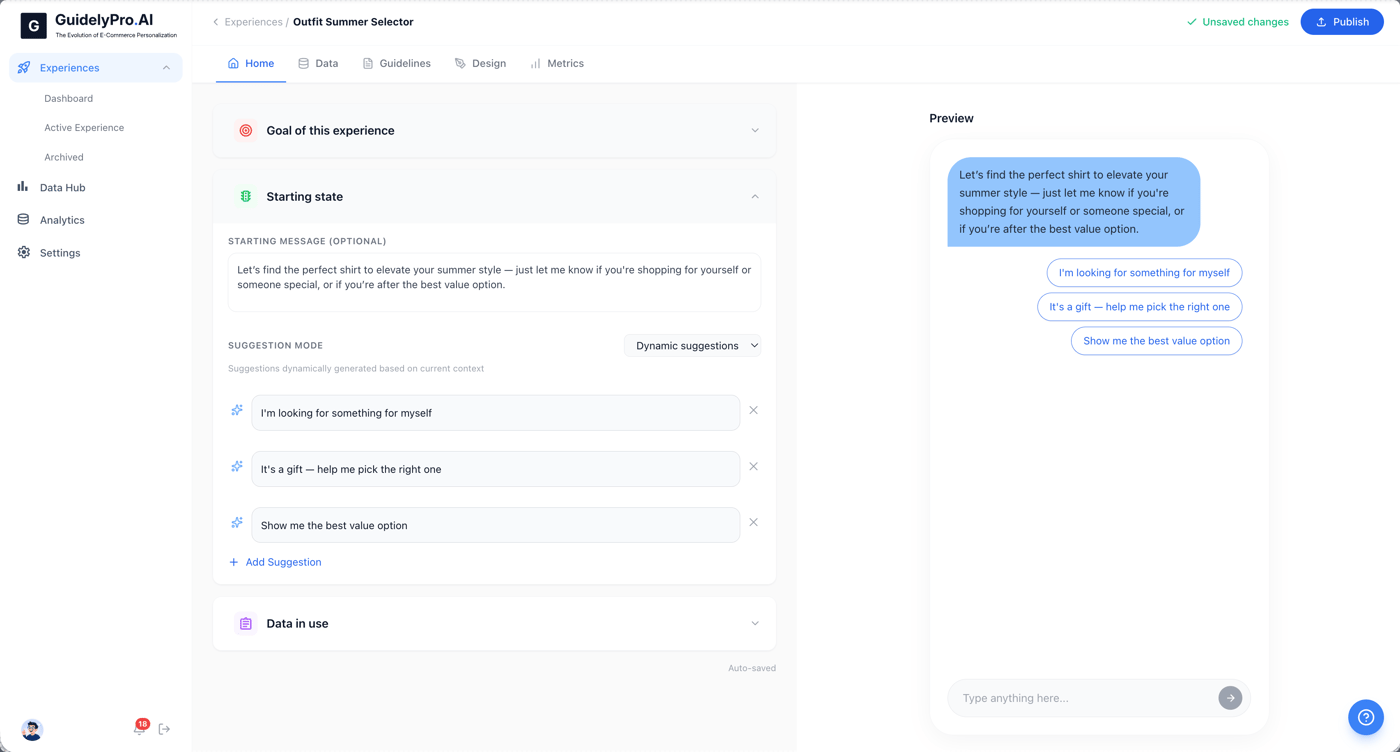
2
Close the confirmation
Close the View Published Experience dialog.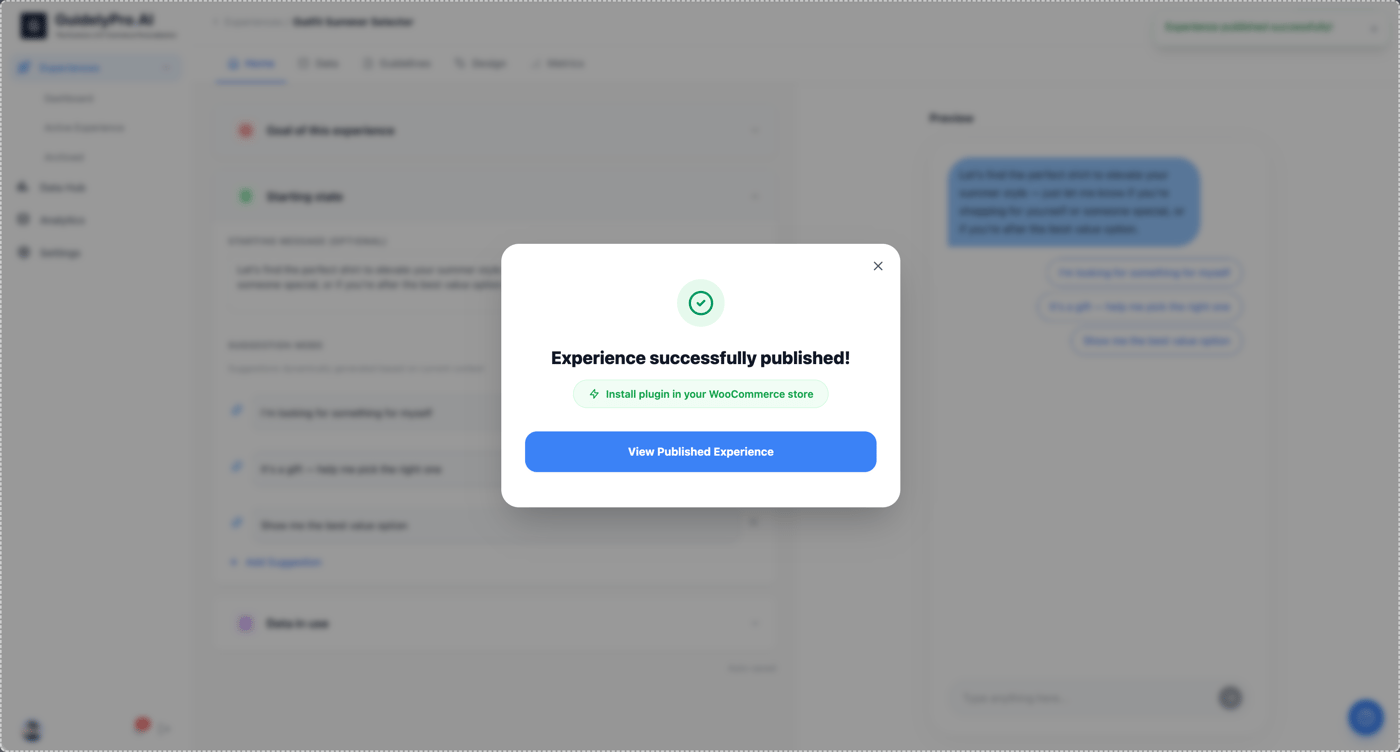
Part 3 — Make it the active experience
1
Open the Data Hub
Open the Data Hub to manage your linked experiences.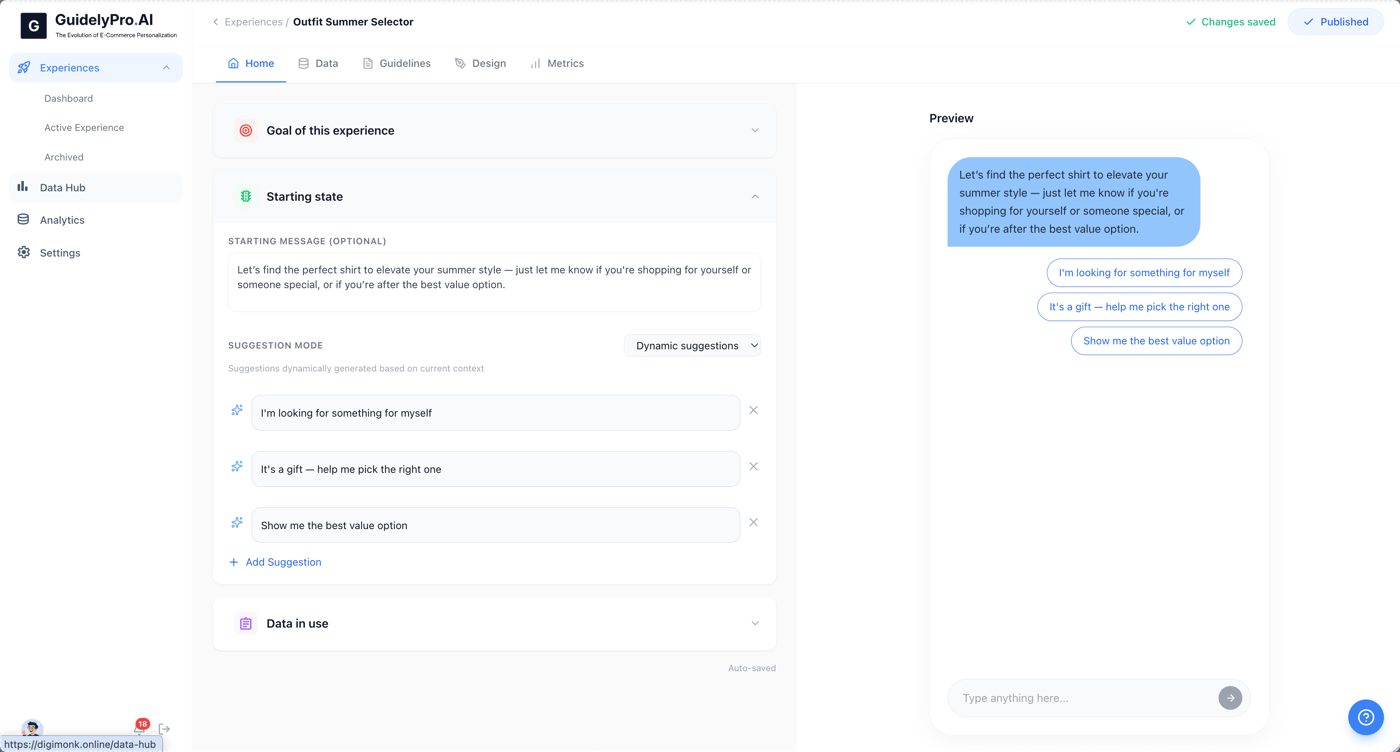
2
Change the active experience
Click Change to select which experience should be active on your WooCommerce store.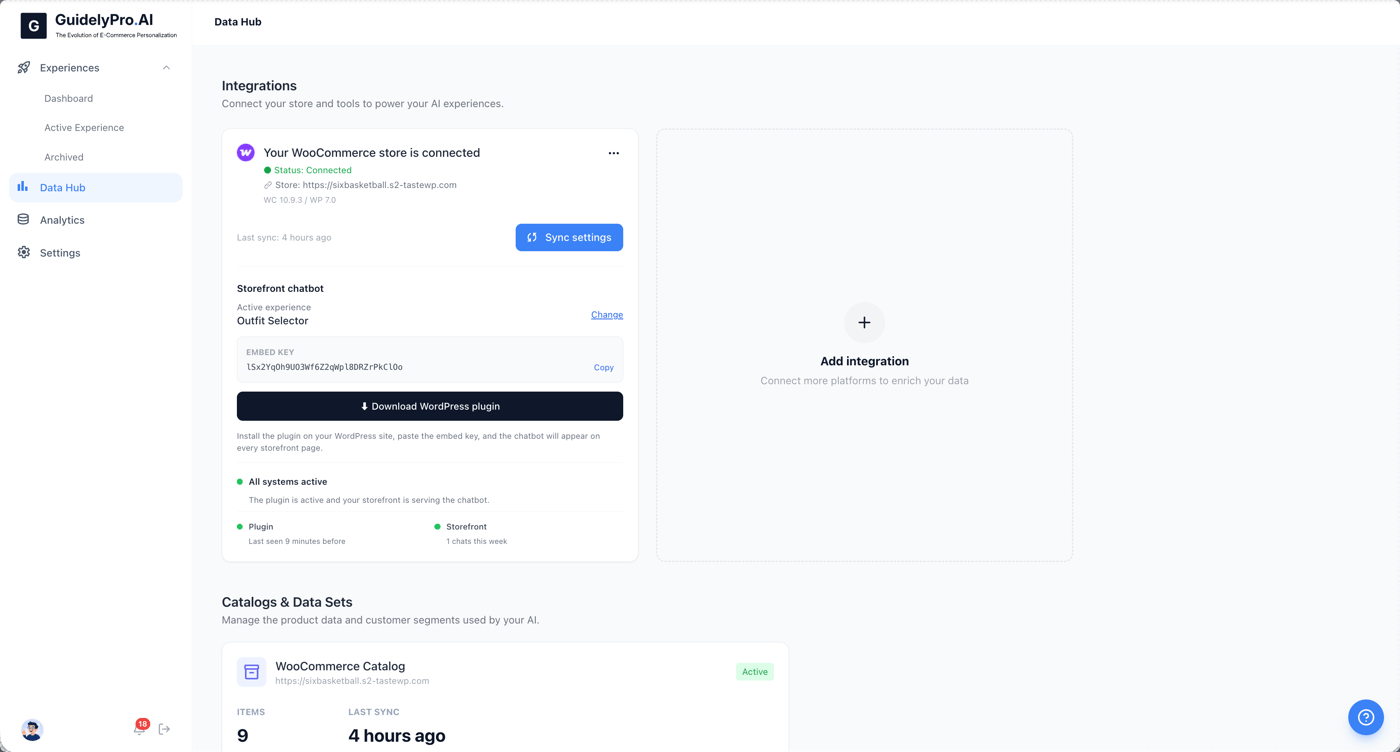
3
Select the experience
Select the experience you want live on your storefront.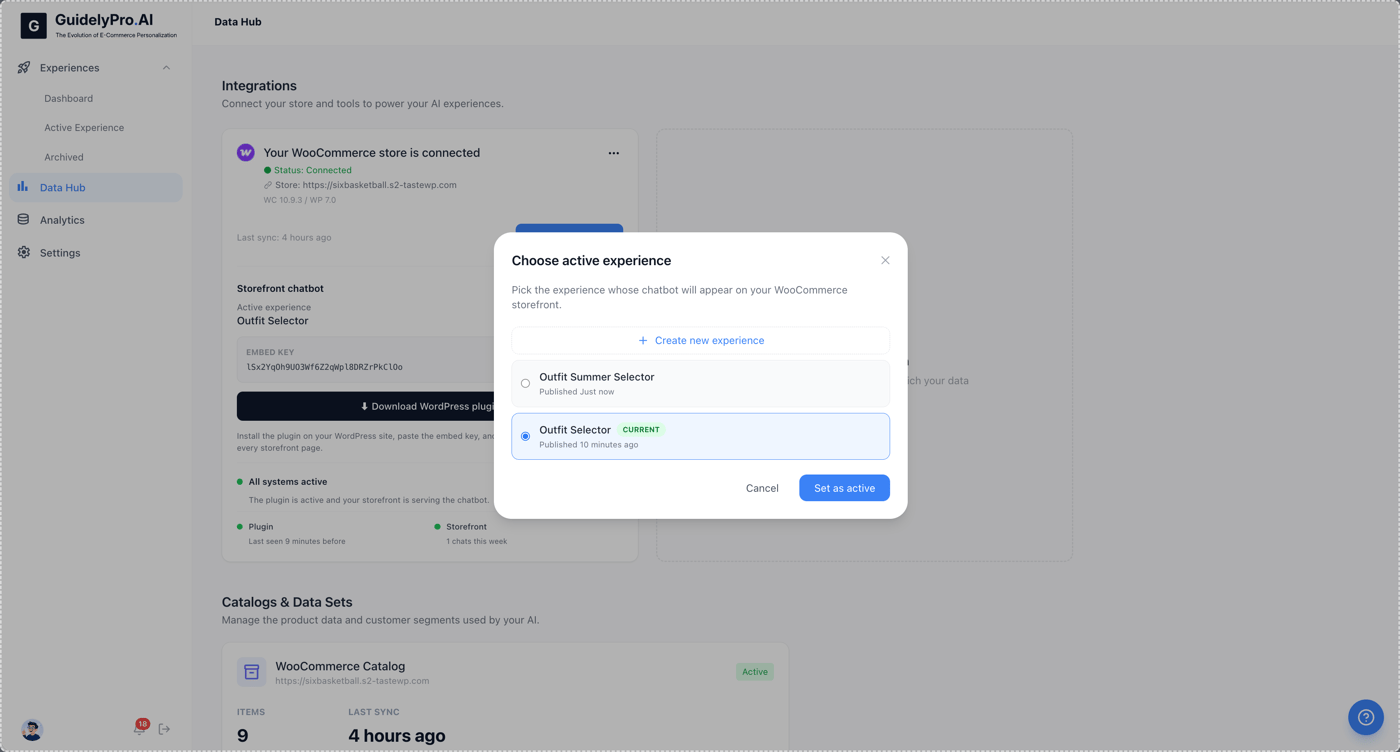
4
Set as active
Click Set as active to activate the experience.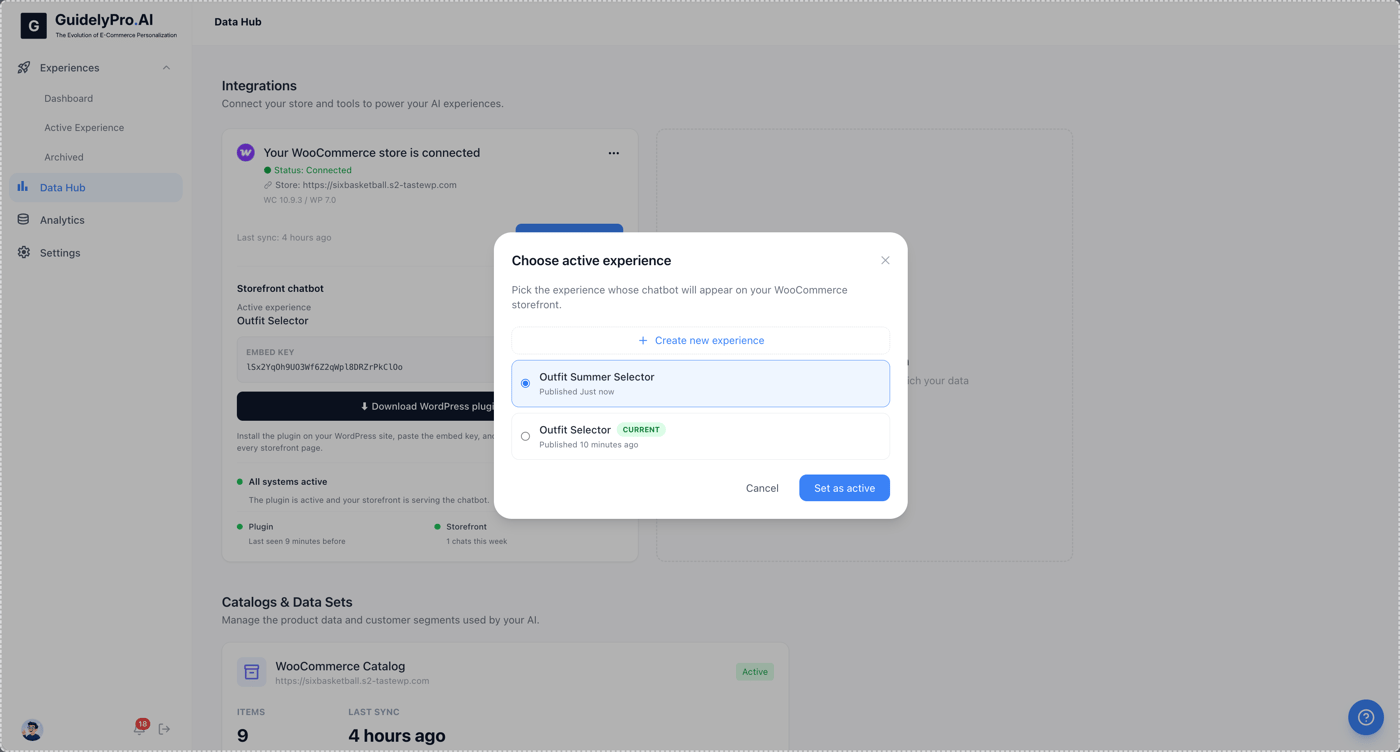
Part 4 — Update the plugin embed key
1
Copy the new embed key
Copy the newly created embed key — it needs to be updated in your WooCommerce plugin.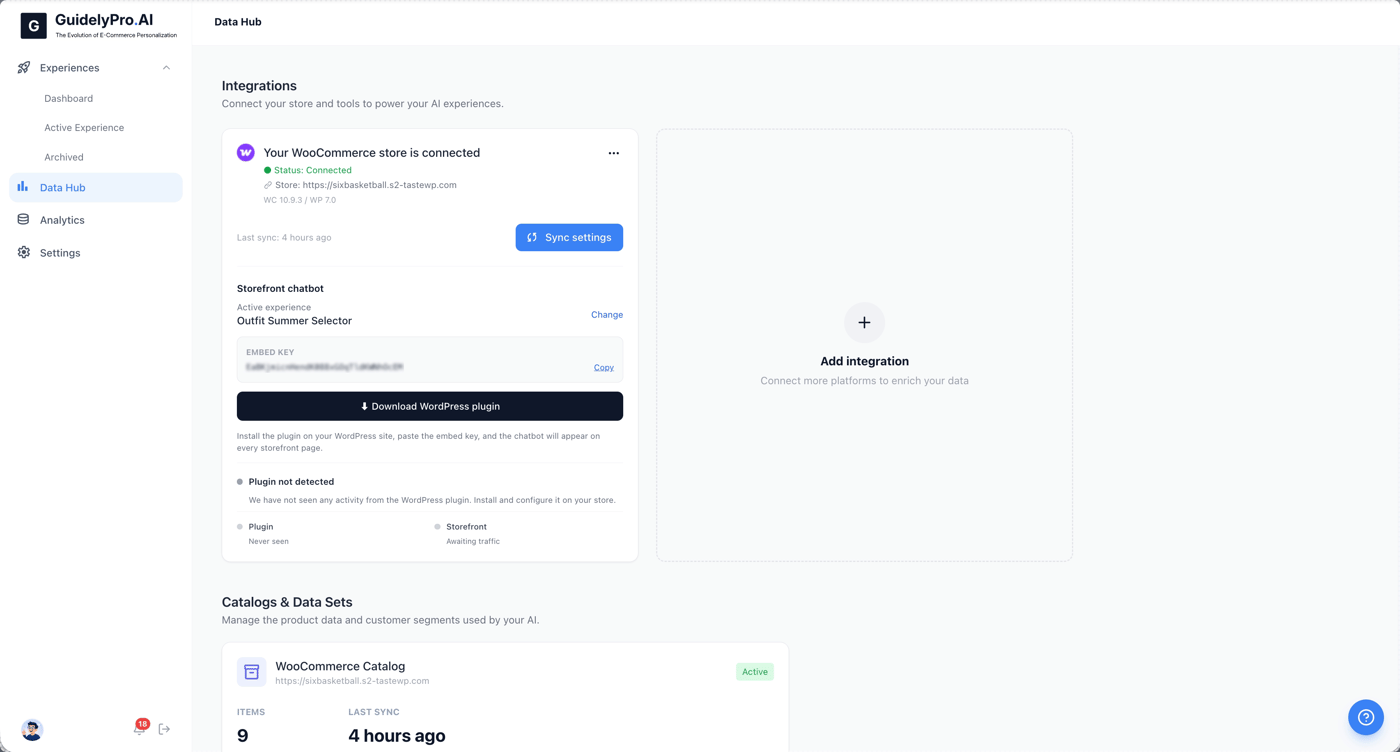
2
Open Plugins in WordPress
Open the Plugins section in WordPress to view and manage your installed plugins.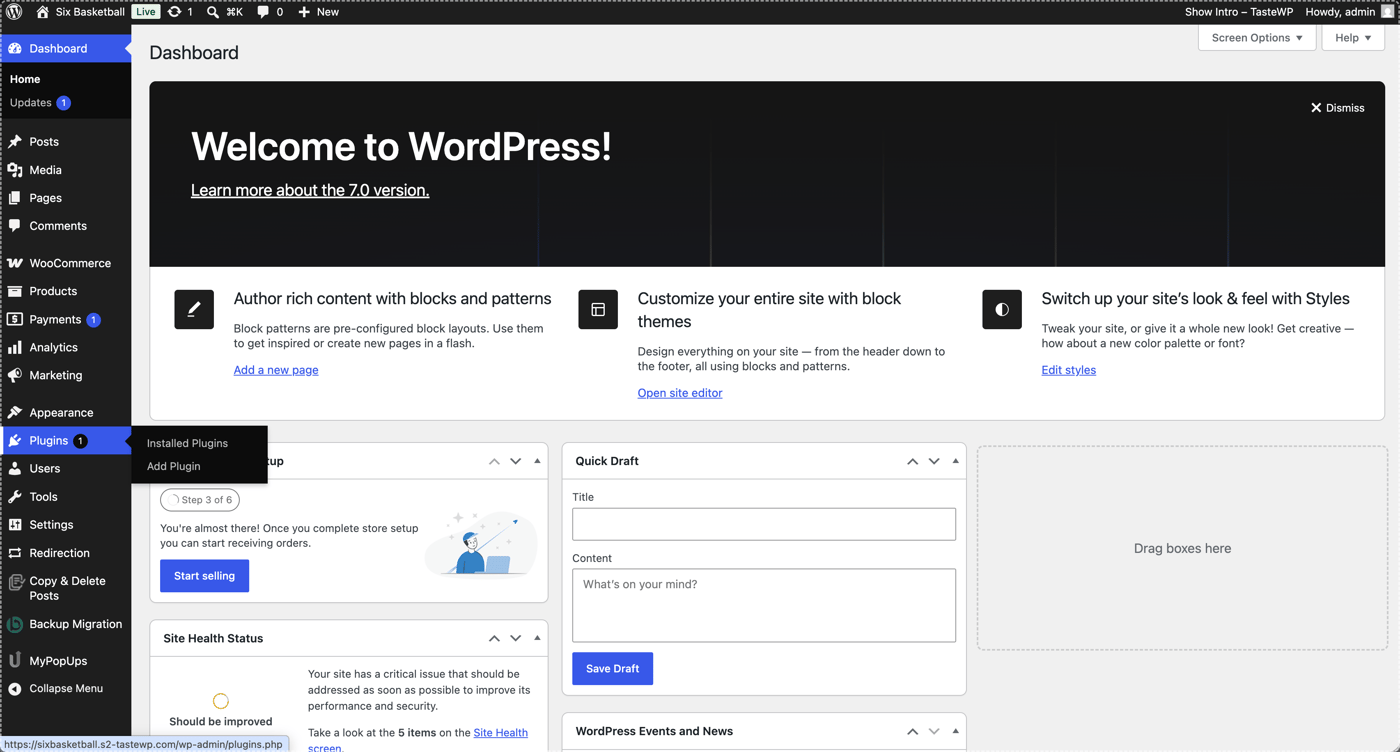
3
Open the plugin settings
Click Settings for GuidelyPro.AI to open the plugin options.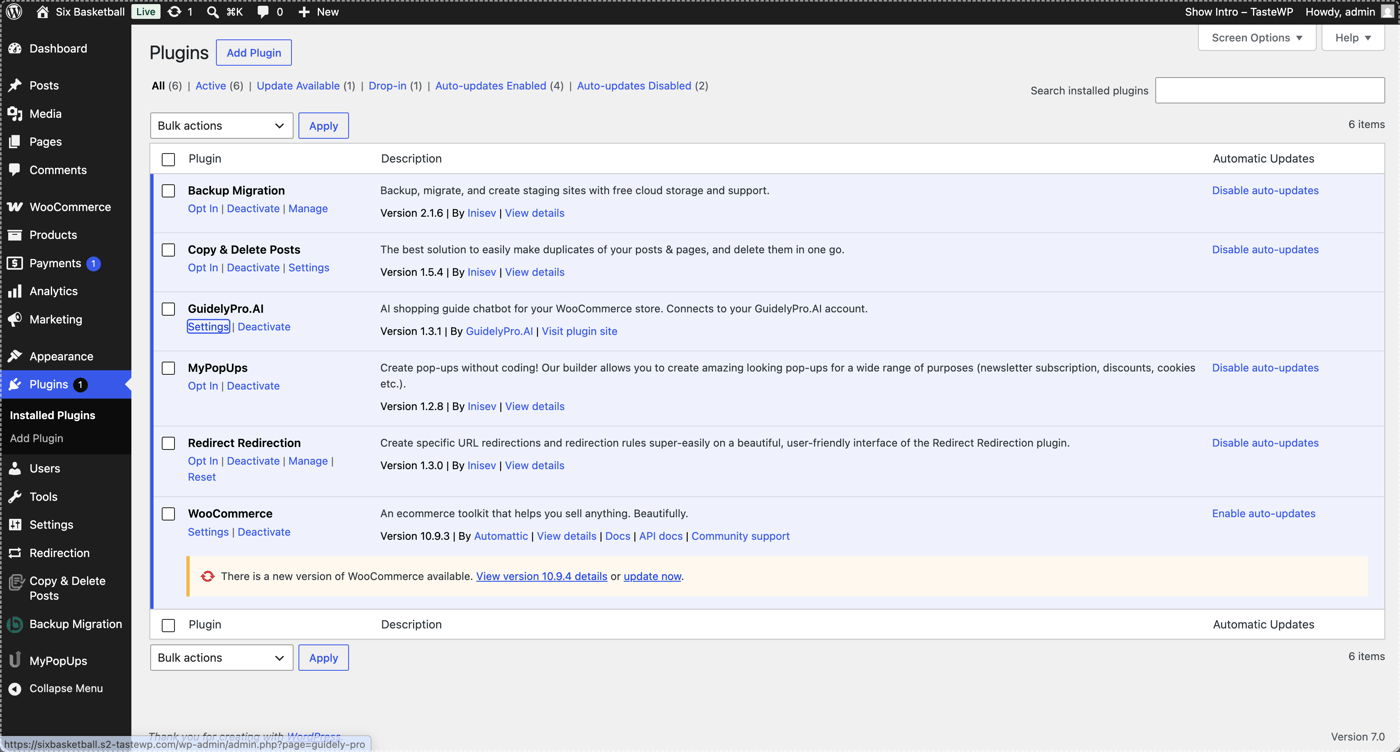
4
Paste the key
Paste the embed key you just copied into the Embed key or snippet field.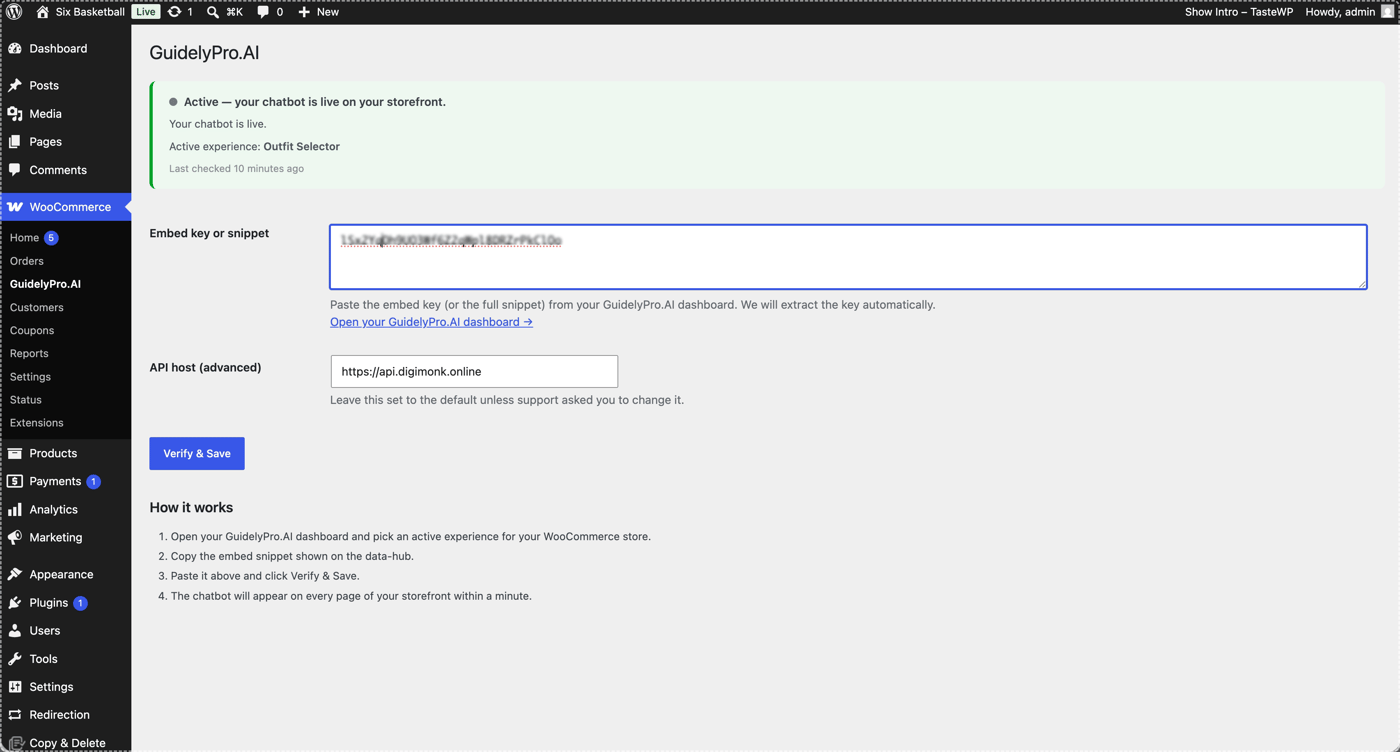
5
Verify and save
Click Verify & Save — your new experience goes live on every storefront page within a minute.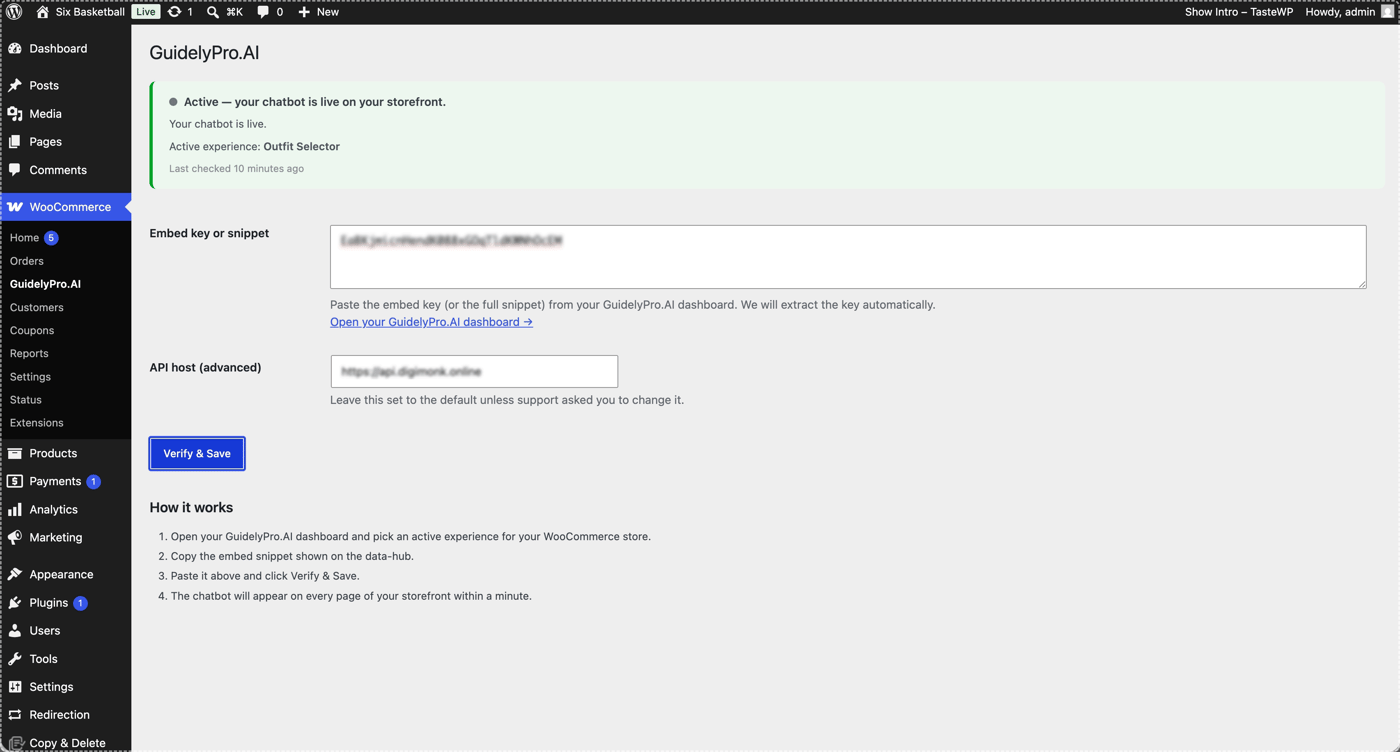
Part 5 — Test it
1
Try the new experience
Test your live storefront by interacting with the new experience — make sure your assistant is enhancing the customer journey.