> ## Documentation Index
> Fetch the complete documentation index at: https://docs.guidelypro.ai/llms.txt
> Use this file to discover all available pages before exploring further.
# WooComerce: Switch and Activate a New Experience for WooCommerce
Start building awesome a conversion engine for your e-commerce store in minutes.
***
**Before you start** — you need a WooCommerce store already connected to GuidelyPro.AI with the WordPress plugin installed and a chatbot live (see the [WooCommerce setup guide](/guides/connect-woocommerce)), plus access to your WordPress admin.
Prefer to watch? Click through the interactive walkthrough
***
## Part 1 — Create the new experience
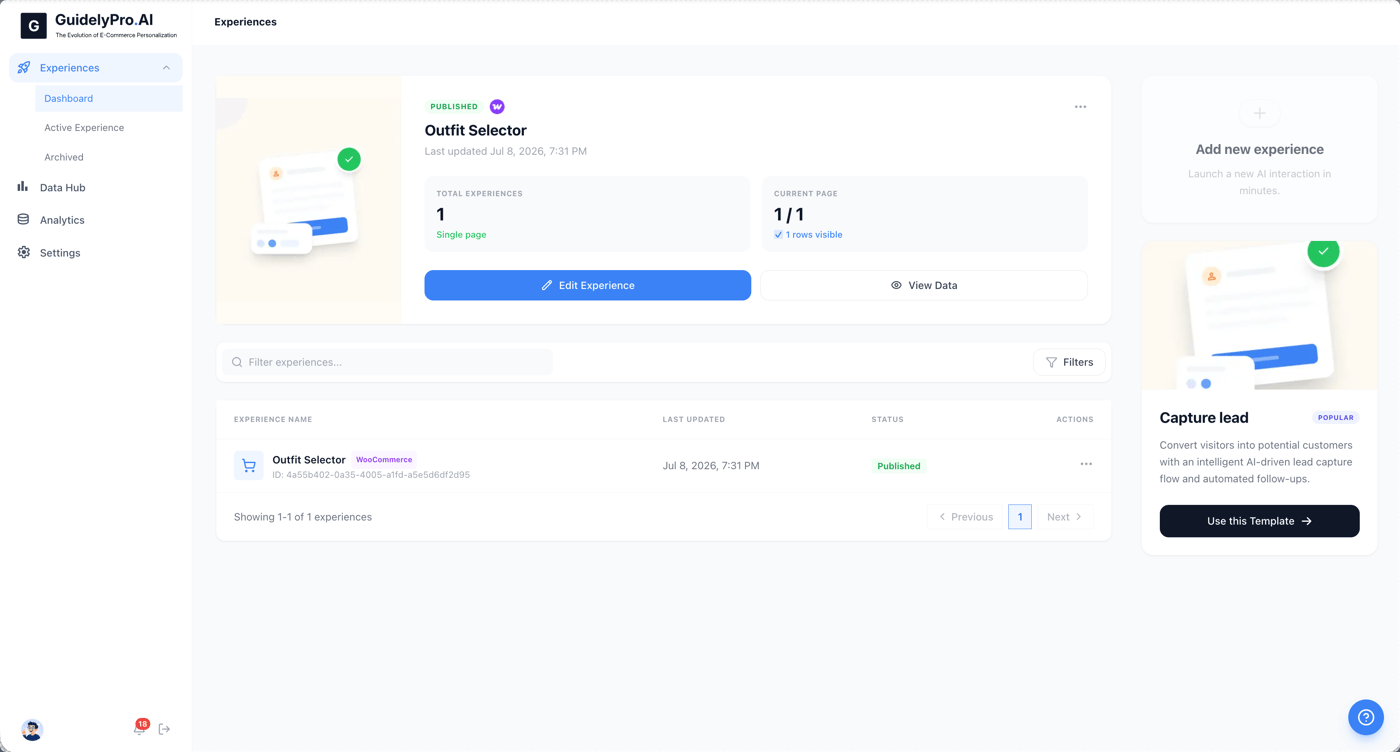
Navigate to the **Dashboard** to see all your AI shopping experiences in one place, then click **Use this Template** on the one you want to build from.
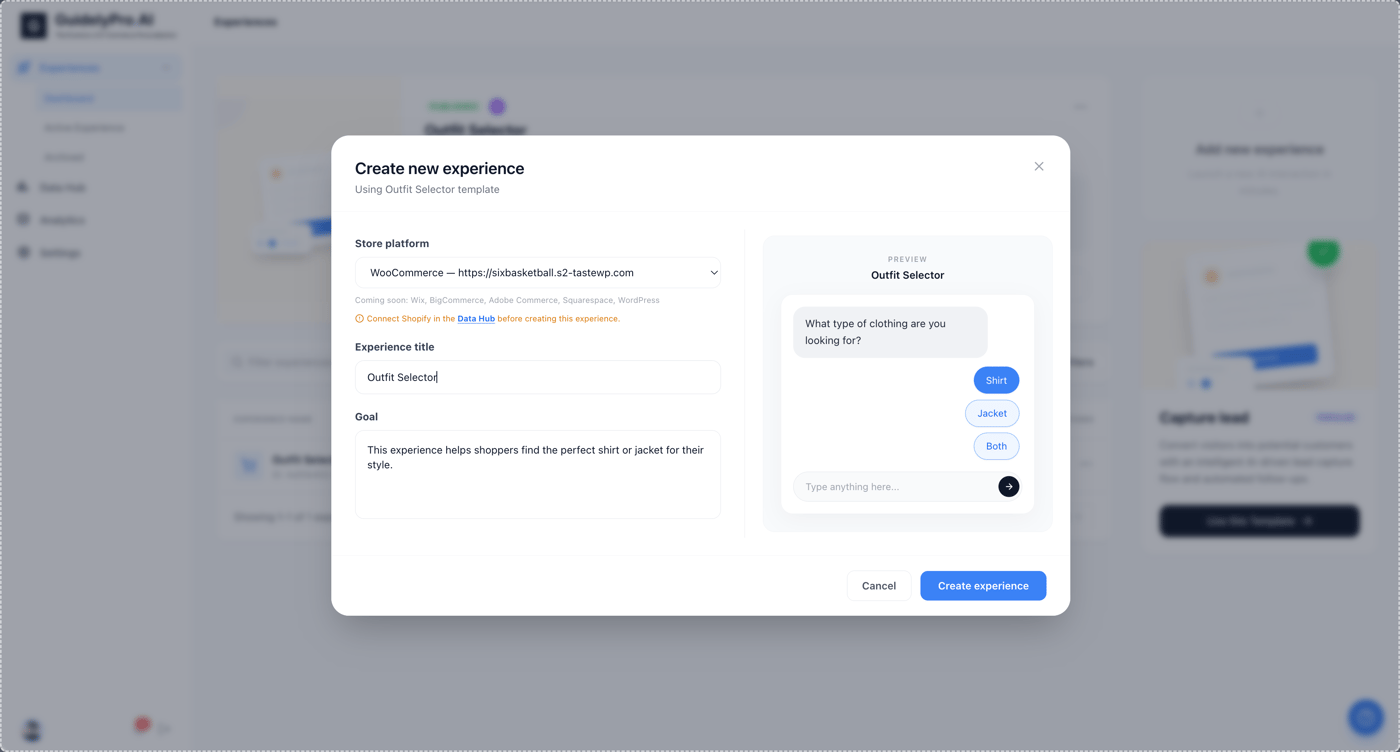
 Give your new experience a matching title.
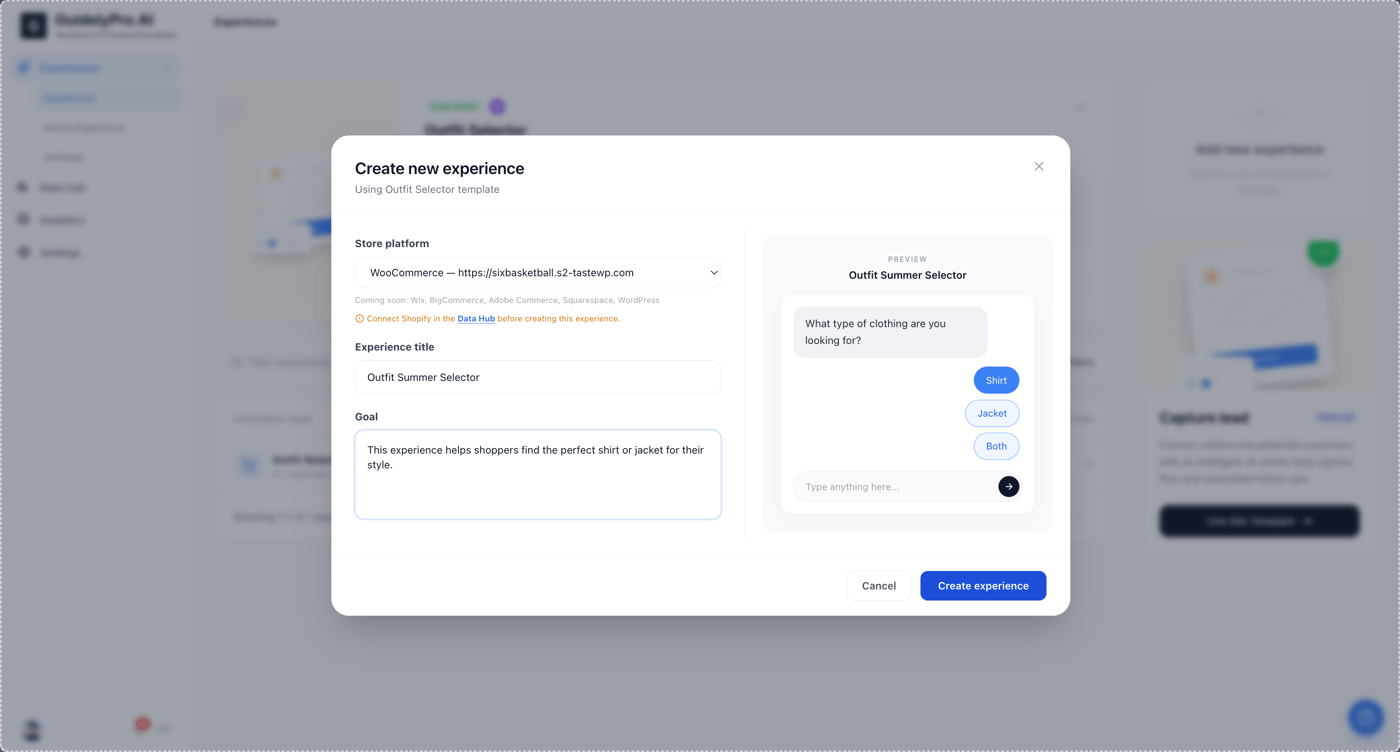
 Finalize your configuration by clicking **Create experience** at the bottom.
 ## Part 2 — Publish it
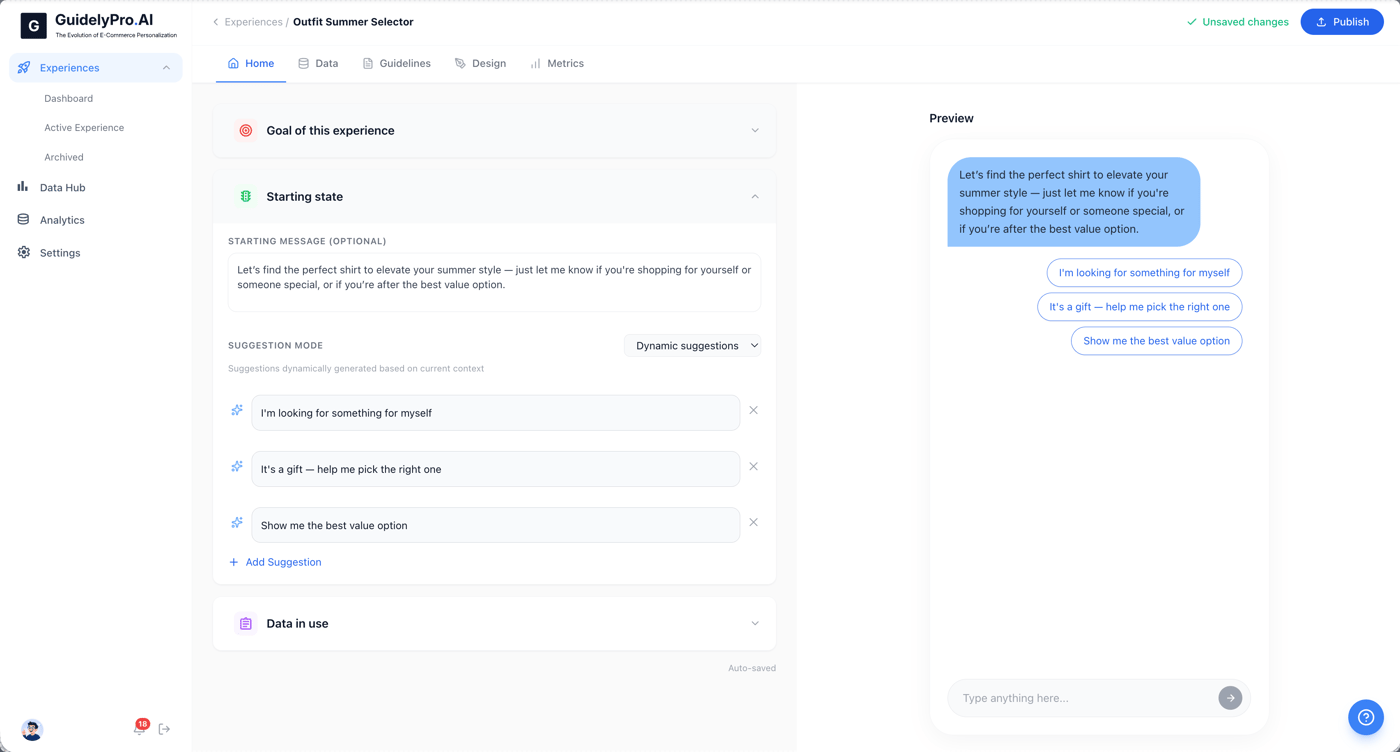
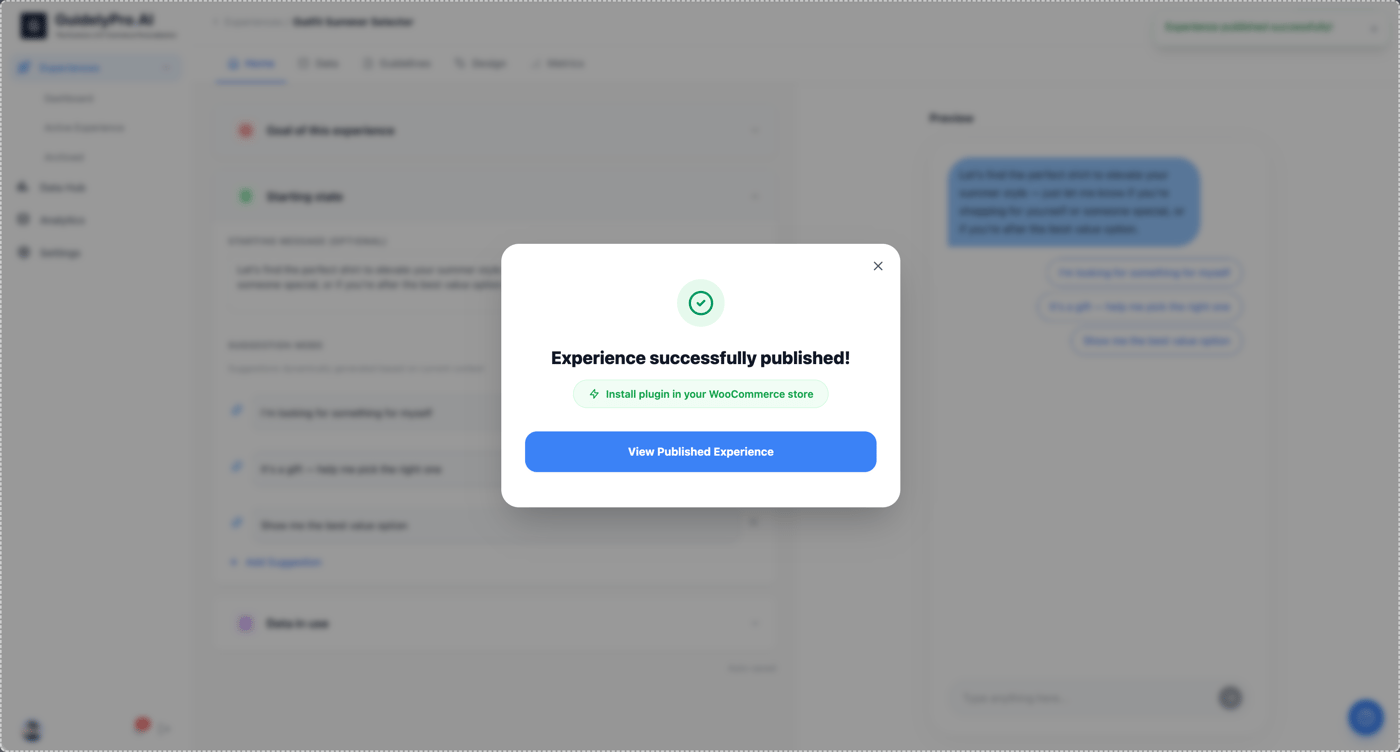
In the top right corner, click **Publish**.
## Part 2 — Publish it
In the top right corner, click **Publish**.
 Close the **View Published Experience** dialog.
 ## Part 3 — Make it the active experience
Open the **Data Hub** to manage your linked experiences.
## Part 3 — Make it the active experience
Open the **Data Hub** to manage your linked experiences.
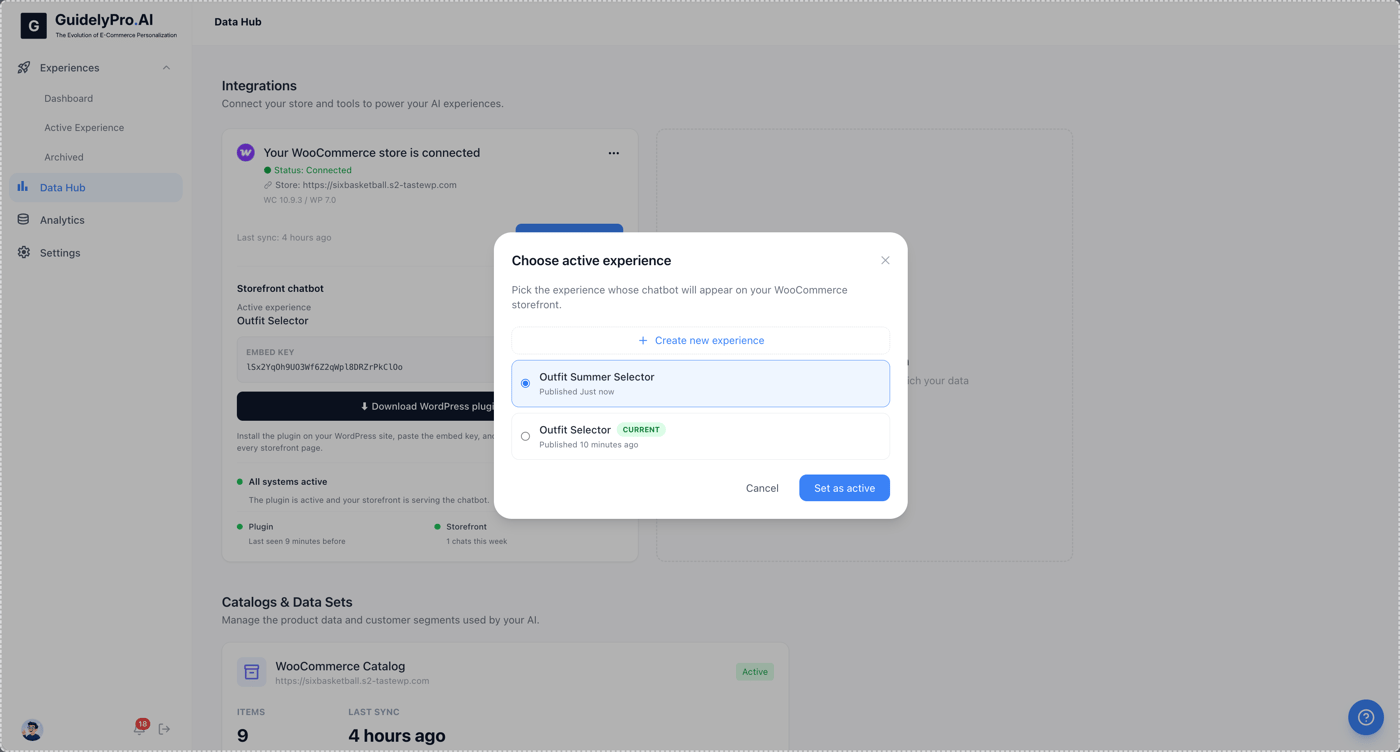
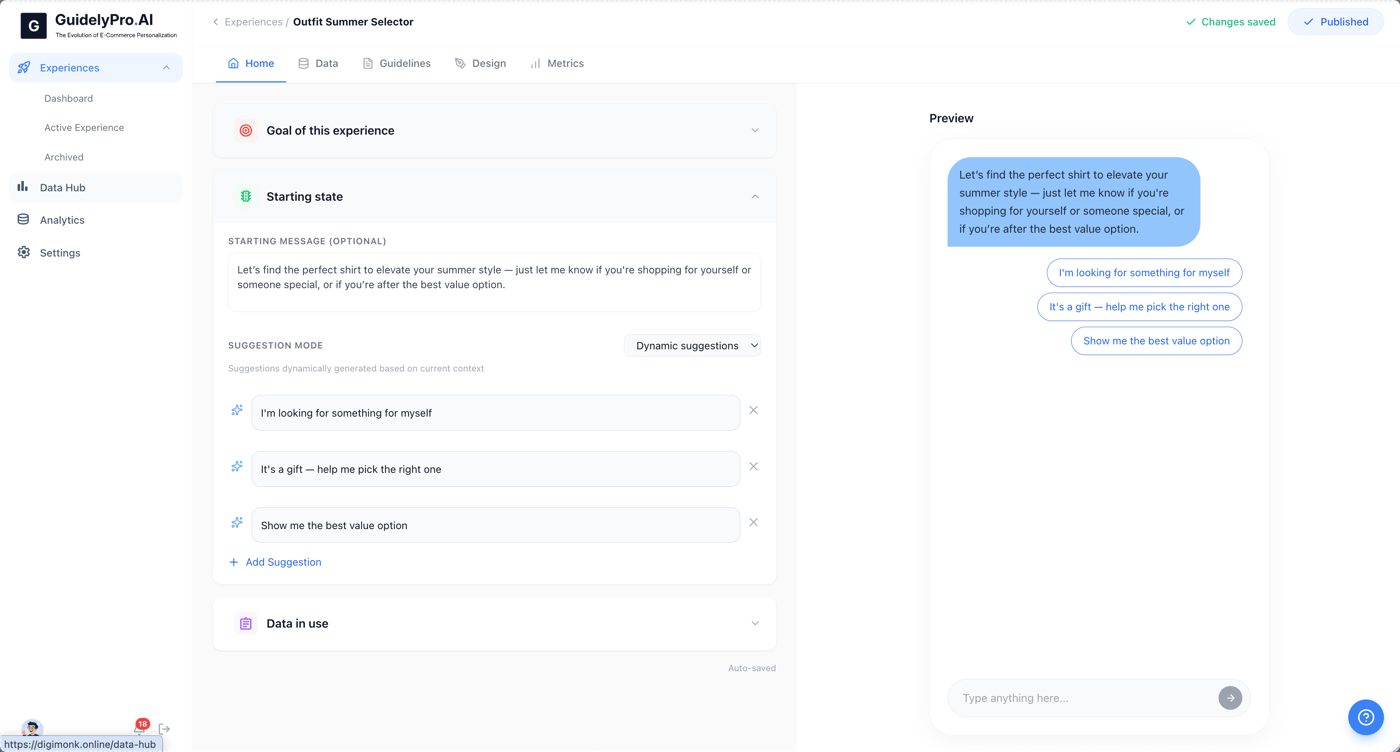 Click **Change** to select which experience should be active on your WooCommerce store.
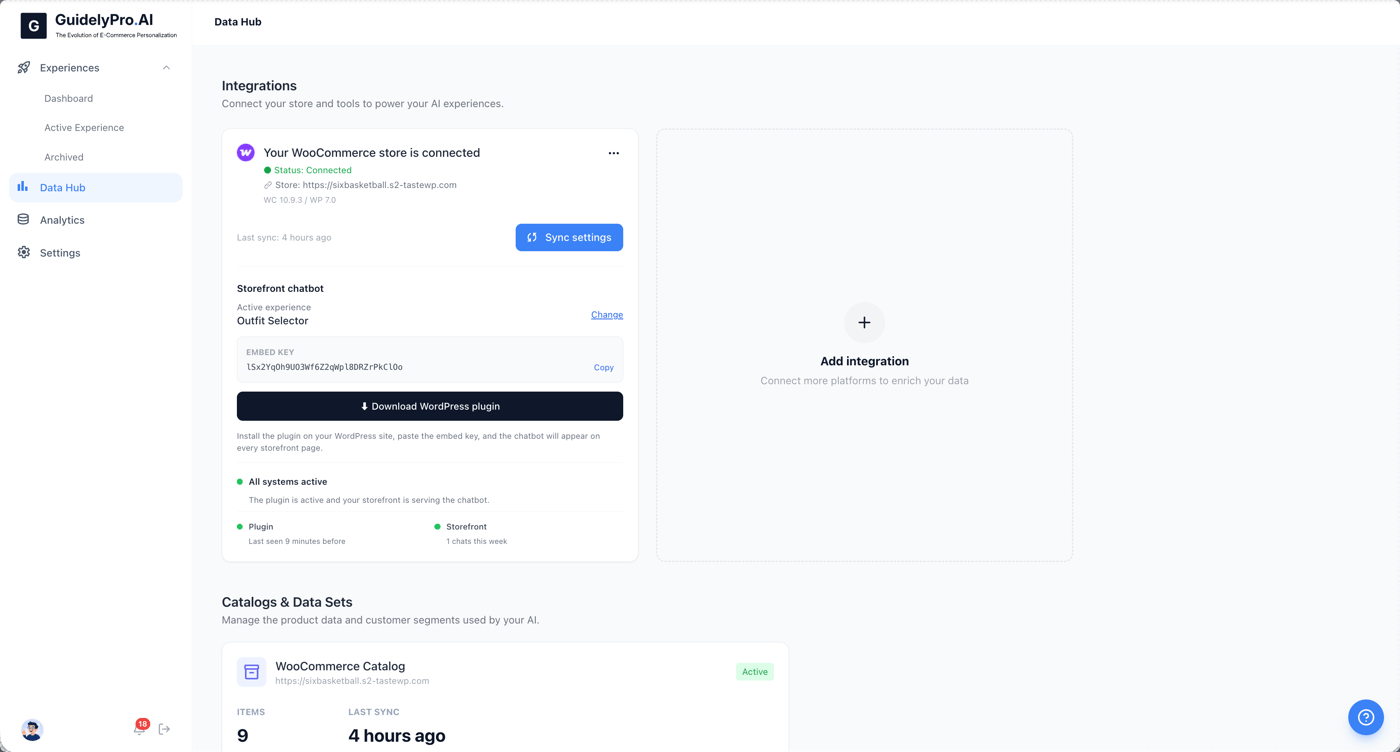 Select the experience you want live on your storefront.
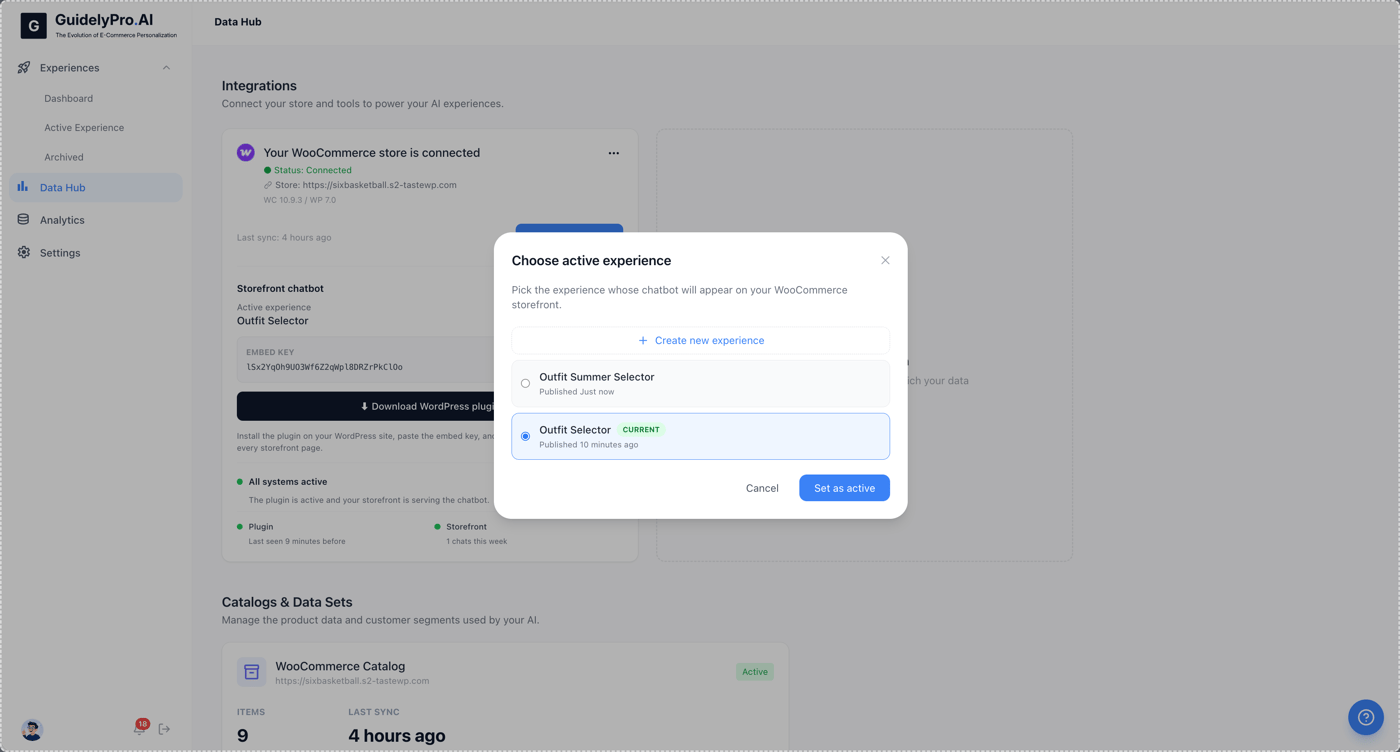 Click **Set as active** to activate the experience.
 ## Part 4 — Update the plugin embed key
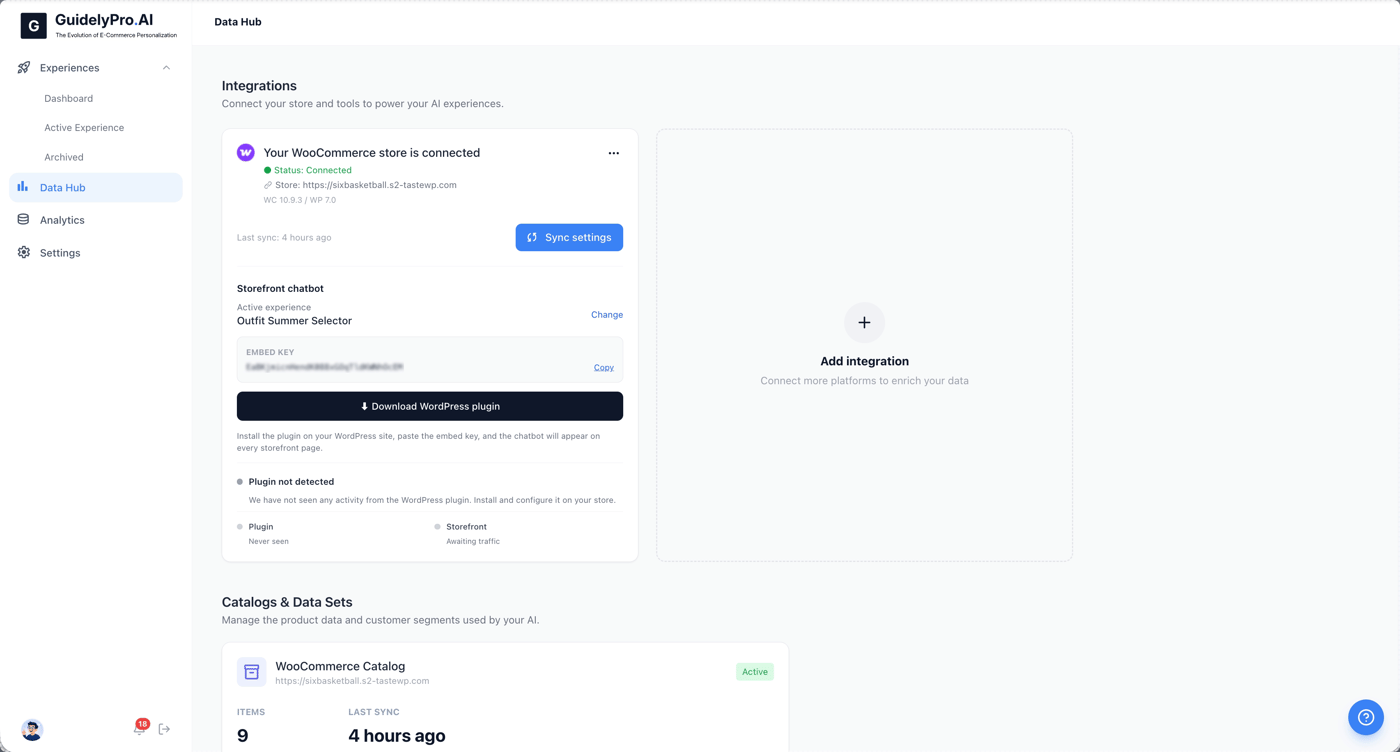
Switching the active experience generates a **new embed key**. Your storefront keeps running the old experience until you paste the new key into the WordPress plugin and verify it — this is the step people forget.
Copy the newly created embed key — it needs to be updated in your WooCommerce plugin.
## Part 4 — Update the plugin embed key
Switching the active experience generates a **new embed key**. Your storefront keeps running the old experience until you paste the new key into the WordPress plugin and verify it — this is the step people forget.
Copy the newly created embed key — it needs to be updated in your WooCommerce plugin.
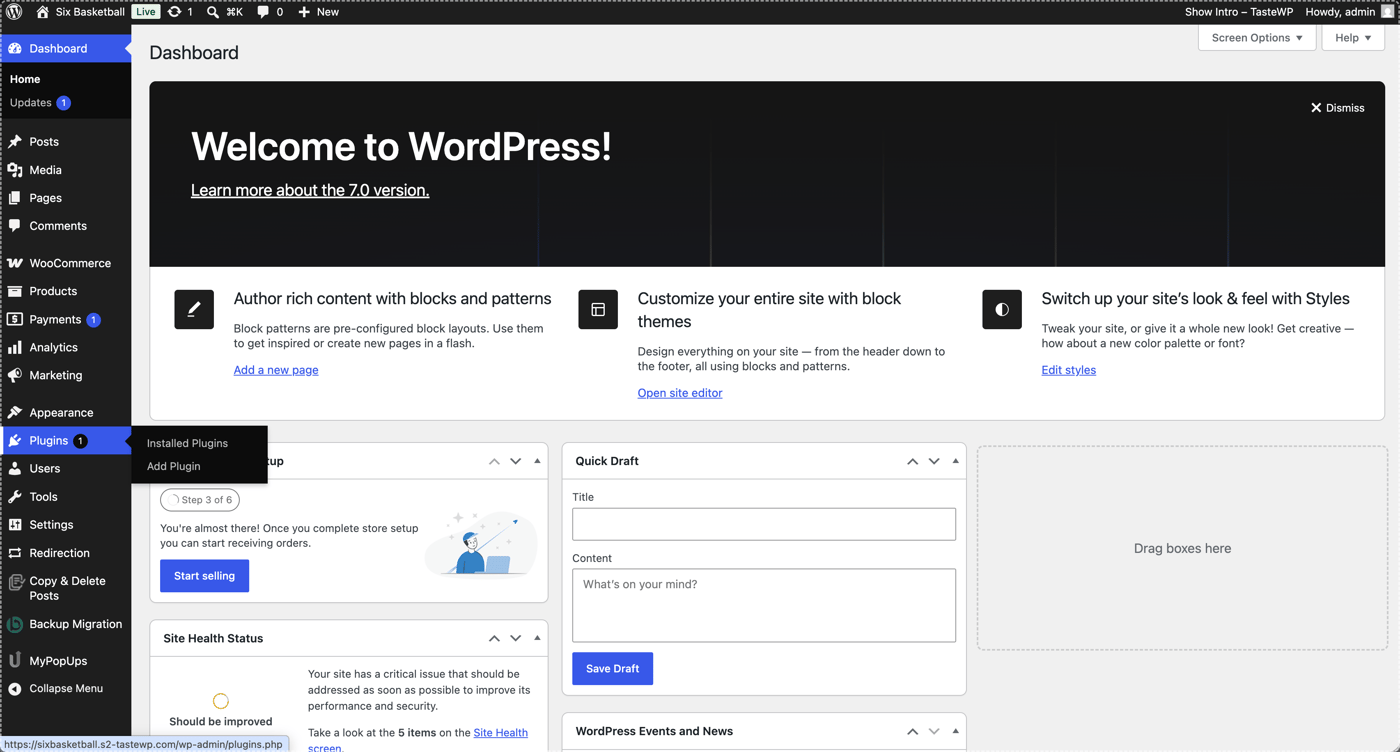
 Open the **Plugins** section in WordPress to view and manage your installed plugins.
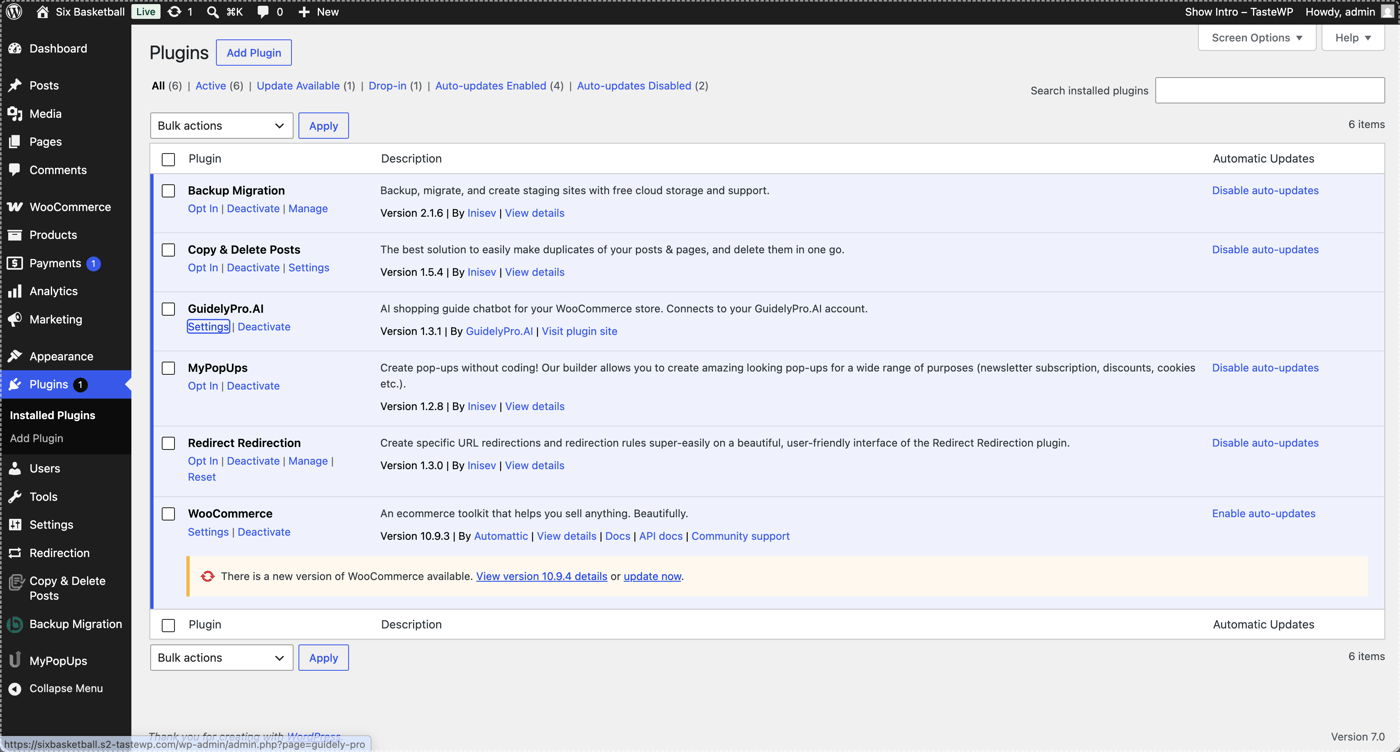
 Click **Settings** for GuidelyPro.AI to open the plugin options.
 Paste the embed key you just copied into the **Embed key or snippet** field.
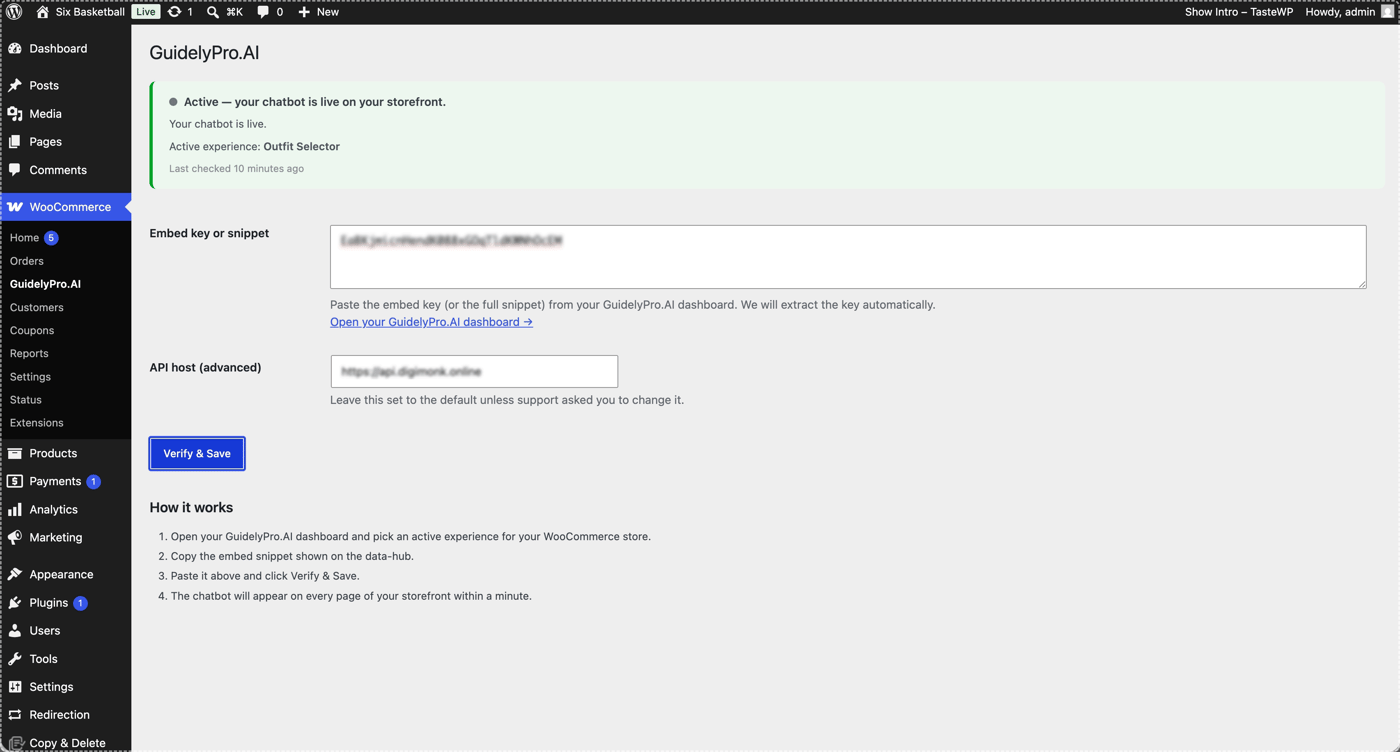
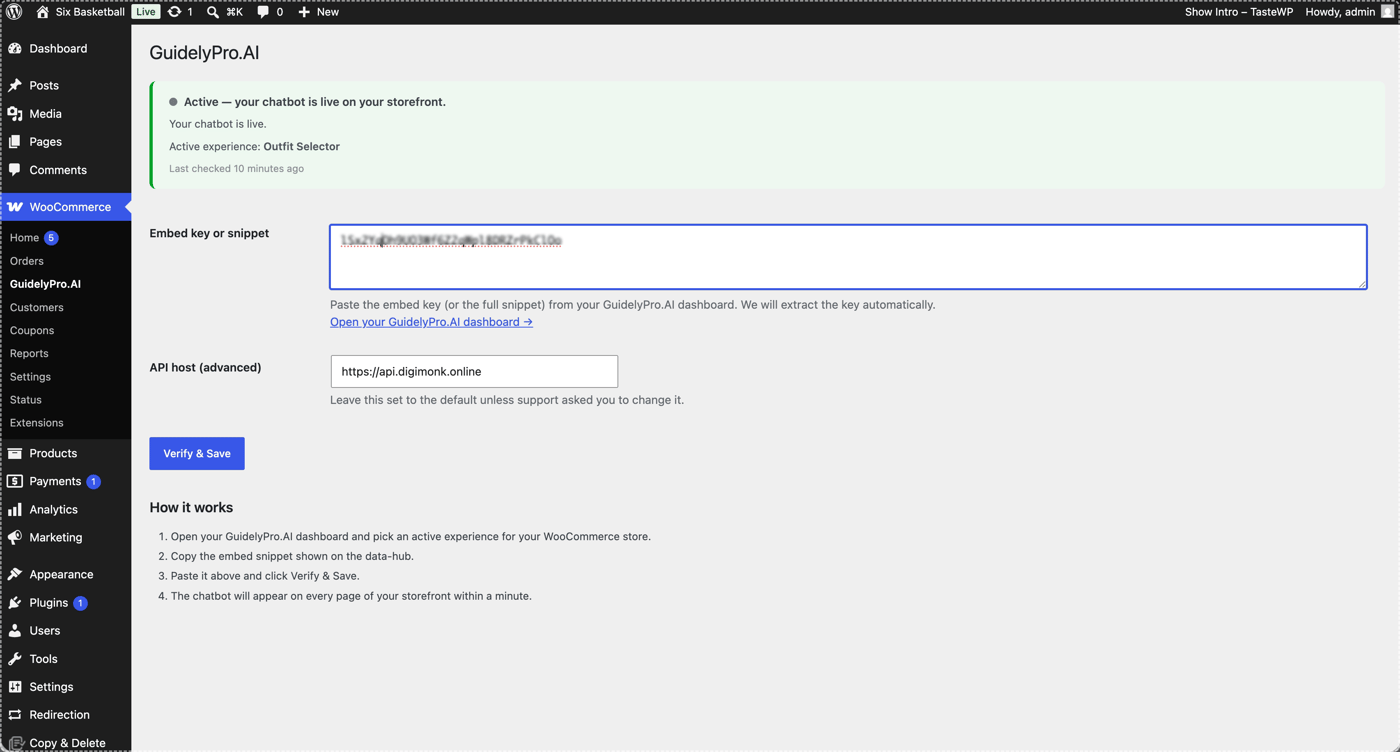 Click **Verify & Save** — your new experience goes live on every storefront page within a minute.
 ## Part 5 — Test it
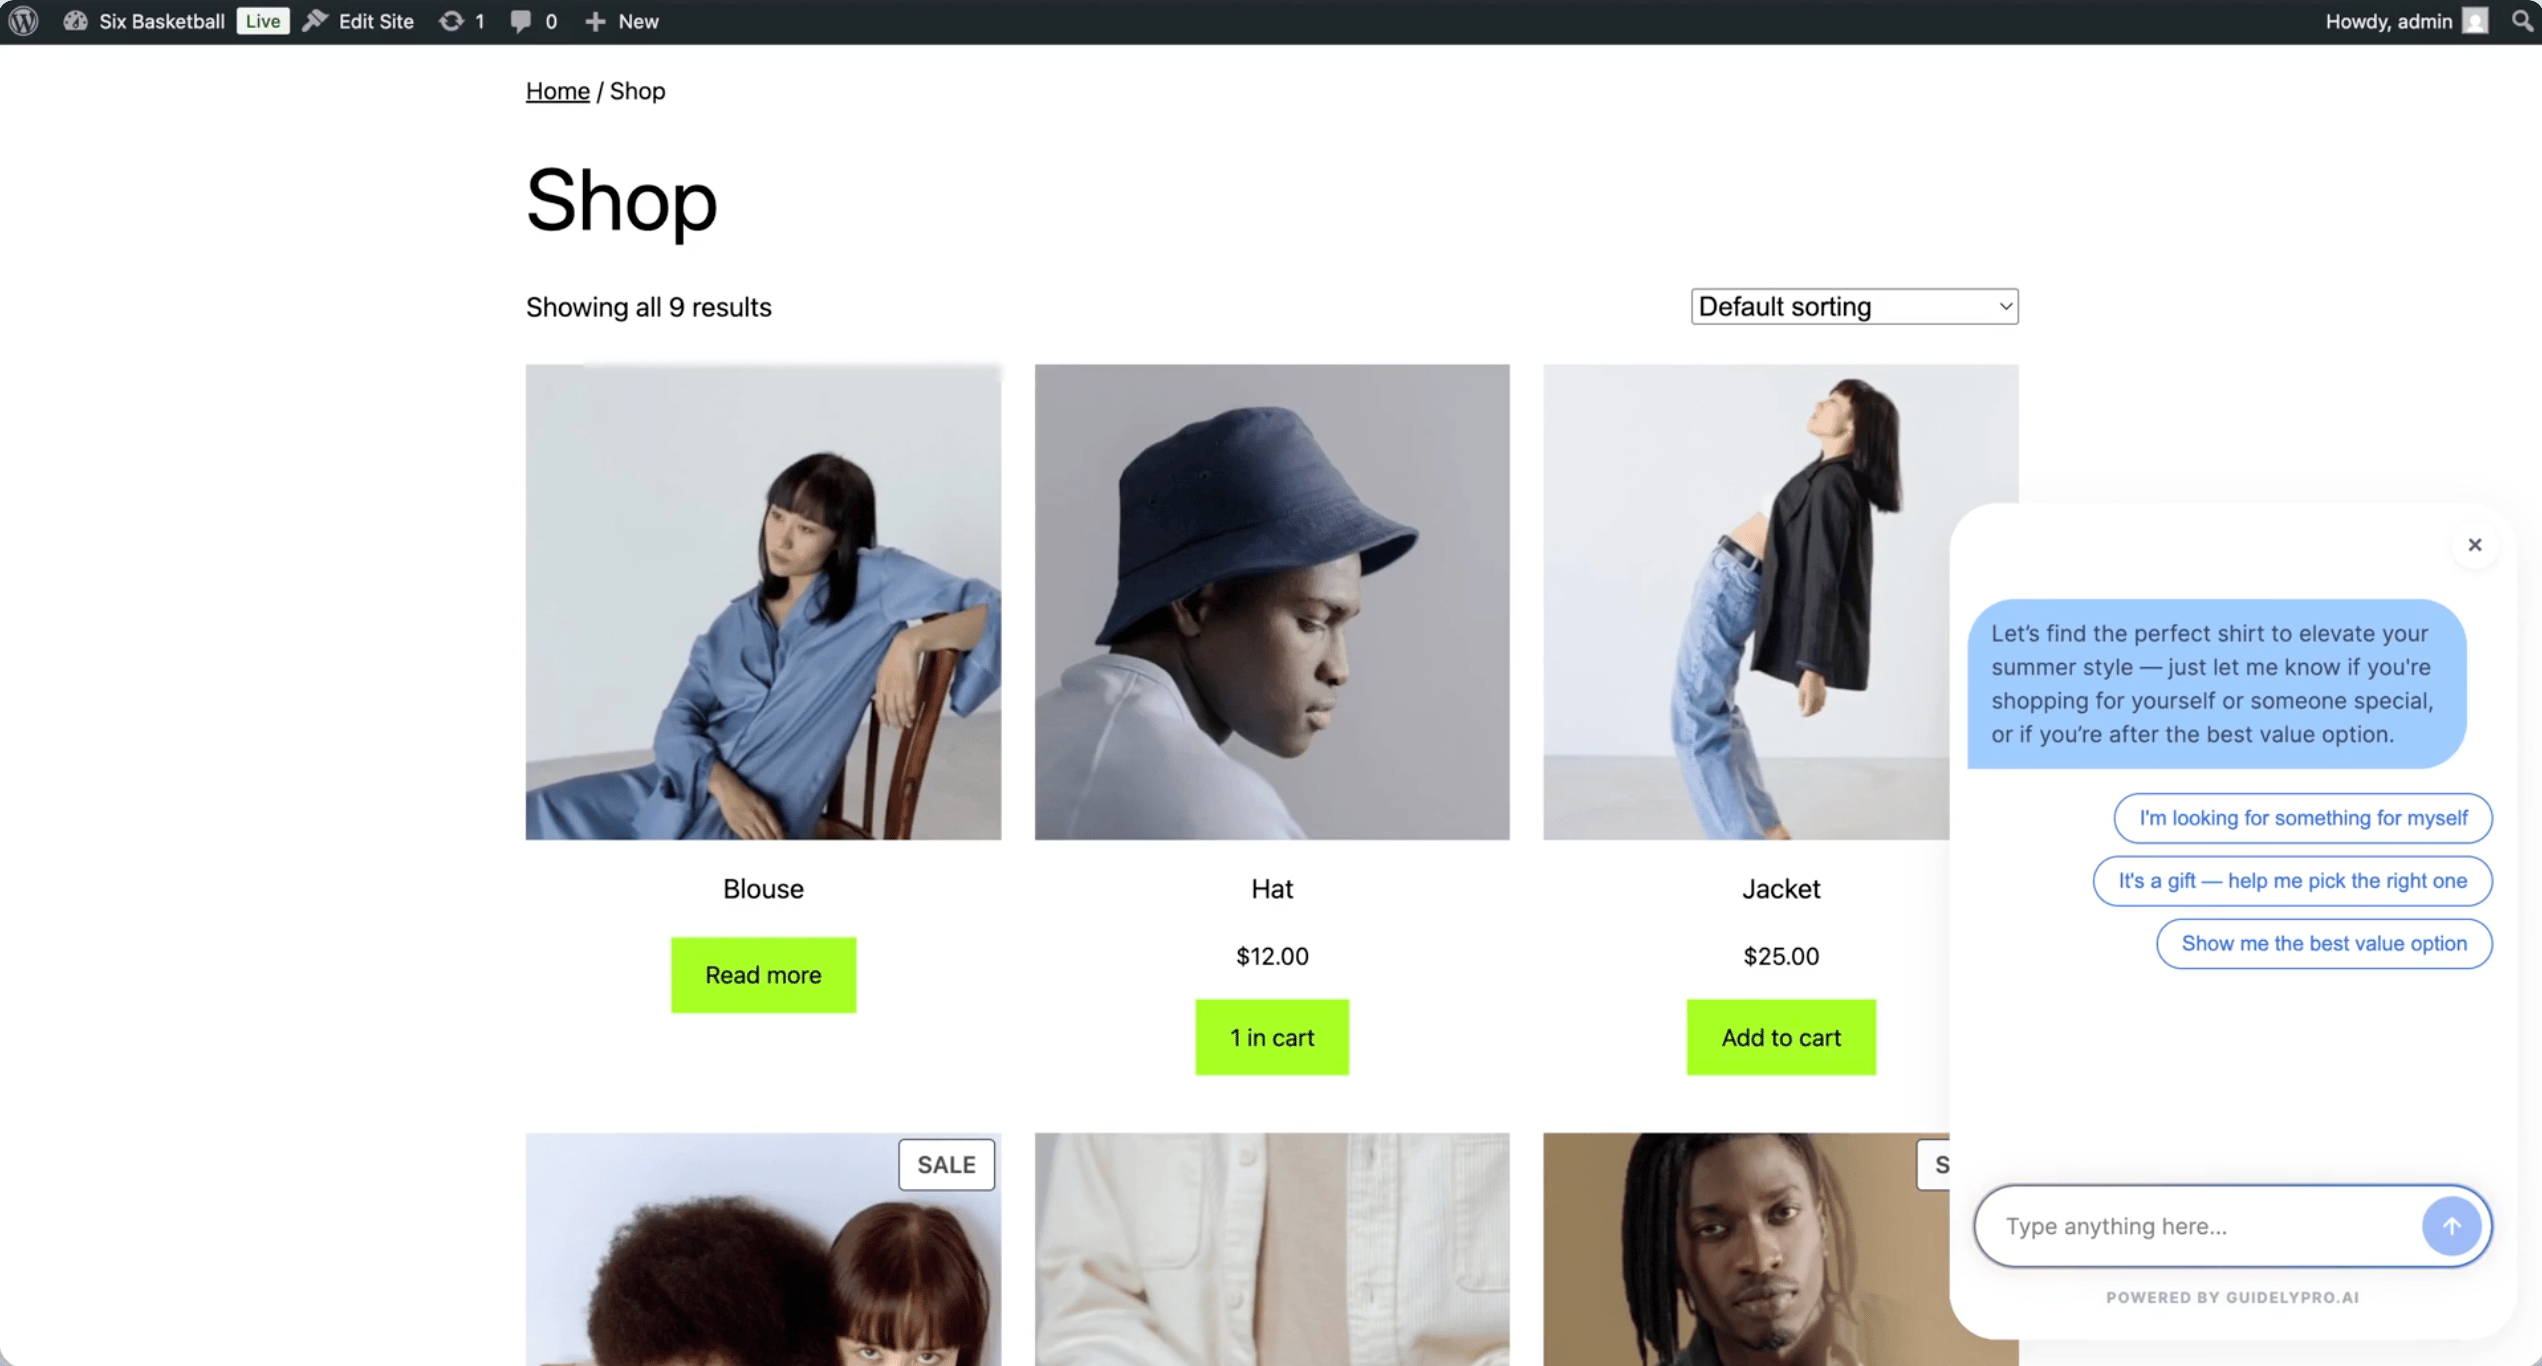
Test your live storefront by interacting with the new experience — make sure your assistant is enhancing the customer journey.
## Part 5 — Test it
Test your live storefront by interacting with the new experience — make sure your assistant is enhancing the customer journey.
 ## That's it
Your WooCommerce store is now running the new experience. Iterate as often as you like — create, publish, switch the key, and the storefront follows.
## That's it
Your WooCommerce store is now running the new experience. Iterate as often as you like — create, publish, switch the key, and the storefront follows.